
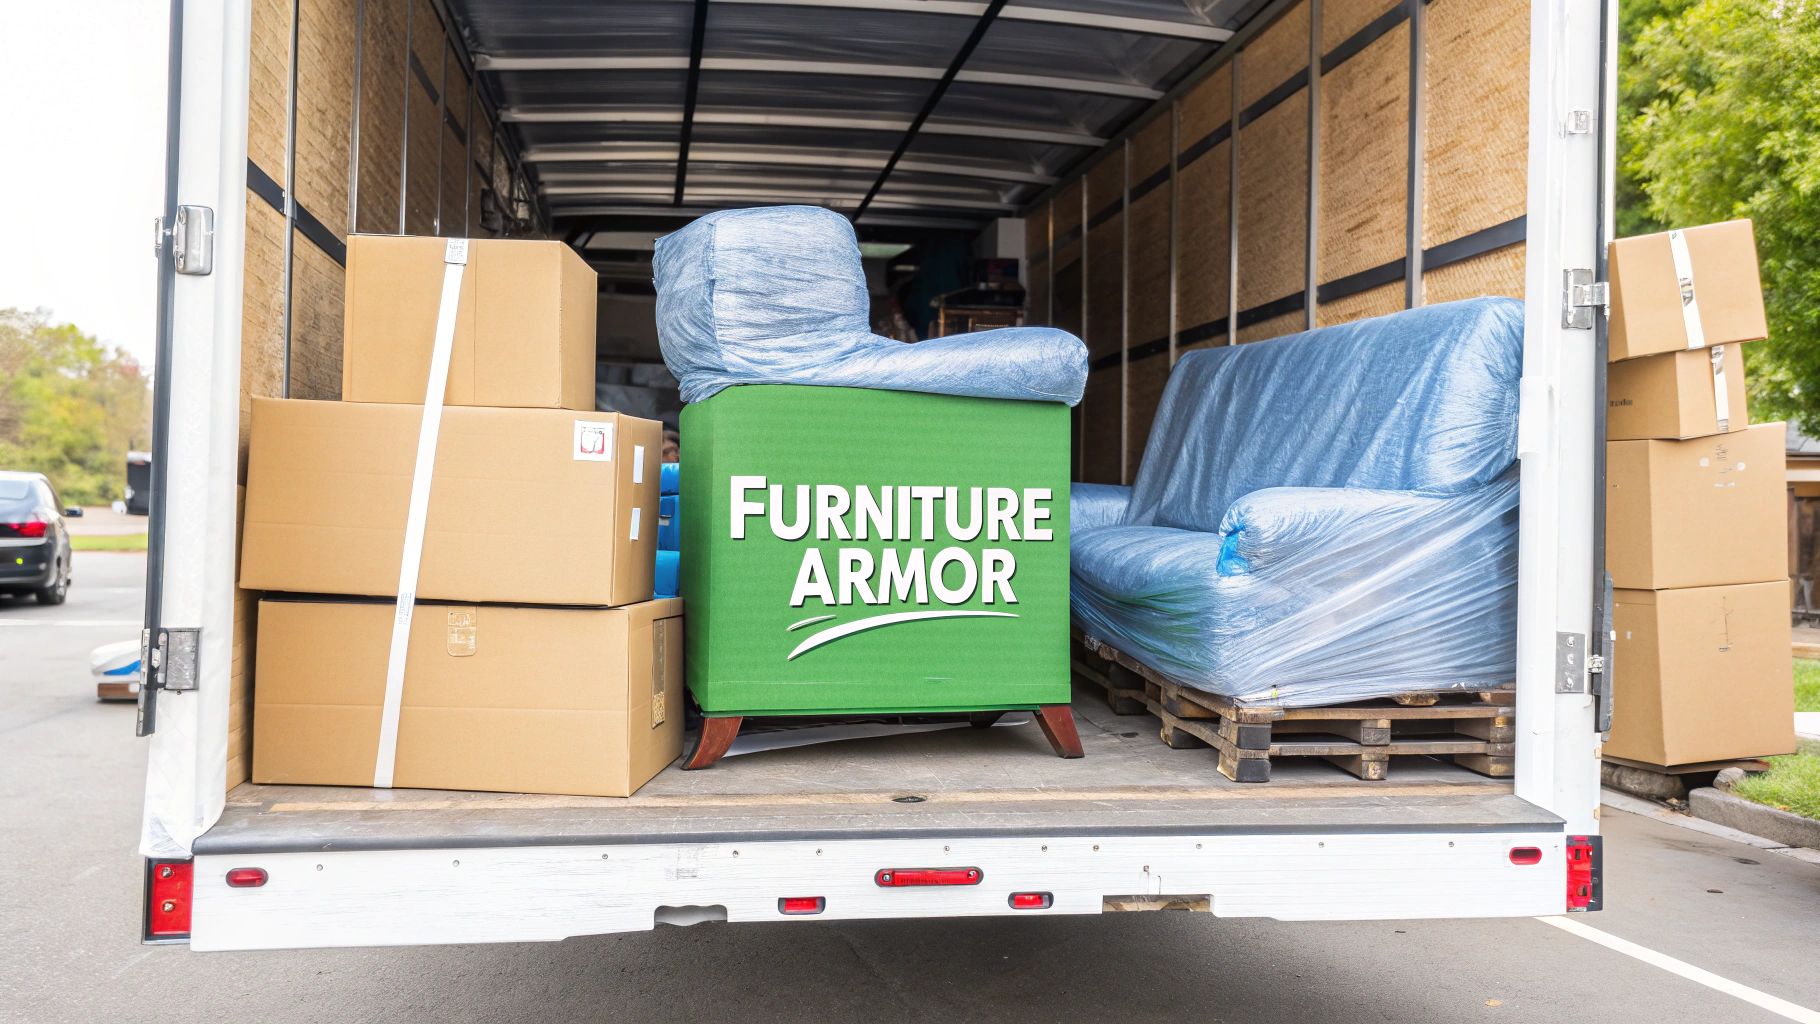
Protecting your furniture for a move is about much more than just stopping a few scratches. It’s about making a smart investment to keep your belongings in one piece, preserving both their value and their integrity. When you use the right materials and techniques, you’re safeguarding everything—from that antique dresser you inherited to your brand-new sofa—against the inevitable bumps and scrapes of moving day. Honestly, this prep work is what separates a stressful move from a successful one.
Why Smart Furniture Protection Is So Important
Moving should be an exciting new chapter, but let’s be real: nothing ruins the mood faster than finding a deep gouge in your dining table or a snapped leg on a favourite armchair. Good furniture protection isn’t just another task on your to-do list; it’s a vital strategy. Think of it as insurance you apply yourself before the removalists even pull up.
The financial hit from skipping this step can be huge. A damaged piece might need expensive repairs, or worse, be a total write-off. This is especially true for antique or custom-made items that you just can’t replace. And the emotional toll? That’s just as real. Seeing a family heirloom ruined because it wasn’t wrapped properly can be genuinely heartbreaking.
The Unfortunate Reality of Moving Damage
Damage during a move is, unfortunately, more common than you’d think. According to the Australian Furniture Removers Association (AFRA), around 20% of people report some kind of property damage during their move. That means one in five households will likely deal with scratched tables, dented sofas, or broken bed frames. Older, more delicate pieces are, as you’d expect, especially vulnerable. You can get more insight into these moving realities in this helpful guide from Grace Removals.
It’s also worth thinking about the condition of your furniture before it gets wrapped. Investing in professional furniture and upholstery cleaning services ensures your items are free from any abrasive dirt or dust before being sealed up, adding another important layer of care.
Here’s a pro tip that’s often overlooked: document the condition of your furniture before the move. Take clear photos or a quick video of each item. This gives you undeniable proof of its starting condition, which is absolute gold if you end up needing to make an insurance claim.
It’s More Than Just Avoiding Scratches
Properly protecting your furniture tackles a few key challenges that can make or break your move. It’s not just about the surface.
- Keeping It Together: Wrapping items like dressers and cabinets with stretch wrap is a game-changer. It stops doors and drawers from flying open mid-carry, which prevents damage to the piece itself and makes it much safer for the people moving it.
- Making It Easier to Handle: A well-wrapped piece of furniture is simply easier and safer to grip. This really matters when you’re trying to manoeuvre a bulky item through a tight doorway or down a narrow flight of stairs.
- Giving You Peace of Mind: Let’s face it, moving is stressful. Knowing you’ve done everything you can to protect your belongings helps reduce that anxiety significantly. You can relax a little more on moving day, confident that you’ve set yourself up for success.
7. Gather the Right Furniture Protection Supplies
Successfully protecting your furniture during a move isn’t about luck; it all starts with having the right gear on hand. I’ve seen it a thousand times: people thinking they can get by with old towels and yesterday’s newspaper, only to end up with a heartbreaking scratch on their favourite timber table.
To avoid that sinking feeling, you need to think like a pro and put together a proper protection toolkit before you even start wrapping. Trust me, having everything you need from the get-go will save you a world of stress and make sure every piece gets the protection it deserves.
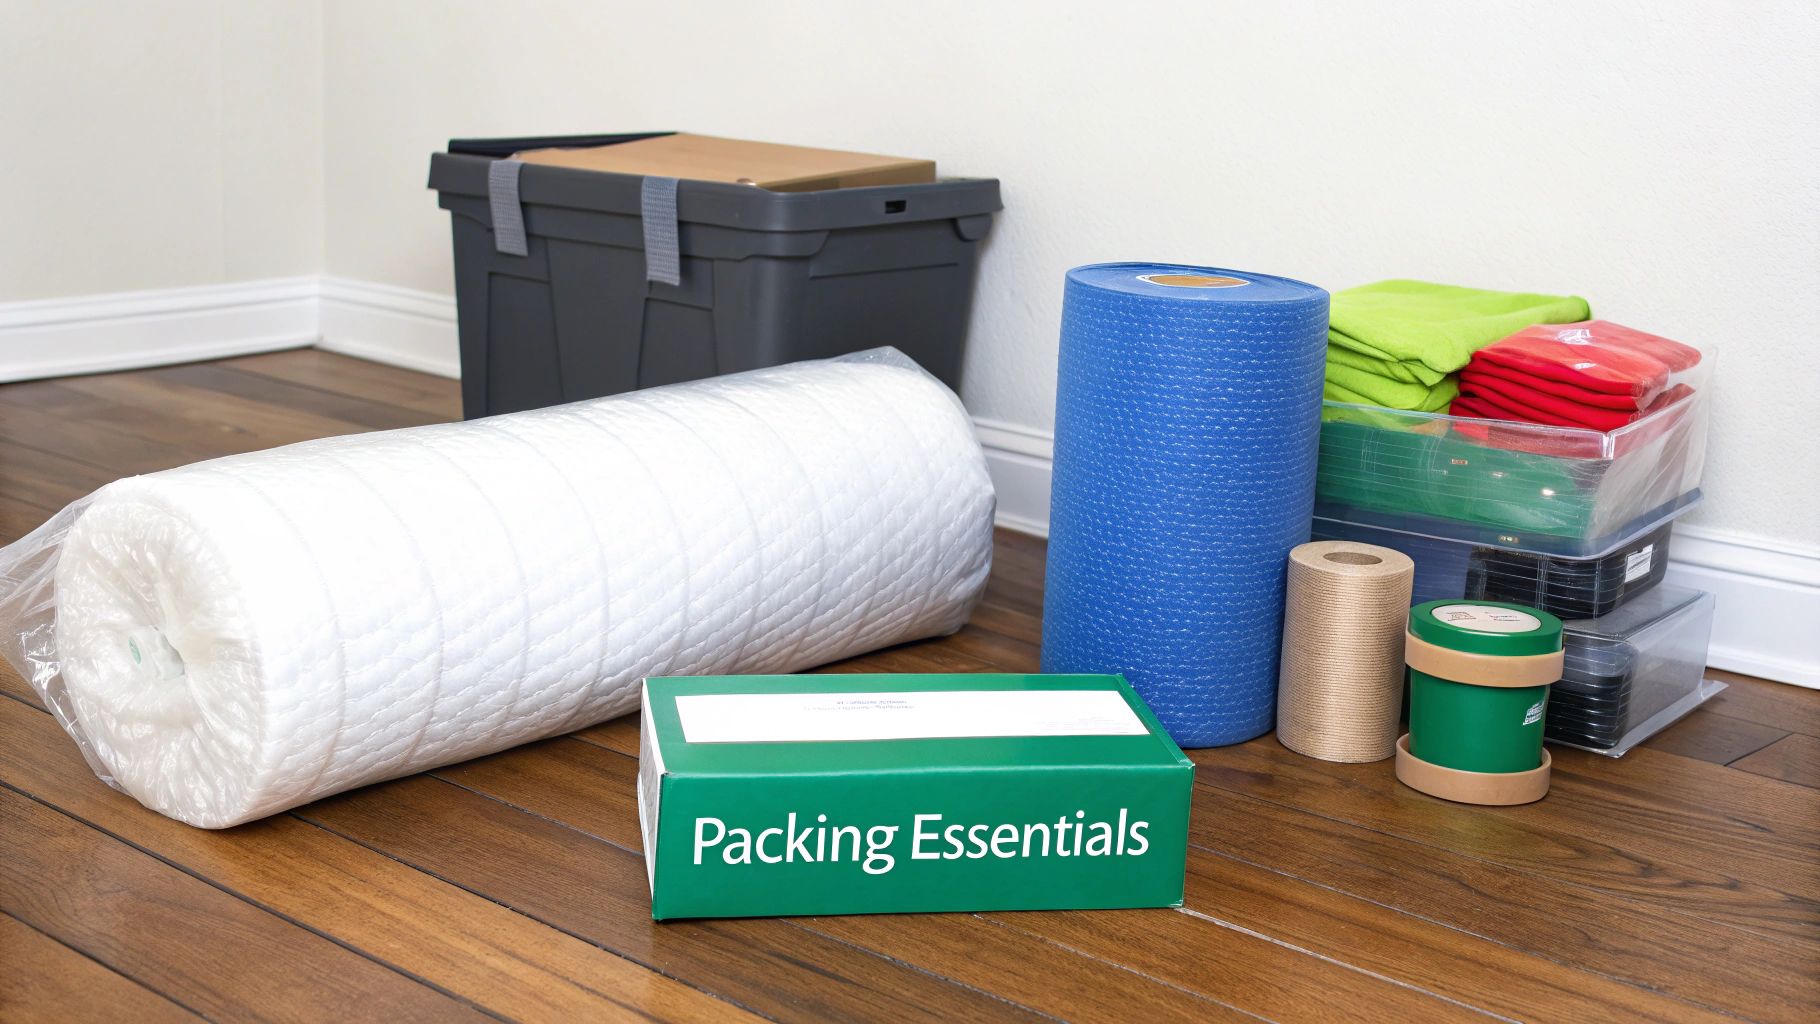
We’re not just talking about any old supplies, either. It’s about choosing materials designed for the job. For example, industrial-grade stretch wrap is non-negotiable. This isn’t your kitchen cling film; it’s a thick, tough material that cleverly sticks only to itself. This means you can wrap drawers shut and secure loose parts tightly without leaving a sticky, gunky mess on your furniture’s finish.
And then there are moving blankets. Proper, thick, quilted moving blankets are your best friends on moving day. They provide a soft, cushioned barrier against the inevitable bumps and jolts of transit. Think of them as body armour for your bedheads, cabinets, and dining tables.
Your Core Protection Arsenal
To set yourself up for success, you really only need to focus on a few key items that we professionals swear by. Each one has a specific job in creating a protective cocoon around your furniture.
Before you start wrapping, it helps to have a clear idea of what you need and why. Here’s a quick checklist of the essentials I recommend for any furniture move.
Your Furniture Protection Supply Checklist
| Supply Item | Primary Use | Pro Tip |
|---|---|---|
| Moving Blankets | Your first line of defence against scratches, dents, and impact. | Choose thick, padded blankets. Don’t skimp on size—you want full coverage for large items like tables and sofas. |
| Stretch Wrap | Securing blankets, keeping doors/drawers closed, and bundling items. | This is the pro’s alternative to tape. It sticks to itself, not your furniture, preventing residue and damage to the finish. |
| Mattress/Sofa Covers | Heavy-duty plastic bags that protect against dirt, moisture, and rips. | A must-have for any fabric items. It’s much easier to prevent a stain than to remove one. |
| Bubble Wrap | Cushioning for extremely fragile parts like mirrors, glass tabletops, or ornaments. | Use it as an inner layer of protection, then wrap with a moving blanket for the ultimate shield. |
| Packing Tape | Securing bubble wrap and cardboard. | Never, ever apply tape directly to timber, leather, or painted surfaces. The adhesive can pull the finish right off. |
| Cardboard Sheets | Adding a rigid layer of protection against direct impacts. | Absolutely essential for protecting the vulnerable corners of desks, bookcases, and entertainment units. |
Having these supplies ready will make the entire process smoother and far less stressful. You’ll be prepared for anything the move throws at you.
Securing the right supplies is just as important as the wrapping technique itself. While you’re getting your toolkit together, you’ll obviously need boxes too. If you’re wondering where to buy moving boxes and other quality gear, plenty of specialist suppliers can help.
A Few Extras for a Safer Move
Beyond the absolute must-haves, a couple of extra items can make a huge difference to your safety and efficiency.
A good pair of furniture moving gloves with a non-slip grip is a brilliant investment. They’ll save your hands from splinters and give you a much more secure hold on heavy or awkward items, which dramatically reduces the risk of dropping something.
Finally, do yourself a massive favour and grab a set of furniture sliders. These simple plastic or felt-bottomed discs let you glide heavy furniture across the floor with minimal effort. No scratched floors, no strained backs. They’re a lifesaver when you’re trying to position everything perfectly in your new home. With this toolkit, you’re not just moving; you’re moving smart.
Pre-Move Prep and Furniture Disassembly
Properly protecting your furniture for a move starts well before you even think about wrapping it. In my experience, the groundwork you lay in these early stages makes all the difference between a smooth move and a day filled with frustrating scratches and dings. It all boils down to cleaning and dismantling your pieces the right way.
First things first, give everything a good clean. Any dust or grit left on a surface will act like sandpaper once it’s wrapped up and jostled around in the back of a truck. This is how you get those fine, web-like scratches on wood and laminate finishes. A quick wipe-down with a soft, damp cloth is all it takes to get rid of that hidden abrasive layer.
As you’re getting everything ready, remember that a clean slate applies to the whole property. An ultimate end of tenancy cleaning checklist can be a fantastic resource for ensuring the entire place, not just your furniture, is ready for handover.
The Smart Way to Disassemble Furniture
With your furniture now sparkling clean, it’s time to consider what can be taken apart. I know it can feel like a chore, but trust me, this step is a game-changer. Taking larger items apart makes them infinitely easier to carry, manoeuvre through tricky doorways, and pack securely in the moving van. It’s all about working smarter, not harder.
You don’t need to take apart everything, just the obvious candidates. Focus on items with removable parts that make them bulky or awkward:
- Bed Frames: The headboard, footboard, and rails should always be separated.
- Dining Tables: Taking the legs off a heavy tabletop makes a world of difference.
- Bookshelves: Remove all the adjustable shelves so they don’t fall out during the move.
- Modular Sofas: If your sofa comes in sections, separating them is an absolute must.
The biggest mistake people make here is losing the hardware. There’s nothing worse than getting to your new home, exhausted after a long day, only to realise you have no idea where the bolts for your bed frame are.
The Hardware Rule: As you dismantle each item, put every single screw, nut, and bolt into a small, sealable plastic bag. Label that bag immediately with a permanent marker (e.g., “Dining Table Legs”) and tape it securely to the largest part of the furniture it belongs to. No exceptions.
Organise for a Smooth Reassembly
This simple system is your best friend on the other side of the move. It keeps everything organised and takes all the stressful guesswork out of reassembly. If you’re tackling something particularly complicated, like a big entertainment unit, snap a few photos with your phone as you take it apart. Those visual reminders will be a lifesaver later on.
This prep work isn’t just about preventing damage. It’s about setting yourself up for success and turning a potentially chaotic unloading process into a streamlined one. By taking a bit of extra time to clean, dismantle, and label, you’re not just looking after your furniture—you’re looking after your own peace of mind.
Mastering the Art of Wrapping and Padding Your Furniture
This is where the real protection happens. We’re moving beyond just tossing an old bed sheet over a table; we’re talking about the professional techniques that act as armour for your furniture. It’s what stands between your favourite pieces and the bumps and scrapes of a move. Different items need different handling, but the goal is always the same: create a solid, protective shell that can absorb impact and fend off surface damage.
For anything with doors or drawers – think dressers, buffets, or entertainment units – the “mummy wrap” is your go-to technique. You’ll use industrial-grade stretch wrap, starting at the bottom and working your way up, making sure to overlap each layer by about 50%. This does more than just keep doors shut; it also creates a great barrier against dust and moisture. Pull the wrap taut as you go, so it doesn’t snag on anything during the move.
Protecting Timber and Other Hard Surfaces
Timber furniture, particularly items like tables and desks, is always at high risk of corner dings and surface scratches. I’ve seen it happen too many times. The trick is to use multiple layers of protection. First things first, wrap the entire piece in thick, padded moving blankets. Don’t be stingy here—every single inch of finished wood needs to be covered.
Pay close attention to the most vulnerable spots:
- Corners: These are magnets for damage. Give them extra padding by folding a blanket over a few times, or better yet, use purpose-built cardboard corner protectors underneath the main blanket.
- Table Legs: Wrap each leg on its own with a blanket or bubble wrap before you tackle the main body of the table.
- Flat Surfaces: For a big, flat dining tabletop, lay a flat piece of cardboard across it before you add the blanket. This gives it a rigid layer of protection against anything that might accidentally be dropped on top.
Once everything is blanketed, use stretch wrap or packing tape to hold it all together. A word of caution: only ever apply tape to the blanket, never directly onto the wood! You want to create a snug, protective cocoon. For those truly precious or antique pieces, it’s always worth getting expert packing advice for antique furniture to ensure they arrive safely.
Safeguarding Upholstery and Soft Furnishings
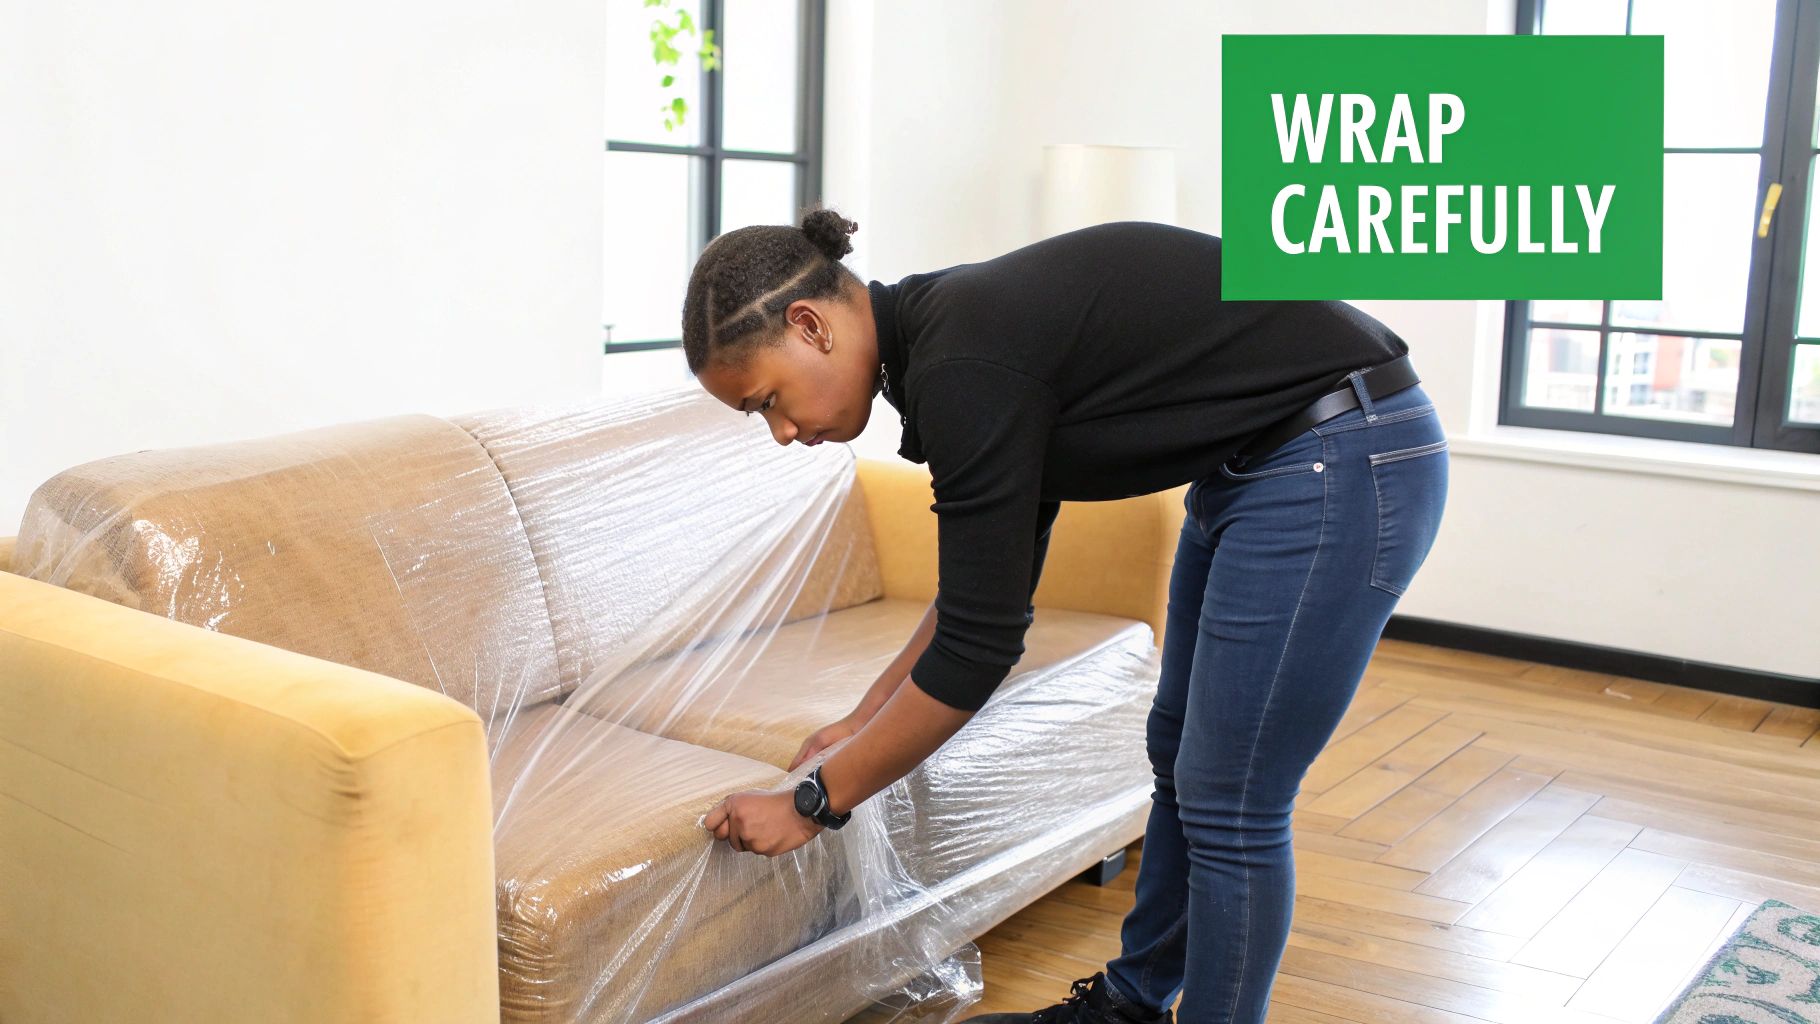
Sofas, armchairs, and dining chairs bring a different set of worries—they’re prone to rips, stains, and just getting plain dirty. The best way to protect these is with heavy-duty plastic sofa and chair covers. Think of them as a waterproof, tear-resistant shield for your furniture.
Just slide the cover over the whole item, then use packing tape to seal it up snugly at the bottom. This simple step stops dirt and moisture from getting kicked up underneath while it’s being carried. If you want an extra layer of cushioning, especially for a high-end fabric or leather sofa, you can wrap it in moving blankets before you put it into the plastic cover. This combination offers fantastic protection against both physical damage and grime.
A bit of organisation before you start wrapping is just as crucial as protecting the items themselves. Thinking room-by-room helps make the whole process, from packing to unloading, feel much more manageable. Trust me, a little planning goes a very long way.
This simple graphic shows a great workflow for getting organised by room, labelling everything, and creating an inventory.
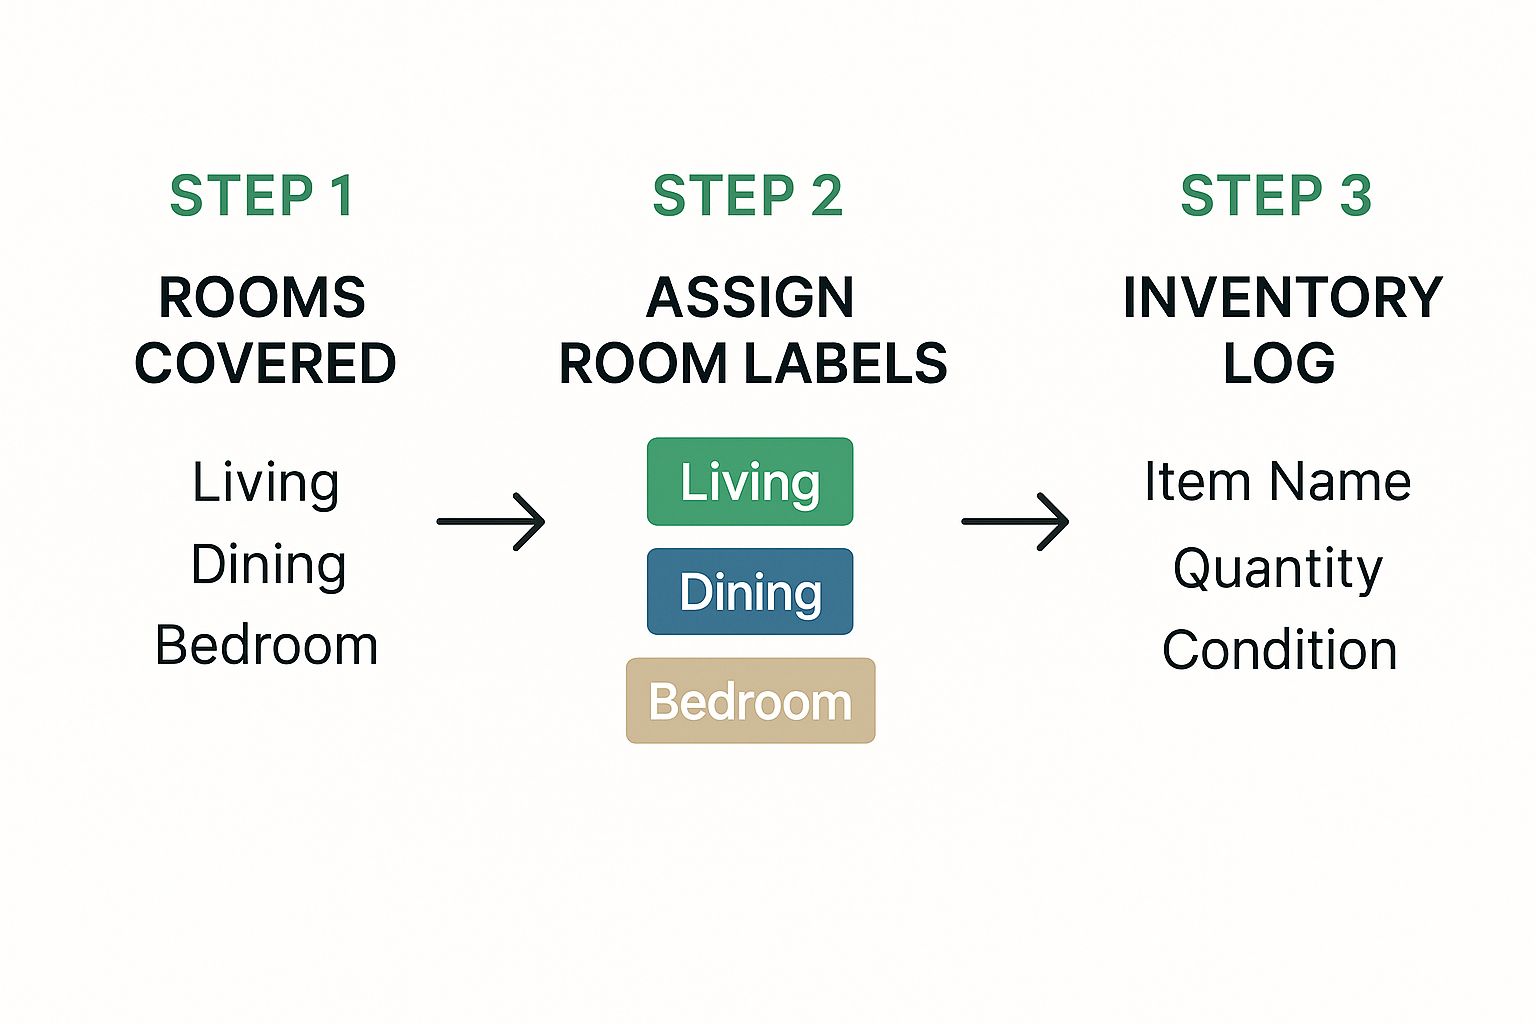
Following a structured approach like this means every piece is accounted for and you’ve noted its condition before it even leaves the room.
These hands-on wrapping methods can turn basic supplies into professional-level protection. Of course, getting good at them takes a bit of time and effort. If you’d rather leave it all to the pros, looking into professional packing services for moving can ensure every single item is perfectly prepped for the journey, giving you total peace of mind.
Strategic Loading: The Key to a Damage-Free Move
You can wrap and pad every single piece of furniture perfectly, but all that effort is for nothing if the truck isn’t loaded with a bit of strategy. I’ve seen it happen countless times. This is the stage where furniture protection for moving shifts from looking after individual items to making sure everything survives the journey together. Think of it like a high-stakes game of Tetris – every piece needs to fit just right.
Professional removalists all follow one golden rule: heavy items go in first, packed high and tight. This means your bulkiest, heaviest furniture—like the washing machine, fridge, or that solid oak dresser—gets loaded first. They should be positioned right up against the front wall of the truck, the end closest to the driver’s cab.
Why? This creates a solid, stable base that won’t budge when the truck is on the move. Placing the heaviest weight over or slightly in front of the truck’s rear axles is crucial for maintaining balance and control on the road.
Building Tiers for a Secure, Balanced Load
Once you’ve set that heavy foundation, you start building your layers upwards and outwards. A key thing to remember is to distribute the weight as evenly as you can from side to side. Loading all your heavy items down one side is a recipe for a dangerously unbalanced truck.
Here’s a practical way to build up your load:
- Mid-weight furniture comes next. This is where your sofas (kept on their feet), dismantled tables, and bookcases find their home, usually placed along the long walls of the truck.
- Use mattresses as protective walls. Stand your mattress and box spring up on their side. They make fantastic buffers, creating a soft barrier between hard items that could otherwise scrape against each other.
- Fill every gap. Any empty space is an invitation for things to shift. Use your boxes and smaller, lighter items to fill in all the nooks and crannies around the furniture. You want everything packed in so tightly that nothing has room to move.
A tightly packed truck is a safe truck. I can’t stress this enough. Empty space is your worst enemy in a move. It allows items to slide, tilt, and smash into each other every time the driver brakes, turns, or hits a bump. Shifting cargo is the number one cause of damage in transit.
It’s also worth remembering that good furniture protection for moving is about protecting people, too. According to an Impact Analysis on toppling furniture from the ACCC, many preventable injuries from crushing or falls are linked to unstable furniture—a risk that skyrockets when things are handled poorly during a move.
Don’t Forget the Tie-Downs
Your furniture isn’t truly secure until it’s strapped in. Moving trucks have anchor points or wooden slats along the inside walls for this exact reason.
Get yourself some good-quality ratchet straps or moving ties to lock down each tier of furniture. You’ll want to run the straps horizontally across the width of your load, hooking them into the anchor points on either side. Cinch them down just enough to stop any movement, but not so tight that you risk damaging the furniture.
As you load from the front of the truck to the back, you should create these secure, tied-down “walls” of items every metre or so. This effectively compartmentalises your load. That way, if one small box does manage to shift, it won’t trigger a catastrophic domino effect through the entire truck.
Answering Your Top Furniture Protection Questions
Even with a solid game plan, moving day always throws a few curveballs. When it comes to keeping your furniture safe, we’ve heard just about every question in the book. Getting straight answers to these common worries can make all the difference, giving you the confidence to handle whatever comes your way.
Let’s dive into some of the questions we get asked most often by people right in the thick of a move.
How Should I Protect Antique or Delicate Furniture?
When you’re dealing with a precious heirloom or a fragile antique, one layer of protection simply isn’t enough. You have to think in layers, each with a specific job. I always start with a soft inner layer, like an old cotton sheet, to shield the delicate finish from any scuffs or scratches.
Next, it’s all about cushioning. Wrap it generously in a thick layer of bubble wrap. For those truly irreplaceable pieces, it’s worth considering custom crating or building a purpose-built box from sturdy cardboard. You’ll want to pay special attention to the most vulnerable parts—think delicate legs, ornate carvings, or any intricate details.
Finally, label the piece clearly on every side with “FRAGILE” and “TOP LOAD ONLY“. There should be no guesswork for the person carrying it. If you can, the absolute safest option is often to transport these priceless items yourself in your own car.
Can I Put Tape Directly on Wood or Leather?
This is a firm and absolute no. Honestly, it’s one of the most frequent—and costly—mistakes we see people make. Standard packing tape will pull the finish right off a wooden surface and can permanently discolour or even tear leather upholstery.
The only safe way to do it is to wrap the piece first. Use a thick moving blanket or a few layers of plastic stretch wrap to create a complete barrier. Once it’s covered, you can then apply tape to secure the blanket to itself, making absolutely sure the tape never touches the actual furniture.
Key Takeaway: Your packing tape should only ever touch the protective wrap, like the moving blanket or cardboard. Never stick it directly onto timber, leather, or any painted finish.
What’s the Best Way to Protect Glass Tabletops and Mirrors?
Glass and mirrors need a special game plan because they are so incredibly fragile. The first thing you should do is apply painter’s tape in a large ‘X’ pattern across the glass. This simple trick won’t prevent a break, but if an accident happens, it will hold the broken shards together, making it much safer to handle.
After taping it up, wrap the entire item in several layers of bubble wrap. Be generous with it, especially around the corners and edges. The next step is to slide the whole bundle into a specially designed mirror box or a custom-made cardboard sleeve. This gives it a rigid outer shell for proper protection.
Most importantly, always carry, transport, and store glass and mirrors vertically on their edge, never flat. Laying them down makes them far more likely to shatter under even a small amount of pressure. If you have more general questions about moving, you might find our guide on the top 5 questions about moving house answered by experts helpful.
Do I Really Need to Empty Dresser Drawers?
Yes, you really, really do. It might feel like a clever shortcut, but leaving drawers full adds a massive amount of weight, making the furniture awkward and dangerous to lift and carry. More than that, the extra weight puts a huge amount of strain on the furniture’s joints, which can easily loosen or snap during the move.
While you might get away with leaving a few light items like t-shirts inside, the professional standard is to empty them completely for good reason. It’s also a major safety issue. According to the Australian Competition and Consumer Commission (ACCC), over 900 injuries requiring medical attention occur each year from furniture toppling over. You can learn more about the ACCC’s furniture safety findings to see just how critical stability is.
Ready to make your move completely stress-free? Let the professionals at Emmanuel Transport handle the heavy lifting. We offer expert packing, wrapping, and moving services across Perth, ensuring every piece of your furniture is protected with care. Get your free, transparent quote today and experience a seamless move. Book your move with Emmanuel Transport now.