
Before you even think about moving a piano, you need to understand one crucial thing: this isn’t just another piece of heavy furniture. It’s a finely tuned, surprisingly delicate musical instrument, and one clumsy move can lead to some seriously expensive, if not irreparable, damage. Getting it right comes down to having the right gear, a strong team, and a bulletproof plan, especially when you’re up against stairs and tight corners.
Should You Move a Piano Yourself or Hire Professionals?
The urge to save a few dollars by moving a piano yourself can be strong, but it’s a classic case of weighing the savings against some very real risks. This isn’t like shifting a wardrobe or a fridge. A piano’s weight is incredibly deceptive—it’s often top-heavy, unevenly spread, and held together by a wooden frame that wasn’t designed to be twisted or dropped.
A DIY move can seem simple on paper, but the potential for things to go wrong is sky-high. Dropping the instrument does far more than just scratch the finish. It can wreck the internal mechanics—think a cracked pin block or a damaged soundboard—leading to repair bills that dwarf what you would have paid professional movers. And that’s before you even consider the damage to your home. Scratched floors, gouged walls, and busted door frames are the all-too-common battle scars of a piano move gone wrong.
The Anatomy of the Challenge
Every piano presents its own unique set of problems. An upright or spinet piano might look more manageable, but they can still weigh anywhere from 150 to over 400 kilograms. Their tall, awkward shape makes them a nightmare to balance, particularly on a flight of stairs.
A baby grand or a grand piano? That’s a whole other ball game. These require careful partial disassembly—removing the legs and the pedal lyre—and need a specialised skid board to be moved safely on their side.
This is where you really see the difference between raw muscle and proper technique. Professionals have strategies and equipment specifically designed for these challenges:
- Heavy-Duty Dollies: These aren’t the standard dollies from the hardware store. They are heavy-duty, four-wheeled platforms built to handle immense, focused weight without buckling.
- Piano Skid Boards: Absolutely essential for grand pianos. These padded boards cradle the instrument and protect its finish when it’s tilted on its side for transport.
- Weight-Bearing Straps: Strong, reliable straps are used to lock the piano onto the dolly, preventing any dangerous shifting or tipping while you’re on the move.
- Thick Moving Blankets: We’re not talking about old bedsheets. You need multiple layers of thick, padded blankets to shield the piano’s delicate finish from bumps and scrapes.
When to Call the Professionals
Deciding between a DIY move and hiring a pro often boils down to a quick comparison of the effort, risk, and cost involved. Here’s a simple way to look at it.
DIY vs Professional Piano Movers at a Glance
| Factor | DIY Move | Professional Move |
|---|---|---|
| Cost | Lower upfront cost (equipment rental, vehicle hire). | Higher upfront cost, but includes all labour, equipment, and transport. |
| Risk | High risk of damage to the piano, property, and potential for personal injury. You bear all liability. | Low risk. Professionals are experienced, and their service includes insurance for peace of mind. |
| Equipment | You must source, rent, and learn to use specialised gear like dollies and skid boards. | Professionals arrive with all the correct, well-maintained equipment for the job. |
| Effort & Time | Extremely physically demanding. Requires significant planning and a team of strong, reliable helpers. | Minimal effort required from you. The pros handle all the heavy lifting and logistics efficiently. |
| Best For | Very simple moves only: a small spinet piano, ground floor to ground floor, no stairs, no tight corners. | Virtually all scenarios, especially those involving stairs, grand pianos, or valuable instruments. |
Ultimately, if your move involves any staircases, tricky corners, or uneven ground, hiring professionals is the smartest and safest option by a long shot. They have the experience to see problems before they happen and the teamwork to navigate the toughest spots.
The most stressful part of any piano move is almost always the stairs. The immense weight combined with gravity creates a high-stakes situation where a single misstep can lead to serious injury or catastrophic damage to the instrument.
The demand for expert handling is clear when you look at the piano moving service market in Australia. This specialised niche within the wider removals industry is projected to reach a market size of nearly USD 250 million by 2025. People are realising that reliable transport for valuable instruments is worth the investment. You can discover more about the growth of this specialised industry to see the trend.
Hiring professionals isn’t just about making your life easier. It’s about smart risk management for a cherished, and often valuable, possession.
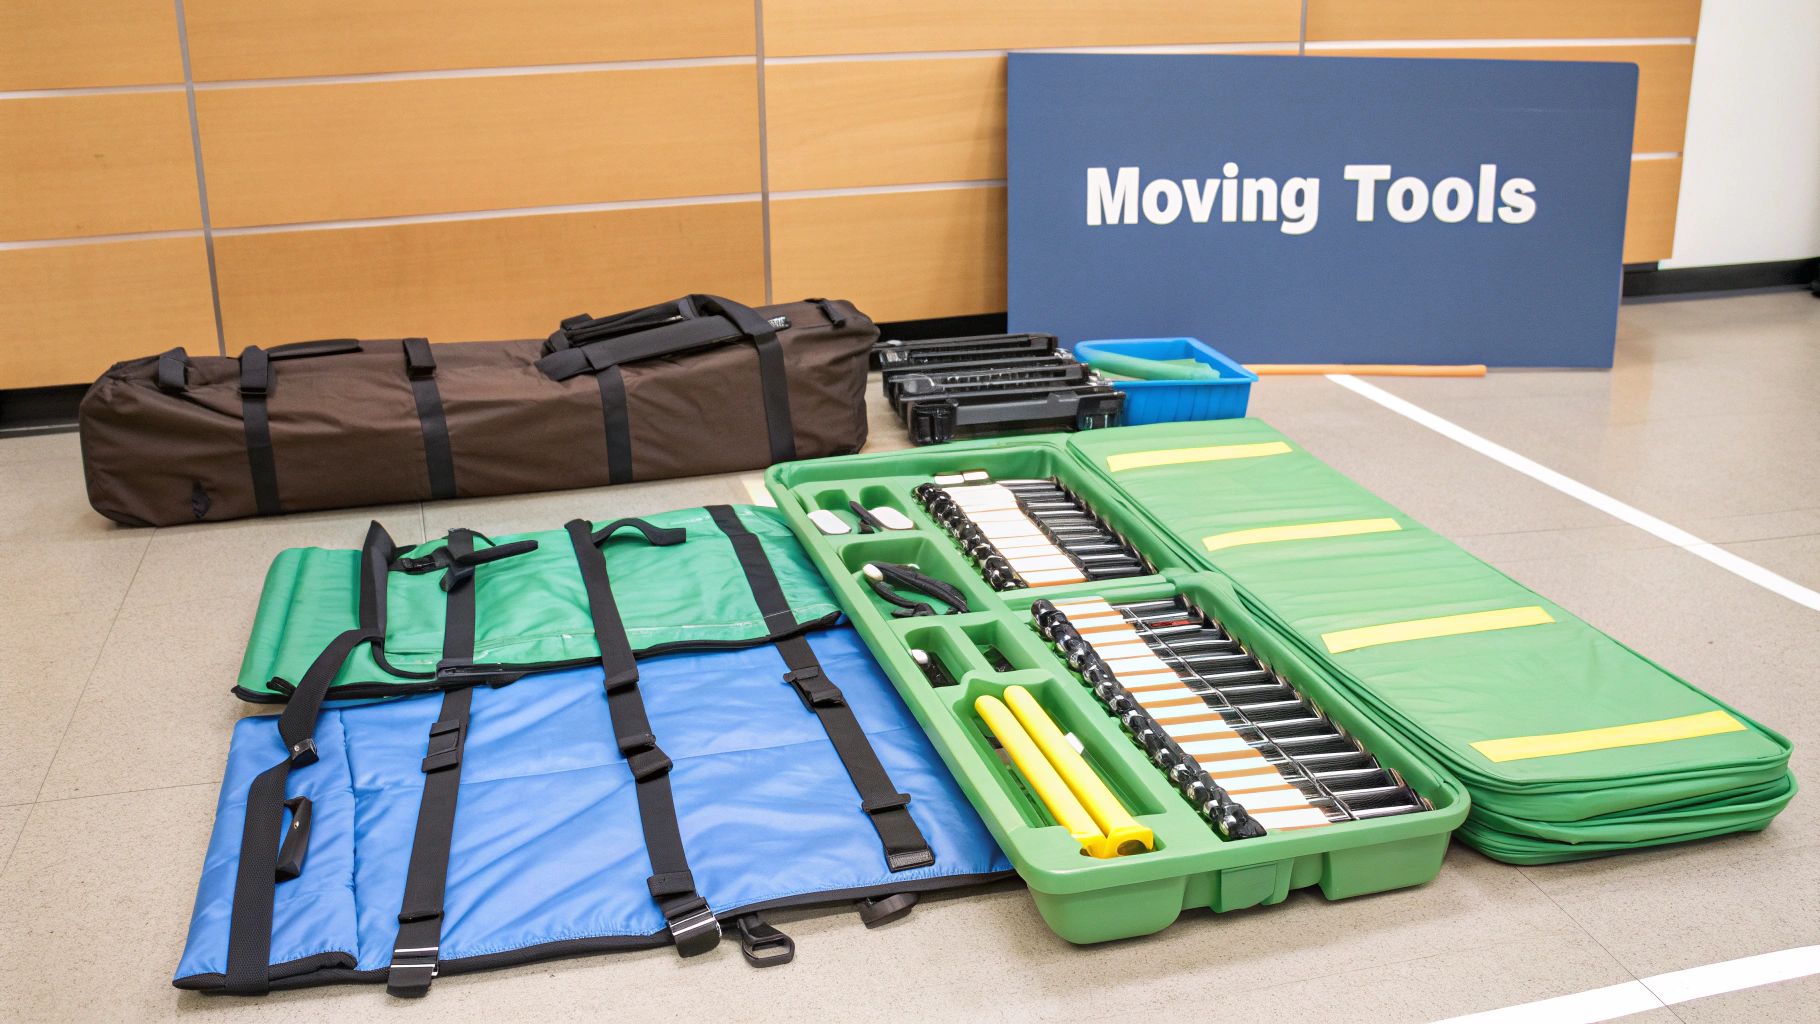
Right, let’s talk about the gear you’ll need. Trying to move a piano without the right equipment is a recipe for disaster. I’ve seen it happen, and it’s not pretty. This isn’t a job where pure muscle will win the day; it’s about having the proper tools to handle a heavy, awkward, and surprisingly delicate instrument.
Forget about that old two-wheel dolly from the garage and a couple of beach towels. That’s not going to work. Pianos are a unique moving challenge – they’re incredibly heavy, oddly balanced, and their polished finish is unforgiving. The right gear is designed specifically to manage these problems, keeping both the piano and your back safe.
The Heavy Lifters: Dolly and Straps
The absolute cornerstone of any piano move is the dolly. And I don’t mean just any dolly. You need a heavy-duty, four-wheel piano dolly. These are built low to the ground with a wide, solid base and non-marking rubber wheels. They’re engineered to handle up to 500 kilograms of concentrated weight without so much as a wobble.
Just as critical are the load-bearing moving straps. These are serious pieces of kit, not just bits of rope. They’re wide, incredibly durable, and often come with ratchets to get everything cinched down tight. Securing the piano firmly to the dolly stops it from shifting or vibrating loose, which is one of the most common ways things go wrong.
- Piano Dolly: Think of it as a flat, rolling platform built like a tank. It creates a stable base and lets you glide the piano smoothly over flat surfaces.
- Moving Straps: These are your lifeline for locking the piano to the dolly and later, securing it in the truck. Make sure you use straps rated for well over the piano’s actual weight.
The whole point of the dolly and straps is to make the piano feel like one solid, stable unit. Once it’s properly secured, you can manoeuvre it with control, which massively reduces the risk of it tipping.
This combination is what allows a small team to safely control an object that would otherwise be a chaotic and dangerous beast.
Essential Protective Gear
That beautiful, high-gloss finish on a piano is notoriously easy to damage. One wrong move and you’ve got a scratch or a dent that will stare back at you forever. Protecting the exterior isn’t optional; it’s a must.
You’ll want a good collection of protective materials to wrap every inch of that instrument. This is one of those areas where using professional-grade supplies really pays off.
Your Protection Checklist
| Item | Purpose | Why It’s So Important |
|---|---|---|
| Thick Moving Blankets | Wrap the entire piano—body, legs, and lid. | These aren’t your average bed blankets. They’re heavily padded to absorb impacts. You’ll want at least four or five to get full coverage. |
| High-Grip Work Gloves | For everyone on the moving team. | Good gloves give you a solid grip on the piano and straps, saving your hands from friction burns and preventing a catastrophic slip. |
| Strong Packing Tape | To hold the moving blankets in place. | Don’t cheap out on tape. Good quality, strong tape is what keeps all that protective padding from unravelling at the worst possible moment. |
| Bubble Wrap or Foam | For delicate spots like pedals and corners. | This adds an extra layer of shock absorption for the most vulnerable parts before you wrap the whole thing in blankets. |
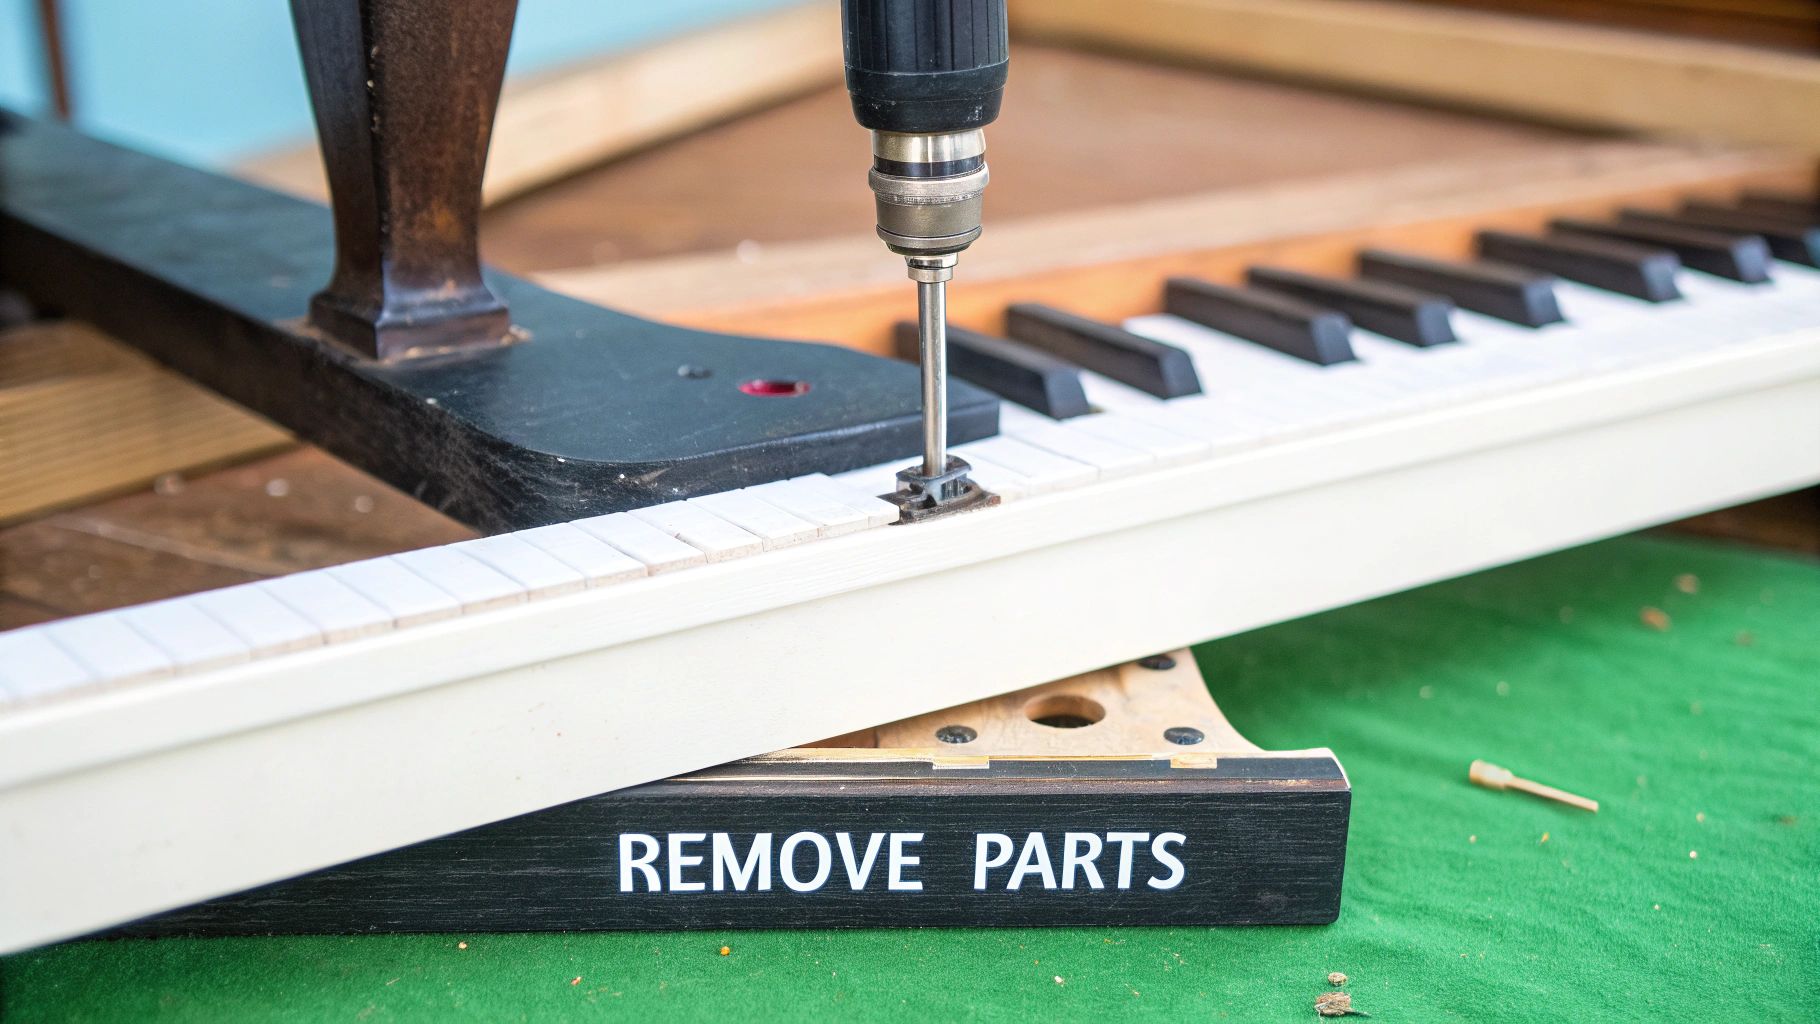
Tools for a Bit of Disassembly
Depending on what you’re moving, you might need to take a few things apart to get through tight spots. If you’ve got a grand or baby grand piano, you will absolutely need to remove the legs, the pedal lyre, and the music stand. It’s then placed on its side on a special padded ‘skid board’ for the move.
Even some upright pianos have parts like the music rack or a decorative front panel that are smart to remove. It just makes them less likely to catch on a doorway.
Your basic toolkit should have:
- Screwdrivers (Phillips and flathead): For taking off panels and legs.
- Adjustable Wrench: Often needed for the bolts on a grand piano’s pedal assembly or legs.
- Small Labelled Bags: An absolute lifesaver. Put the screws and hardware from each part into a separate bag and tape it directly to that part. Future you will be very grateful during reassembly.
Having these simple tools ready to go saves you from a last-minute panic and ensures you can get the piano properly prepped for its journey.
Prepping the Piano and Clearing Your Path
Honestly, a successful piano move is won or lost long before anyone tries to lift it. The real work happens right here, in the careful preparation of both the instrument and its route out of your home. Think of this prep work as your best insurance policy against the slips, drops, and scratches that can turn a DIY move into a disaster.
Let’s start with the piano itself. The aim is to create a protective cocoon, shielding every delicate surface from the inevitable bumps and scrapes.
First up, lock down any moving parts. Close and securely lock the keyboard lid. If your piano doesn’t have a lock, a single piece of low-tack painter’s tape will do the trick without ruining the finish. Whatever you do, don’t use strong packing tape directly on the wood.
Now for the wrapping. Grab your thick, padded moving blankets and get to work covering the entire piano. Don’t be stingy here—you’ll want at least two layers of padding over every single inch, paying special attention to the corners and legs. The goal is to leave no part of the wood or finish exposed.
Securing Your Instrument for the Move
Once the piano is fully wrapped, you need to make sure those blankets stay put. There’s nothing worse than a blanket shifting mid-lift, exposing a corner at the worst possible moment.
Use strong packing tape or even shrink wrap to hold everything tightly in place. I like to run tape around the body of the piano in several spots, making sure the blankets are snug. For an extra layer of security, you can cinch the padding down with your moving straps. This turns the piano into a solid, protected unit that’s much easier and safer to handle.
I’ve seen it happen: people think one thin blanket is enough. But a piano’s sharp corners can easily punch right through. Over-padding is always, always the smarter move.
With the instrument prepped, it’s time to shift your focus to the environment. This is where a tape measure and a critical eye are your most important tools.
Mapping and Clearing Your Exit Route
Before you even dream of lifting, you have to know your path is clear. Walk the entire route the piano will take—from its current spot right to the moving truck—with a tape measure in hand.
Measure everything:
- Doorways: Check both the height and the width. Don’t forget to account for the extra height the dolly will add.
- Hallways: Keep an eye out for tight corners or narrow sections. A piano doesn’t pivot on a dime, so you need more clearance than you think.
- Stairwells: This is the danger zone. Measure the width of the stairs, the ceiling height on the incline, and the space on any landings.
Getting these numbers upfront will reveal potential bottlenecks before they become a full-blown crisis. You might realise a tight turn at the bottom of the stairs means you need to remove a handrail or even take a door off its hinges. It’s far better to do that now than when you’ve got a massive instrument blocking the way.
After measuring, it’s time to clear the path completely. That means getting rid of anything that could become a trip hazard or an obstacle.
- Roll up any rugs, mats, or floor runners that could slip under your feet.
- Move furniture, pot plants, and any other decorative items well out of the way.
- In narrow hallways, it’s a good idea to take photos down from the walls.
You want to create a wide, completely unobstructed channel. The moving team needs to focus 100% on the piano, not on dodging clutter.
Finally, protect your home itself. A 400 kg piano rolling on a dolly can do some serious damage. Before you move anything, laying down protection is a non-negotiable step; you can look into heavy-duty floor protection solutions to see what professionals use. At a minimum, lay down sturdy cardboard, masonite sheets, or purpose-built floor runners along the entire route. This simple step can be the difference between a clean move and thousands of dollars in repairs to scratched timber or cracked tiles.
Mastering the Art of the Lift and Move
This is where the real work begins, and it’s a classic case of brains over brawn. Forget about raw strength; moving a piano is all about technique, teamwork, and constant communication. Think of it as a coordinated dance where every lift, turn, and step is synchronised.
The first rule of a safe move? Nominate one person to be the leader. This isn’t about who’s the strongest—it’s about who has the best vantage point to see the path ahead. They’ll be the one calling the shots: simple, clear commands like ‘ready’, ‘lift’, ‘slowly down’, and ‘stop’. This eliminates any guesswork and ensures everyone moves in unison. When people hesitate or get their signals crossed, that’s when things go wrong.
Tackling Stairs with the High-Low Technique
Stairs are, without a doubt, the most nerve-wracking part of moving a piano. You’re fighting against gravity with a ridiculously heavy, awkward object. This is precisely why the ‘high-low’ technique is a non-negotiable for anyone attempting this.
For a typical upright piano, you’ll need at least three people, but four is much safer. Here’s how you set it up:
- The ‘Low’ Team: Two or three people take the bottom end of the piano. They are bearing the brunt of the weight, so their job is to control the descent and provide the muscle.
- The ‘High’ Person: One person stays at the top. Their role is critical for steering, balancing, and preventing the piano from tipping forward.
As you move, the team at the low end will walk backwards down the stairs, one careful step at a time. Meanwhile, the person up top guides the instrument from above. The absolute key here is to keep the piano as level as you possibly can to maintain its centre of gravity. If it starts to feel unstable, stop and readjust.
It’s All in the Legs: Proper Lifting Form
Lifting with your back is a rookie mistake that can cause serious, long-term injuries. When you’re dealing with the weight of a piano, the golden rule of lifting is more important than ever: always lift with your legs.
Get into a solid stance before you even think about lifting. Plant your feet shoulder-width apart, keep your spine straight, and bend at the knees. Get a firm grip on the piano’s frame—never on the fragile legs or pedals—and then drive upwards using the power of your legs. This simple posture takes the strain off your back. These are the same core principles we cover in our guide on how to move heavy furniture.
The infographic below shows the crucial preparation that happens long before the first lift.
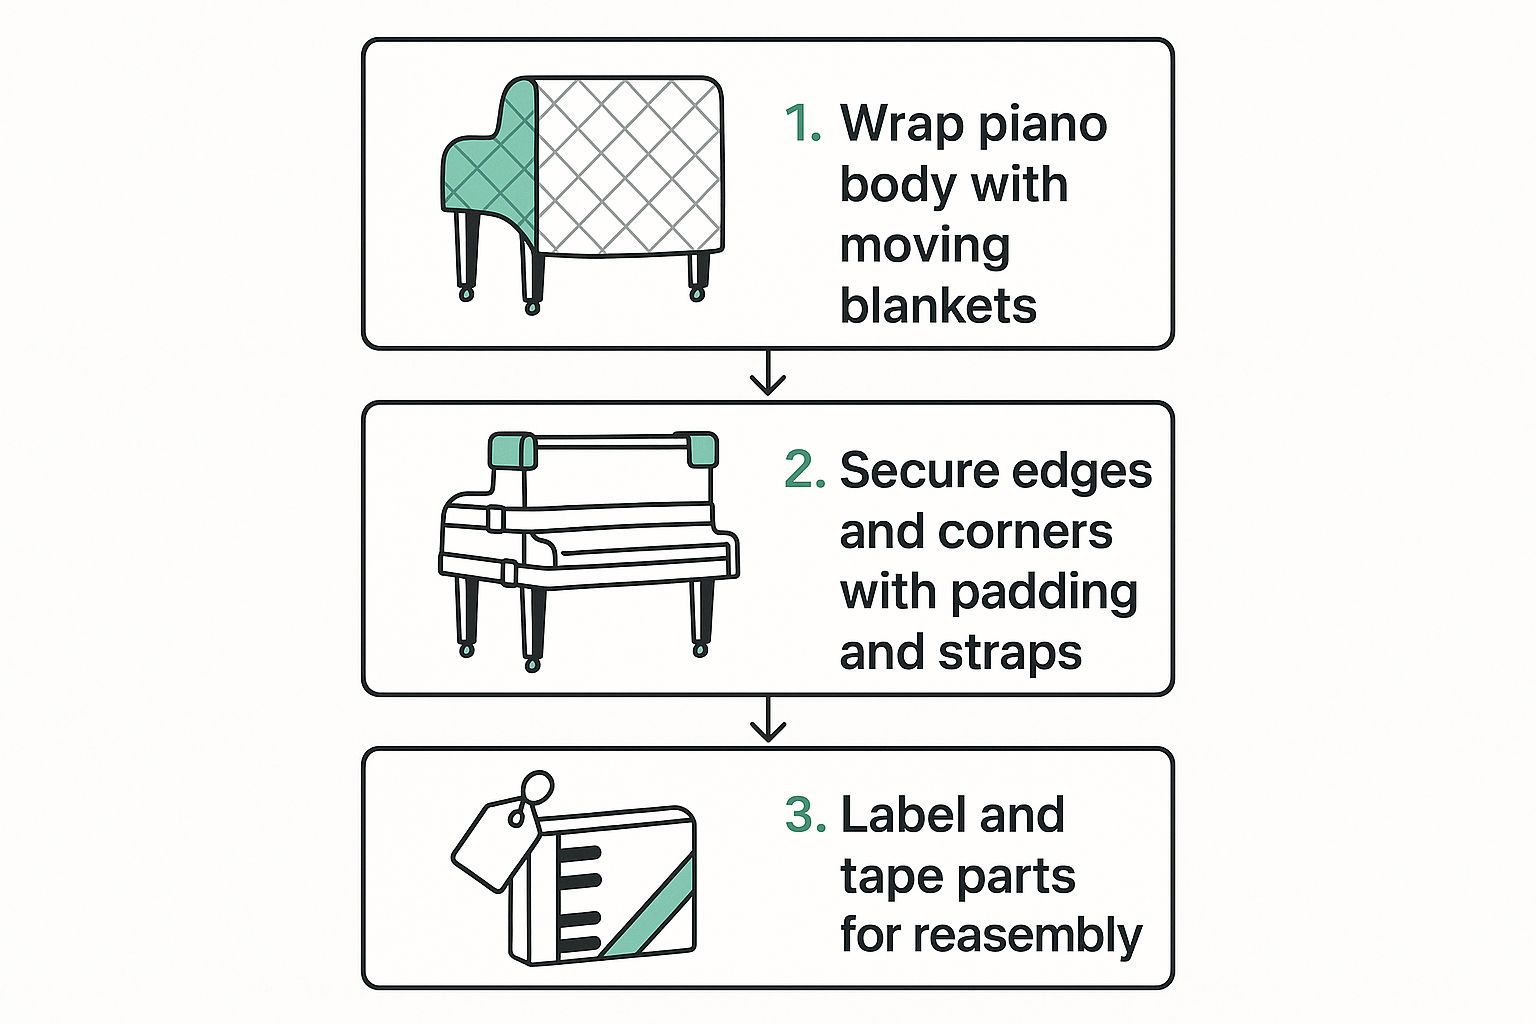
As you can see, wrapping and securing the piano isn’t just a suggestion; it’s a fundamental part of a safe and successful move.
Using Your Equipment Like a Pro
Once you’re on flat ground, the heavy-duty dolly is your new best friend. To get it underneath, have the team carefully tilt the piano to one side just enough for someone to slide the dolly into position. You want it right under the piano’s centre of balance, which on most uprights is near the back where the heavy cast-iron frame lives.
Now, don’t just roll it away. This is a step I see people skip all the time, and it’s a huge mistake. Use your moving straps to lash the piano tightly to the dolly. Loop them over the top and cinch them down so there is absolutely no wiggle room. When you’re done, the piano and dolly should feel like one solid unit.
“The goal is not to rush. Slow, deliberate movements are always safer than fast, jerky ones. Each step should be planned and communicated before it happens. This synchronisation is what separates a professional move from a risky amateur attempt.”
This level of care is exactly why the professional piano moving industry exists in Australia. It’s a specialised skill. To give you an idea of the demand, one of the leading companies was moving over 200 pianos per week back in 2019. When you see a pro team at work, you understand why so many people leave it to them. Every single lift is a calculated, coordinated action designed to get the instrument to its new home without a scratch.
Tying It Down: Getting Your Piano Secure for the Trip
Getting the piano out of the house is a huge milestone, but don’t relax just yet—the job’s only half done. The real test comes during the journey itself, where every bump and turn can put immense strain on the delicate internal mechanics. We’re not just talking about preventing a few scratches; we’re talking about protecting its very soul.
First things first: the vehicle. Let’s be clear, your mate’s ute or a standard van just won’t do. You absolutely need a proper truck, and it must have two things: a solid, wide loading ramp and plenty of strong anchor points inside. Trying to make do with anything less is just asking for a disaster.
Positioning the Piano in the Truck
Once you’ve eased the piano up the ramp, where you place it inside the truck is critical. Your goal is simple: eliminate all movement.
The golden rule is to position the piano right up against the front wall of the cargo bay—the one just behind the driver’s cab. This solid wall is your best defence against the piano becoming a several-hundred-kilo projectile in a sudden stop.
Turn the piano so its heaviest side (the back with the cast-iron frame) is flat against that front wall. The keyboard should be facing into the truck. This setup gives it the most stable footing and keeps the fragile keys and action shielded from any potential impacts.
I’ve seen it a hundred times: people put the piano at the back of the truck to make unloading “easier.” This is incredibly dangerous. The rear of a truck bounces and sways the most, putting a shocking amount of stress on the instrument. Don’t do it.
Weaving a Web of Straps
Now it’s time to make that piano a part of the truck. Grab your heavy-duty ratchet straps; they’re your most important tools at this stage. You need to create a secure web that holds the piano firm from every angle.
Using the truck’s built-in anchor points, you’ll apply pressure from all directions.
- Vertical Hold: Run straps over the top of the piano, securing them to anchor points on the floor. This stops it from bouncing up and down on bumps.
- Side-to-Side Stability: Crisscross straps from the sides of the piano to the truck walls. This is what stops it from sliding around when you take a corner.
Crank each ratchet strap down until the piano is completely solid. Give it a good, hard shove from every side. If it budges even a millimetre, it’s not tight enough. It’s also a good idea to pull over after about 15 minutes of driving to double-check the tension, as things can settle a bit once you’re on the road. For a closer look at the whole process, we’ve put together a detailed guide on how to transport a piano safely.
Unloading and Finding Its New Home
When you arrive, take a deep breath and reverse the process with the same methodical patience. Once the piano is finally inside, the last big decision is where it will live. This isn’t just about how the room looks; it’s about the long-term health of your instrument.
There are a few spots you should absolutely avoid:
- Direct Sunlight: Keep it away from windows. The sun will fade the finish and cause the wood to constantly expand and contract, which is a nightmare for tuning stability.
- Vents and Heaters: Sudden blasts of hot or cold air from heating or AC vents will wreak havoc on the wooden components.
- Exterior Walls: These walls are often colder and can be prone to damp, which is a piano’s worst enemy.
Your best bet is always an internal wall where the temperature and humidity are as stable as possible. After all the effort of moving it, the last thing you want is for its new environment to cause damage.
Finally, fight the urge to call a piano tuner the moment it’s in place. The instrument needs time to get used to its new surroundings. Give it at least two to four weeks to acclimate before scheduling a tuning. If you do it too soon, the wood will continue to adjust to the new humidity levels, and it’ll just go out of tune again. A little patience now means it will sound its absolute best for years to come.
Got Questions About Moving Your Piano?
Even with the best plan, taking on a piano move can feel a bit daunting. It’s a big job, and it’s natural for a few questions to pop up. Let’s clear the air and tackle some of the most common things people ask when they’re getting ready to move their pride and joy.
What’s the Cost to Move a Piano in Australia?
This is the big one, and the honest answer is: it really depends. There’s no flat rate because every move is different.
For a simple, local job—say, an upright piano from one ground-floor house to another—you’re probably looking at a cost between $250 and $500.
But that’s just a starting point. Several things can push the price up, and it’s good to know what they are:
- Stairs, stairs, stairs: This is the biggest factor. Each flight of stairs is a serious challenge that needs more muscle, time, and skill. Removalists will always charge extra for them.
- The distance: Moving across town is one thing, but an interstate relocation is a whole different ball game. A long-haul move could easily climb past the $1,000 mark.
- The type of piano: A grand piano is a beast. It’s not just heavier; it often needs to be partially dismantled and moved on a special skid board. That extra complexity adds to the bill compared to a standard upright.
Your best bet is always to get a few detailed, itemised quotes from companies that actually specialise in piano moves. They’ll know the right questions to ask to give you a truly accurate price for your specific situation.
Should I Get My Piano Tuned Straight After a Move?
I know it’s tempting to get it sounding perfect the moment it’s in its new spot, but hold off. Seriously, you have to wait. A piano is a living, breathing thing made of wood, and it’s incredibly sensitive to its environment. All those changes in temperature and humidity it experiences in the truck will knock it out of tune.
It’s a bit like us needing a moment to acclimatise to a new climate. The piano needs time to settle into the unique conditions of your home before it can hold its tuning properly.
Give your piano at least two to four weeks to just sit and adjust. This gives the soundboard and all the internal timber a chance to expand or contract and find their new happy place. If you tune it any sooner, you’re just throwing money away because it will drift out of tune again as it continues to settle.
Can My Regular Furniture Removalists Move a Piano?
Look, while it might seem easier to just have your usual movers handle it along with the couches and beds, this is one of the biggest risks you can take. A piano isn’t just a heavy piece of furniture. It’s a delicate musical instrument with over 10,000 moving parts.
General movers are almost always missing three crucial things:
- The right gear: They won’t have the specialised piano dollies, skid boards, and heavy-duty strapping designed to keep an instrument secure and balanced.
- The right skills: There are specific techniques for lifting and manoeuvring a piano to protect its delicate internal mechanics and its fragile finish. It’s not something you can just guess.
- The right insurance: Their standard liability policy often won’t cover the full value of a high-end instrument or the specific type of damage it can sustain.
For your piano’s safety and your own sanity, always, always hire a specialist. It’s one of those non-negotiables, much like other key decisions covered in these answers to top questions about moving house from experts.
What’s the Toughest Part of a Piano Move?
Stairs. Without a shadow of a doubt.
Wrestling with stairs is the single most difficult and dangerous part of the entire process. This is where the sheer weight of the piano, its awkward shape, and the unforgiving pull of gravity all conspire to create a genuinely hazardous situation.
It takes incredible strength, flawless teamwork, and a rock-solid technique to control hundreds of kilograms on an incline. One wrong move doesn’t just mean a scratch; it could mean catastrophic damage to the piano, your home, or—most importantly—a serious injury. Honestly, stairs are the number one reason most people make the smart call and bring in the pros.
Planning your move in Perth? The experienced team at Emmanuel Transport handles every detail with precision and care, from single delicate items like pianos to entire household relocations. For a seamless, stress-free move, get your free, transparent quote today.