Moving out of a rental property boils down to a few critical stages: giving your landlord proper notice, cleaning the place until it shines, and nailing the final inspection. If you play your cards right and stay organised, you’ll have a smooth handover and, most importantly, get your full bond back.
Your Two-Month Move-Out Game Plan
A successful move doesn't start with the packing tape; it starts with a plan. Breaking down the process into a clear timeline can turn a mountain of stress into a series of small, manageable hills.
Let's be honest, moving has become a regular part of life for many in Perth. With a staggering 90% increase in rental costs over the last five years in Western Australia, sometimes a move isn't a choice but a financial necessity. This pressure makes a smart, strategic game plan for vacating your rental more crucial than ever.
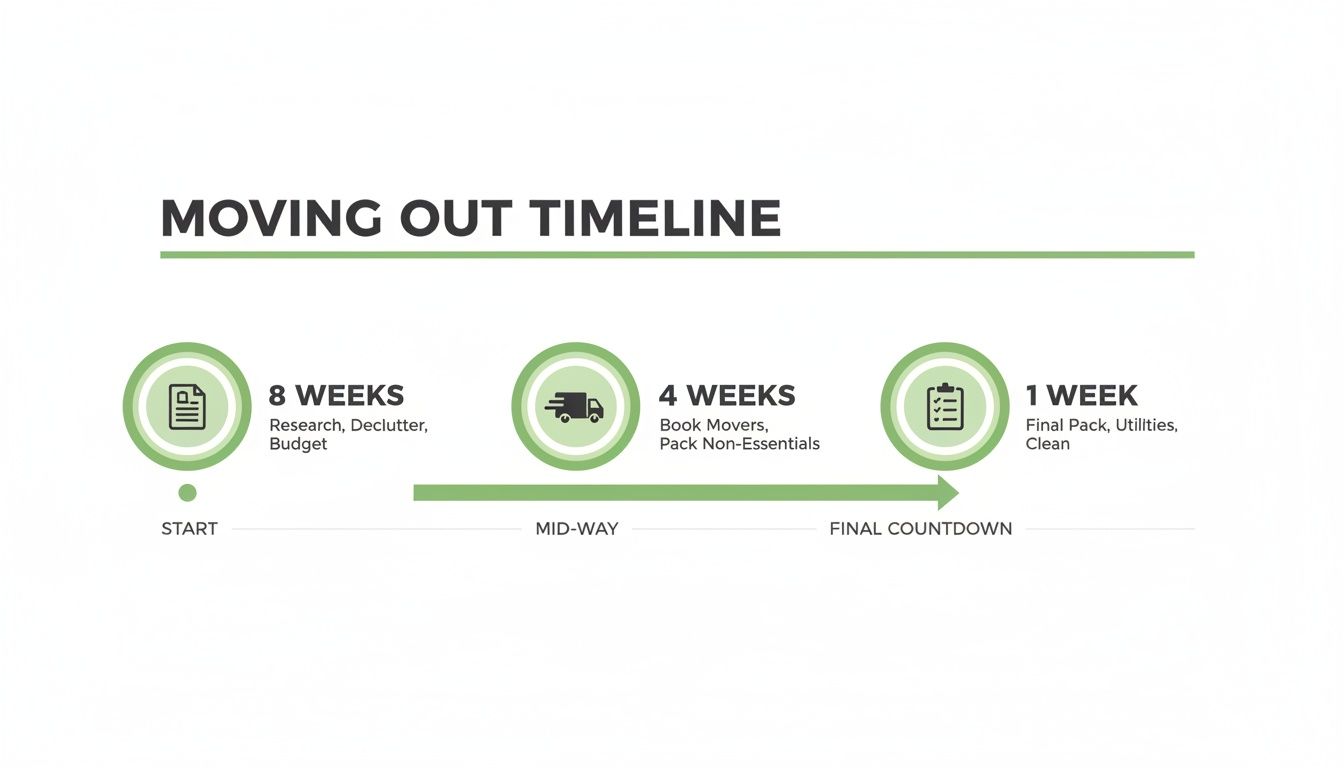
As you can see, a little bit of forward planning in the early weeks frees you up to focus on the heavy lifting—both literally and figuratively—as moving day gets closer.
To make this even easier, here’s a simple week-by-week countdown to keep you on track.
Your 8-Week Rental Move-Out Countdown
This table breaks the entire process down into a simple, actionable checklist. Think of it as your roadmap to a stress-free move.
| Timeframe | Key Tasks to Complete |
|---|---|
| 8 Weeks Out | Dig out your tenancy agreement. Check the required notice period (usually 21-30 days). |
| 7 Weeks Out | Formally submit your Notice to Vacate in writing to your property manager. |
| 6 Weeks Out | Start decluttering. Sort items into keep, donate, sell, and discard piles. |
| 5 Weeks Out | Research and book your removalists. The good ones get snapped up quickly! |
| 4 Weeks Out | Gather packing supplies: boxes, tape, bubble wrap, markers. |
| 3 Weeks Out | Begin packing non-essential items like books, seasonal clothes, and decorative pieces. |
| 2 Weeks Out | Notify utility providers of your move-out date. Start updating your address. |
| 1 Week Out | Finalise packing, deep clean the property, and prepare for the final inspection. |
Following this timeline helps prevent that last-minute panic we all want to avoid, ensuring you've ticked every box before you hand back the keys.
The First Four Weeks: Getting Organised
Your very first step isn't to pack a single box. It’s to find your tenancy agreement. Seriously. That document is your rulebook, and it tells you exactly how much notice you need to give—in WA, it's typically between 21 and 30 days. Getting this wrong can mean paying rent on an empty property, an expensive mistake nobody wants to make.
Once you’ve confirmed the dates, send your official notice to vacate to your property manager. Always do it in writing, like an email, so you have a clear paper trail. This is also the perfect time to start the decluttering process. Go room by room and be ruthless about what you keep, donate, or throw away.
My Two Cents: Don't put off booking professional help. I've seen too many people scrambling at the last minute because the best Perth removalists were booked out for weeks, especially during peak moving season. Lock them in early!
Final Preparations And Logistics
With your moving date locked in and the decluttering underway, it’s time to shift your focus to the nitty-gritty. Start collecting boxes and begin packing things you won’t need for a while—think spare linen, books, and that fancy dinner set you only use at Christmas. Label every single box with its contents and which room it belongs to in the new place. Your future self will thank you.
This is also when you need to sort out all the life admin. Contact your electricity, gas, and internet providers to schedule the disconnection at your old place and connection at the new one. And don't forget about your mail! Updating your address is a tedious but vital task. To make sure you don't miss anyone important, our moving house change of address checklist is a great resource to work through.
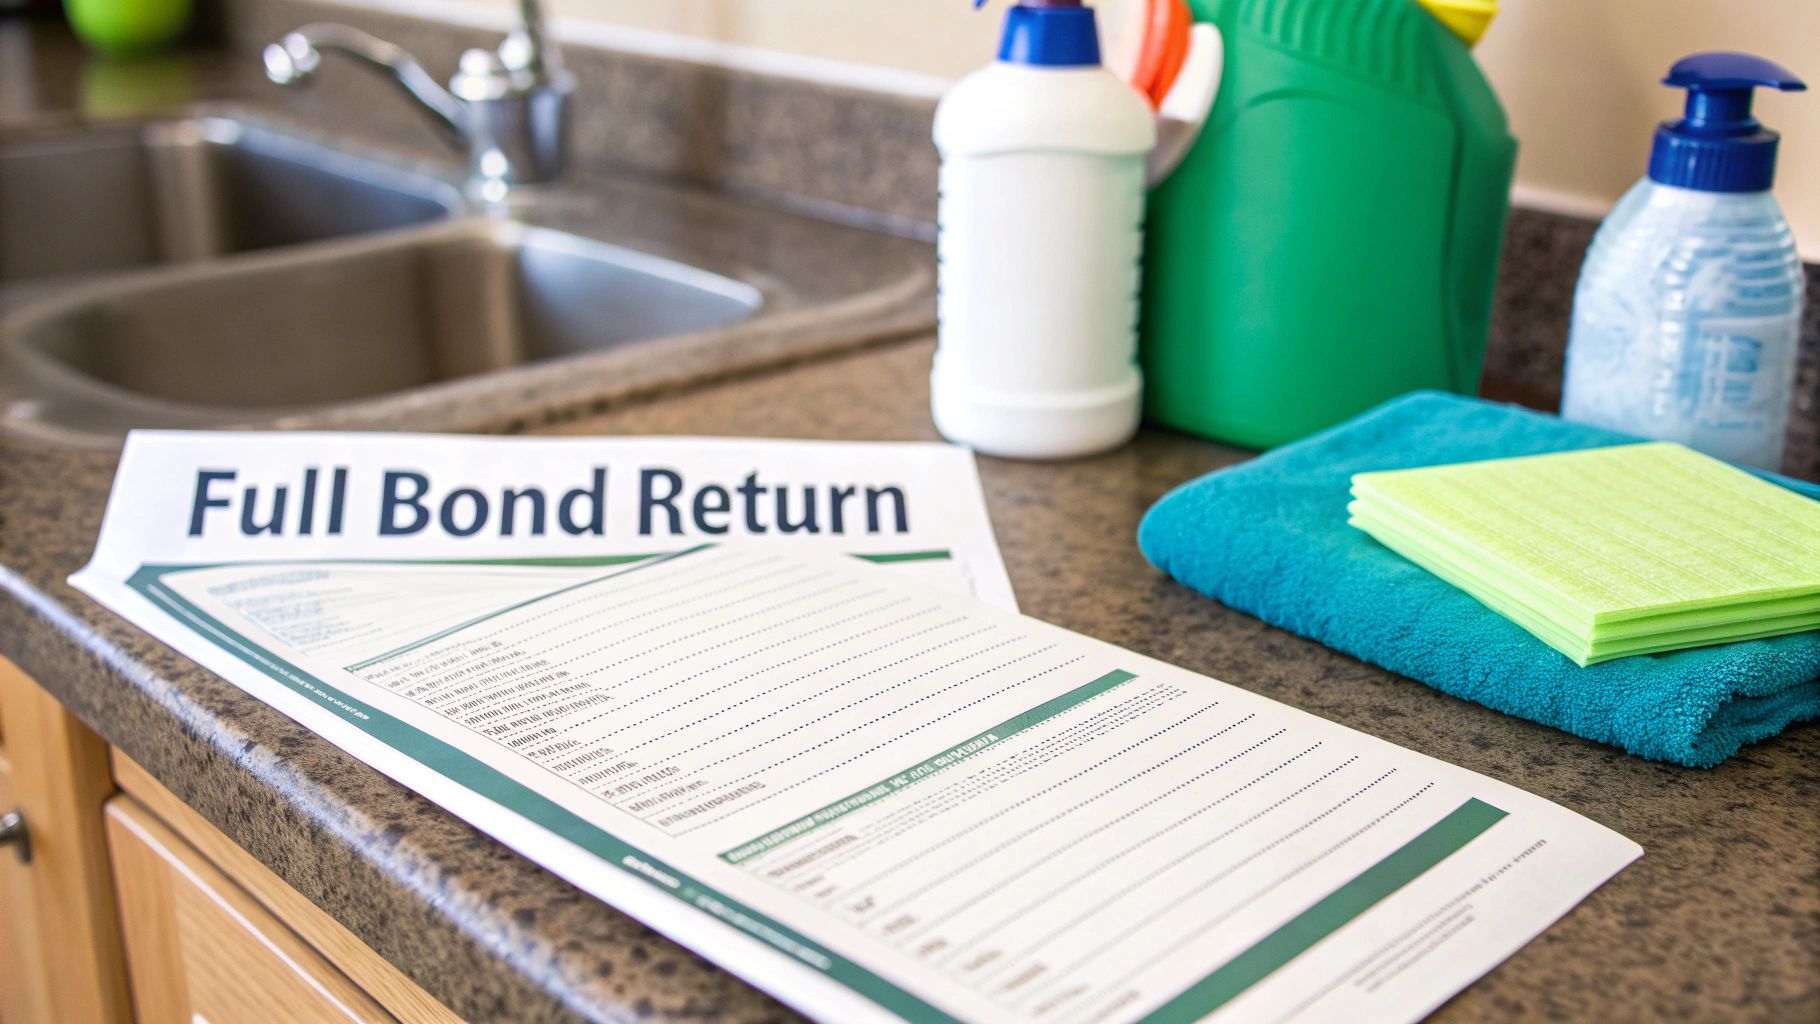
How to Secure Your Full Bond Return
Getting your full bond back is the final hurdle of any move, and honestly, it can feel like a huge win. The entire process pretty much hinges on one thing: the quality of your end-of-lease clean. We're not just talking about a quick tidy-up here; this is about returning the property to the exact state you found it in, minus what's considered fair wear and tear.

It’s frustrating, but so many tenants lose a chunk of their bond over simple cleaning mistakes. Remember, property managers do this for a living—they're trained to spot the little things you might overlook. That means your clean needs to be absolutely meticulous.
What Does "Reasonably Clean" Actually Mean?
In Western Australia, the law states you must leave the property in a "reasonably clean" condition. It's a deliberately flexible term, but the general rule of thumb is that the home should be ready for the next tenant to move straight in without needing to call in their own cleaners.
This is a crucial point: it does not mean the property has to be in better condition than when you arrived. This is precisely why your original property condition report is your best friend. It’s the proof of the property's starting condition.
Key Takeaway: "Reasonably clean" is measured against your initial property condition report. This report is your shield, protecting you from being penalised for pre-existing issues and setting the standard you need to meet.
The Ultimate End-of-Lease Cleaning Checklist
To sidestep any arguments with your property manager, you have to think like one. Your cleaning needs to be more than just surface-deep, because they will be looking in every nook and cranny.
Here’s a look at the most commonly missed areas that can end up costing you part of your bond.
Throughout the Property
- Walls and Skirting Boards: Get a damp cloth and wipe down all the walls to remove scuffs and marks. And yes, you really do have to wipe down every single skirting board.
- Windows and Doors: Clean the inside and outside of windows (where you can safely reach), and don't forget the tracks, sills, and fly screens.
- Light Fixtures and Fans: Dust and wipe every light fitting, ceiling fan, and exhaust fan cover. You’d be surprised what they collect.
Kitchen Deep Clean
- Oven and Cooktop: This is a big one. The oven needs to be cleaned inside and out, including the racks and grill. You’ll also need to degrease the cooktop and the rangehood filter.
- Cupboards and Drawers: Make sure they are completely empty, then wipe down every shelf and drawer.
Bathroom Focus
- Grout and Silicone: Get in there and scrub the tiles to get rid of any soap scum or mould.
- Drains and Exhaust Fans: Clear all drains of hair and debris. Pop the cover off the exhaust fan and give it a good clean.
Taking all this on yourself can definitely save you some money, but it will cost you a serious amount of time and elbow grease. Sometimes, hiring professional bond cleaners is a smart investment. It practically guarantees the job is done to the standard required and gives you one less thing to stress about.
Tackling Carpets and Flooring
Carpets are a notorious point of contention during final inspections. While everyday foot traffic is considered normal wear, things like stains, spills, or pet odours are almost always the tenant's responsibility to fix.
Take a close look at your lease agreement. Many now include a clause that requires you to have the carpets professionally cleaned when you move out, no matter how good they look.
To make sure you’re ticking all the boxes, it's worth understanding what a proper clean involves. For a great breakdown of what to expect, check out A Renter's Guide to End of Lease Carpet Cleaning. Getting it right means you can leave the property in fantastic shape and confidently ask for every dollar of your bond back.
Navigating the Final Inspection with Confidence
The final inspection often feels like a high-stakes exam, but it doesn’t have to. With a bit of prep work, you can walk in feeling prepared, not panicked. Think of it less as a test and more as a formal handover—your last chance to tie up loose ends and protect your bond.
This is where all your hard work pays off. The goal is simple: ensure everything is documented, agreed upon, and fair.
Your most powerful tool in this process is the original property condition report you completed when you first moved in. This document is your official baseline. It’s the agreed-upon record of the property's state before your tenancy, making it the benchmark for what’s considered fair wear and tear versus actual damage.
Before the property manager arrives, do one last walkthrough yourself with this report in hand. Compare the initial notes and photos to how things look now. This is your final check.
Build Your Own Case File
Don't ever rely solely on the property manager's photos or memory. You need your own proof. As you conduct your final walkthrough, create a solid visual record of the property’s condition.
- Take Detailed Photos: Get your phone out and snap clear, well-lit photos of every single room. Pay extra attention to common dispute areas like walls, carpets, ovens, and bathrooms.
- Film a Walkthrough Video: A continuous video is even better. Walk from room to room, narrating what you see as you go. Point out the sparkling clean oven or the scuff-free walls. It provides fantastic context.
- Check for Timestamps: Ensure your photos and videos have a clear date and time stamp. This is your proof that the property was left in this condition on this specific day.
Having this evidence is your safety net. If a dispute over the bond arises, it’s no longer a "he said, she said" situation. It becomes a matter of clear, undeniable proof.
Mastering the Walkthrough Itself
If you can, always be present for the final inspection. It’s far easier to have a quick chat about a tiny scuff mark in person than to go back and forth over email for weeks. Walking through with the property manager allows you to address potential issues on the spot and clarify any misunderstandings.
Pro Tip: Keep your cool. The goal is to be professional and collaborative, not confrontational. If the manager points something out that you disagree with, calmly refer back to your copy of the condition report and your own photos. Frame it as a discussion to find a fair outcome.
It also helps to understand the bigger picture. Australia's rental market is under immense pressure, with a record 13 consecutive quarters of rent growth across capital cities. Tenants are often moving due to affordability, and landlords are feeling the pinch, too. This climate makes a smooth, conflict-free move-out more important than ever for everyone involved. You can learn more about how the market is affecting renters and their moves.
If you can’t reach an agreement, remember your rights. You are never obligated to agree to bond deductions on the spot. If a fair resolution seems impossible, you can dispute the claim through the official tenancy tribunals in Western Australia.
By being prepared, professional, and well-documented, you give yourself the best possible chance of a fair outcome and a full bond return when moving out of a rental.
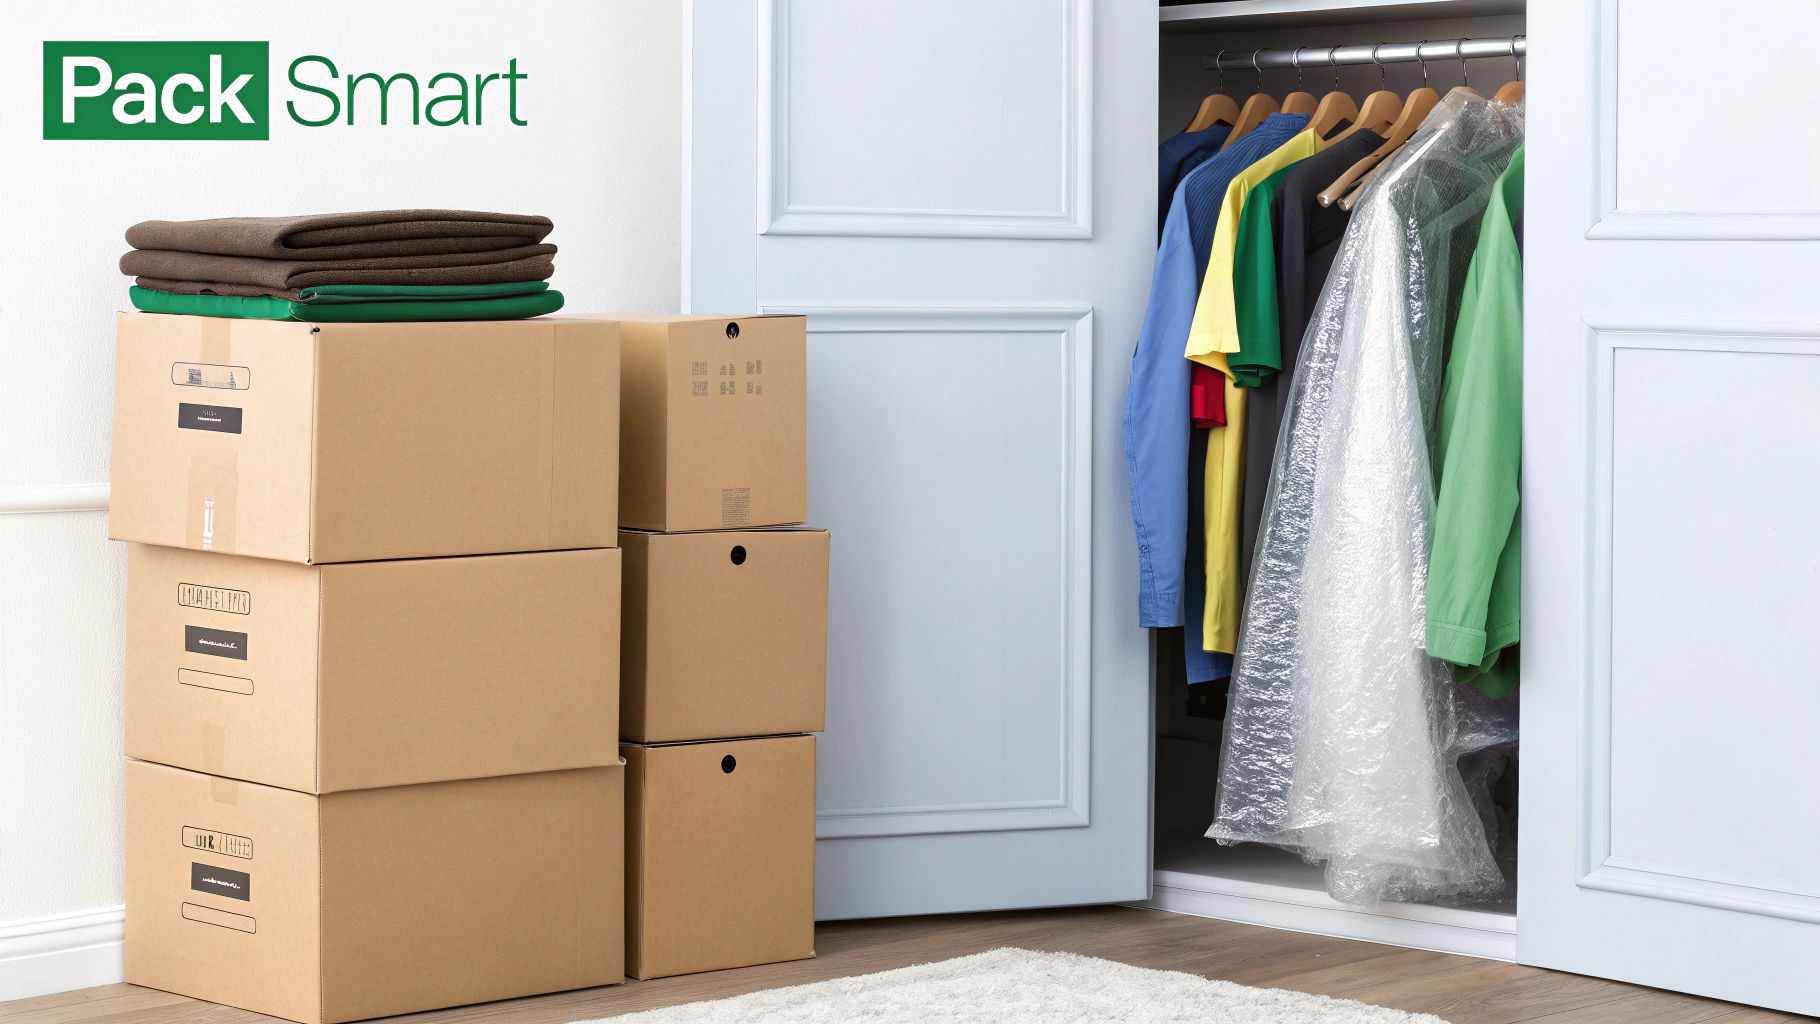
Packing and Organising for a Smoother Move
Let’s be honest, nothing ramps up the stress of a move quite like a last-minute, chaotic packing job. If you want moving day to go smoothly, you need to approach packing with a solid game plan. A systematic approach doesn't just protect your belongings; it also saves an incredible amount of time and sanity when you're unpacking on the other side.
The very first thing you should do—before you even think about boxes—is declutter. Seriously. Go through every single room and be ruthless about what you actually need. There's no point paying removalists to haul things you haven't touched in years. Make separate piles: keep, donate, sell, and toss. This one step will lighten your load more than you can imagine.
Setting Yourself Up for Success
Once you’ve whittled down your possessions, it’s time to get the right supplies. Don't try to save a few dollars here; flimsy boxes and cheap tape will only lead to broken valuables and a lot of frustration.
- Sturdy Boxes: You'll want a mix of sizes. Small boxes are your go-to for heavy items like books, while the larger ones are perfect for light, bulky things like doonas and pillows.
- Quality Packing Tape: Trust me, you'll need more than you think. A proper tape gun is a lifesaver for your hands and your patience.
- Protective Materials: Stock up on bubble wrap and packing paper. Even old towels and linens are great for wrapping fragile items like dishes, glassware, and electronics.
Labelling is absolutely non-negotiable. On every single box, clearly write which room it belongs to (e.g., “Kitchen,” “Main Bedroom”) and a quick summary of what’s inside. This small effort transforms unpacking from a frustrating treasure hunt into a simple, organised process. For a really deep dive into this, check out this great guide on stress-free packing for your move.
Insider Tip: Always pack a "First Night" box. This is your survival kit for the first 24 hours in your new place. Include toiletries, a change of clothes, phone chargers, kettle, coffee, mugs, and any essential tools. It'll save you from frantically ripping open boxes just to find a toothbrush.
Smart Packing Techniques
How you pack is just as important as what you pack with. There’s a reason removalists can stack a truck so efficiently—it all comes down to well-packed boxes. Always place the heaviest items at the bottom and lighter things on top to avoid anything getting crushed. Fill any gaps with crumpled packing paper or soft filler to stop items from shifting around in transit.
When you get to the furniture, take a few photos before you pull anything apart. It’s amazing how quickly you can forget how that tricky flat-pack bookshelf went together. Keep all the screws, bolts, and small parts in a labelled zip-lock bag and tape it securely to the largest piece of that furniture. You’ll thank yourself later when you aren't hunting for that one crucial screw.
Learning how to pack for movers properly will give you even more professional tricks. A bit of organisation upfront is the secret to a much calmer, more efficient move.
How to Choose the Right Perth Removalist
Picking a removalist is easily one of the most critical decisions you'll make when you move. Get it right, and the day can feel almost seamless. But get it wrong, and you're looking at broken treasures, frustrating delays, and a whole lot of unnecessary stress. Taking the time to properly vet your options is the secret to a smooth move.
A truly great Perth removalist knows the city inside and out. They understand the quirks of navigating Subiaco's narrow streets just as well as they do the layout of the new sprawling estates up in Alkimos. This local knowledge isn't just a nice-to-have; it means smarter routes and fewer logistical nightmares on the day.
That expertise is more valuable than ever. We're seeing a huge post-COVID shift, with a 20.5% higher quarterly influx of people moving from capital cities to regional areas compared to before the pandemic. This trend is pushing many Perth renters to leave the city for more affordable lifestyles across WA, which naturally cranks up the demand for trustworthy local movers. You can find more detail on these moving industry trends at Austate.
Demand Transparency in Quotes
Whatever you do, don't just accept a vague quote over the phone. A professional, reputable removalist will always give you a detailed, written estimate that itemises every potential cost. You'd be surprised how quickly hidden fees for things like stair access, long-carry distances from the truck, or fuel levies can blow out your final bill.
Key Insight: A transparent quote isn't just about the final number; it's a litmus test for professionalism. If a company is hesitant to break down its costs from the get-go, that's a massive red flag for how they'll treat your belongings and your time.
Make sure the quote clearly states the hourly rate and any minimum booking times. Getting familiar with the typical Perth removals hourly rate structure is the best way to accurately compare companies and budget for the move without any nasty last-minute surprises.
Verify Insurance and Read Recent Reviews
Even the most careful movers can have an off day, and accidents happen. This is exactly why you must confirm the removalist has comprehensive insurance. Don't be shy about asking to see their certificate of currency—you want to know they're covered for both public liability and transit.
- Public Liability Insurance: This is what covers damage to the property itself. Think scratched walls, dented doorframes, or a cracked tile at either your old rental or your new home.
- Transit Insurance: This one is crucial. It protects your personal belongings while they are physically on the truck, in transit between properties.
Finally, do your homework and dive into recent customer reviews. Don't just glance at the star rating; read what people are actually saying. You're looking for consistent patterns—comments about the crew being on time, communicating well, and how they handled unexpected challenges. A few glowing five-star reviews from three years ago mean far less than a steady stream of positive, detailed feedback from the last few months. This is how you get a genuine, real-world picture of the service you're about to pay for.
Common Questions About Moving Out in WA
Wrapping up a tenancy in Perth can throw a few curveballs your way. It's natural to have questions, and getting clear, straightforward answers is crucial. Let's walk through some of the most common queries we hear from tenants so you can handle the end of your lease like a pro.
How Much Notice Do I Need to Give My Landlord in WA?
The first place you should always look is your tenancy agreement—that's your official guide.
For a periodic lease, which you might know as a month-to-month agreement, the standard rule is that you need to give your landlord at least 21 days' written notice.
Things are a bit stricter if you're on a fixed-term lease. You can't just end the agreement early. Breaking the lease usually requires a mutual agreement with your landlord or having specific legal grounds to do so. Always double-check your paperwork to avoid any nasty financial surprises.
What Is Considered Fair Wear and Tear?
This is easily one of the biggest points of confusion and a frequent cause of bond disputes. So, what’s the difference?
Fair wear and tear is the gradual decline that happens naturally just from living in a place. It's not damage caused by neglect, carelessness, or an accident.
Here’s a practical way to think about it:
- Fair Wear and Tear: Curtains that have faded a bit from the sun, minor scuff marks on the walls from where your couch sat, or carpet that's a little worn down in the main hallway.
- Damage: A big, obvious hole punched in a wall while moving a bed, a deep red wine stain on the carpet, or a tile you cracked in the bathroom.
Knowing the difference is your best defence against unfair claims on your bond. It's worth noting that WA law was updated in 2023 to use the term “wear resulting from ordinary use”, which really clarifies that tenants aren't on the hook for a property simply getting older.
What if My Landlord Unfairly Tries to Keep My Bond?
If you feel your bond is being held back without good reason, take a deep breath. The first step is to get everything in writing. Politely email your property manager and ask for a detailed, itemised list explaining every single deduction.
Your Action Plan: This is where your evidence comes into play. Compare their claims against your original property condition report and the photos and videos you took before handing back the keys. This documentation is your strongest asset.
If you can't sort it out directly, you still have powerful options. You can apply to the Magistrates Court of Western Australia for an order to have your bond released. The Department of Mines, Industry Regulation and Safety (DMIRS) is another fantastic resource, offering advice and support for tenants caught in bond disputes.
Do I Have to Use the Cleaners My Agent Recommends?
Nope, you absolutely do not. There's no legal requirement for you to use a specific cleaning company your agent suggests.
Your only obligation is to return the property in a reasonably clean condition, similar to how you received it, minus the fair wear and tear we talked about. You have the freedom to hire any qualified and insured professional cleaner you trust. The only thing that matters is that their work is up to the standard needed to pass the final inspection.
Ready to make your move completely stress-free? The team at Emmanuel Transport are Perth's local removal experts, known for transparent quotes and exceptional care. Let us handle the heavy lifting so you can focus on your new beginning. Get your free, no-obligation quote today.