A successful move starts long before the truck arrives. It begins with the humble moving box. And I’m not just talking about grabbing any old cardboard you can find—the secret to getting your belongings from A to B without a scratch is choosing the right kind of boxes.
This is about more than just small, medium, and large. Using specialised boxes designed for specific items is your best bet against damage, which means starting with durable, high-quality materials from the get-go.
Choosing the Right Boxes for a Damage-Free Move
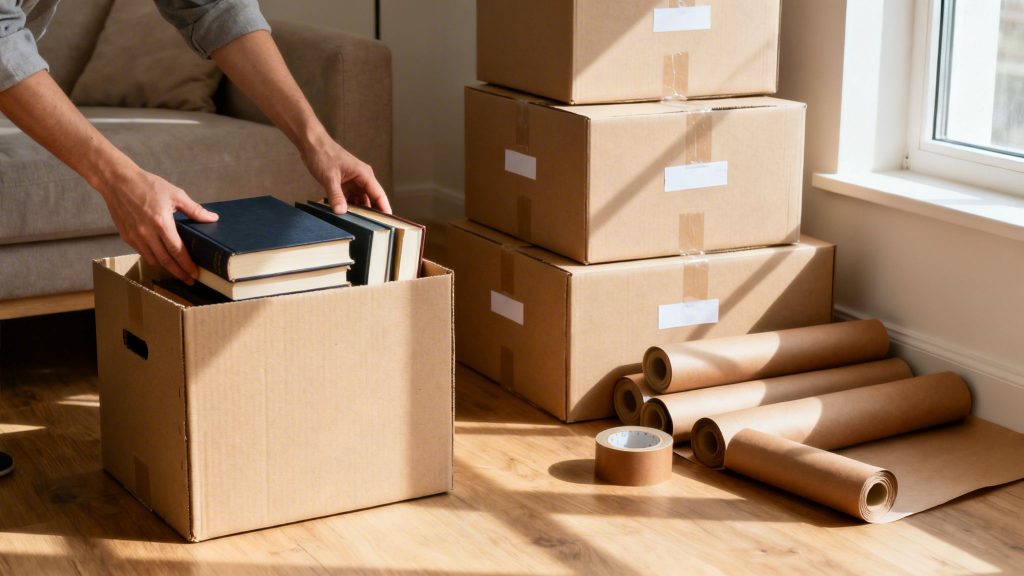
Think of your boxes as the first line of defence for everything you own. Whether you're moving from a compact apartment in Mount Hawthorn to a spacious family home in Joondalup, the packing challenges might differ, but the need for solid protection never changes.
It's always tempting to source free boxes from the local supermarket, and while they might work for lighter, non-breakable things, they often lack the structural integrity you really need. When it comes to your heavy or delicate possessions, investing in proper moving supplies is a small price to pay for peace of mind.
Key Box Types for a Secure Transit
Trust me, not all cardboard is created equal. Getting to know the different types of boxes available helps you match the container to its contents, which is the key to preventing things from getting crushed, shifting around, or breaking in transit.
Here are the non-negotiables I always recommend:
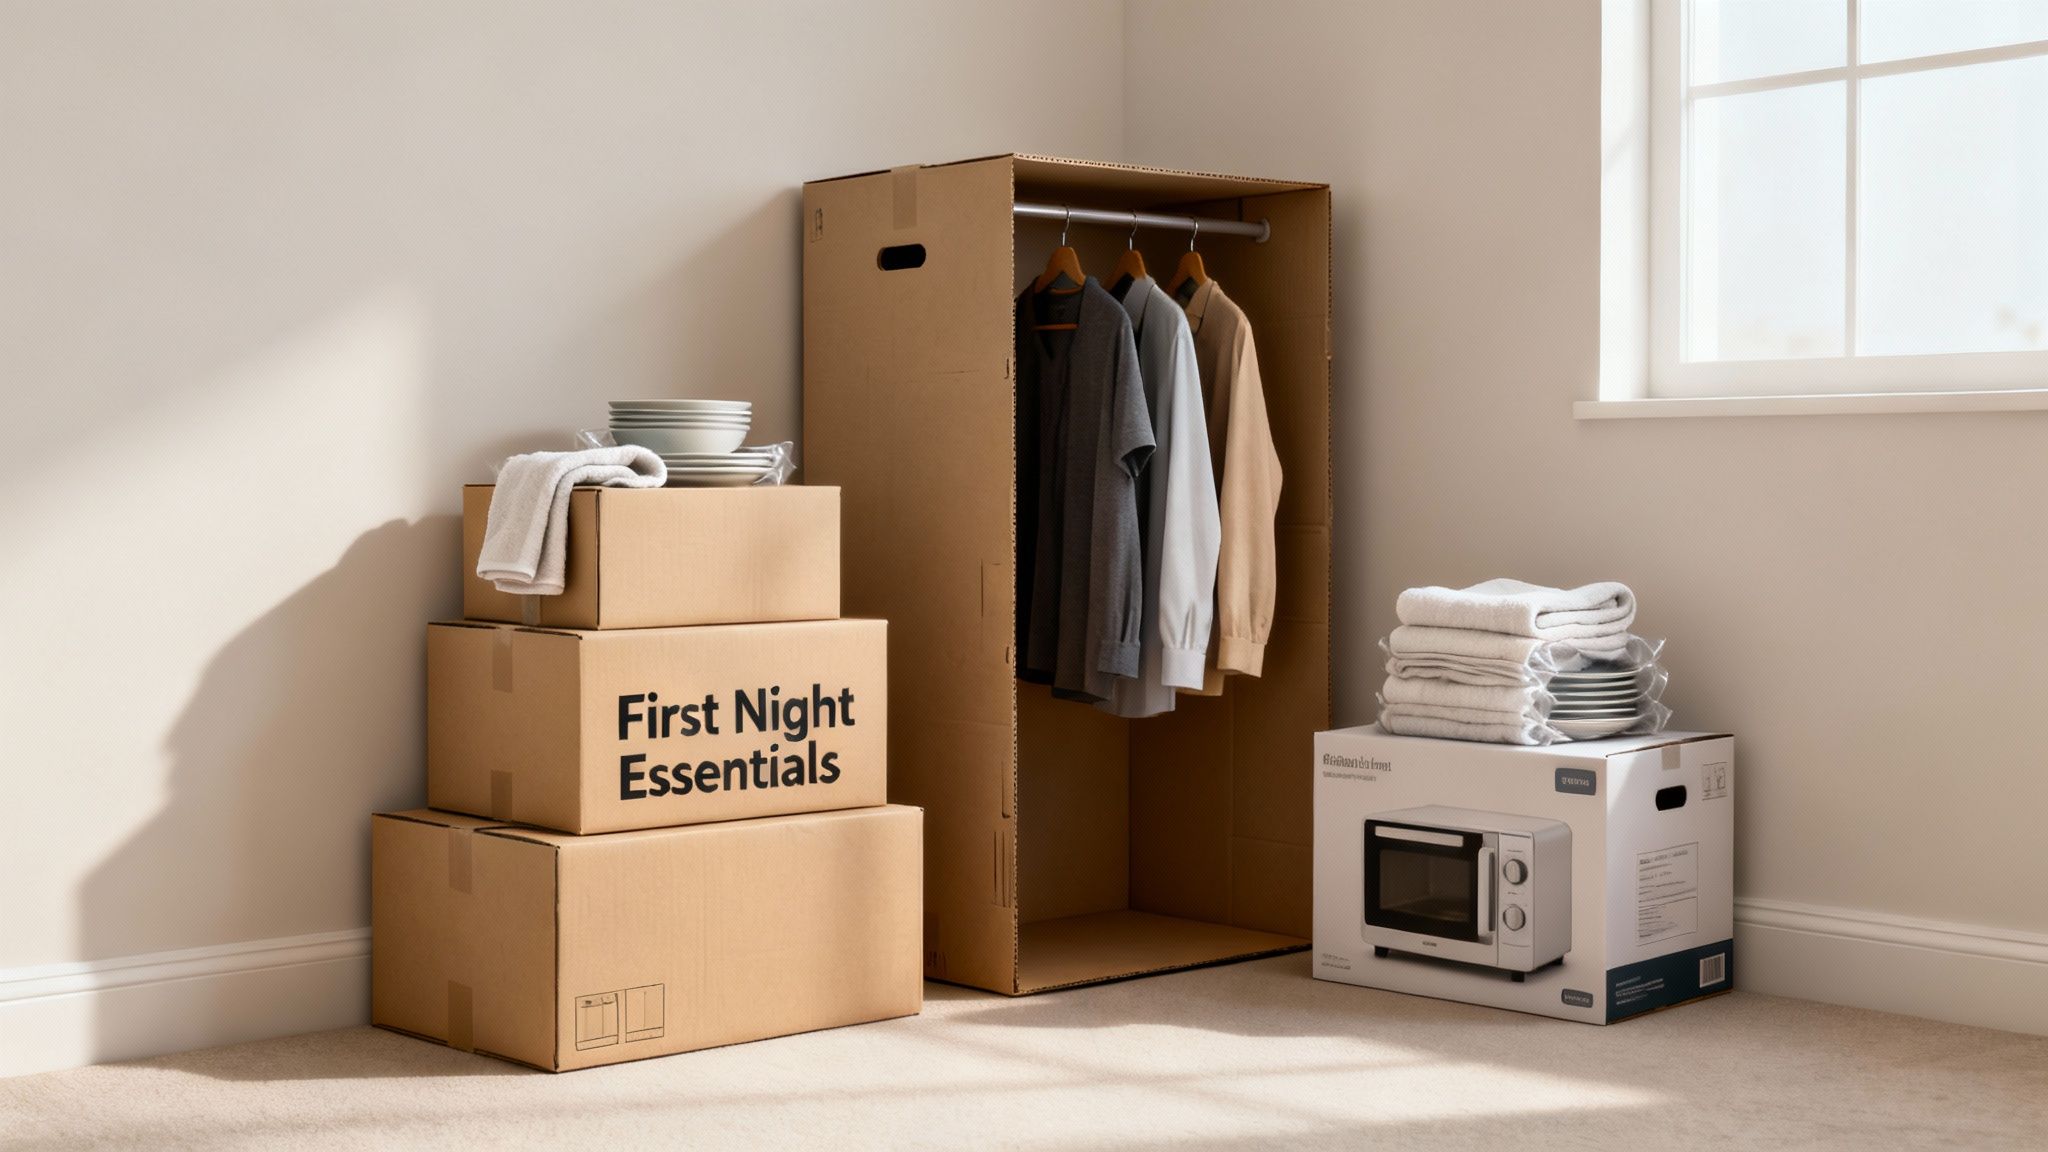
- Double-Walled Boxes: These are your workhorses. Their dual-layer construction provides incredible strength, making them perfect for heavy items like books, kitchen appliances, and tools. They stack beautifully without caving in.
- Wardrobe Boxes: A total game-changer. These tall boxes come with a metal hanging bar, so you can move clothes straight from your closet to the box. They arrive at your new home wrinkle-free and ready to hang.
- Dish Pack Boxes: For anything fragile, these are a must. They’re built with thicker walls and often come with cellular dividers to cushion individual plates, glasses, and precious heirlooms, keeping them snug and secure.
This handy visual breaks down why these specific boxes are so important.
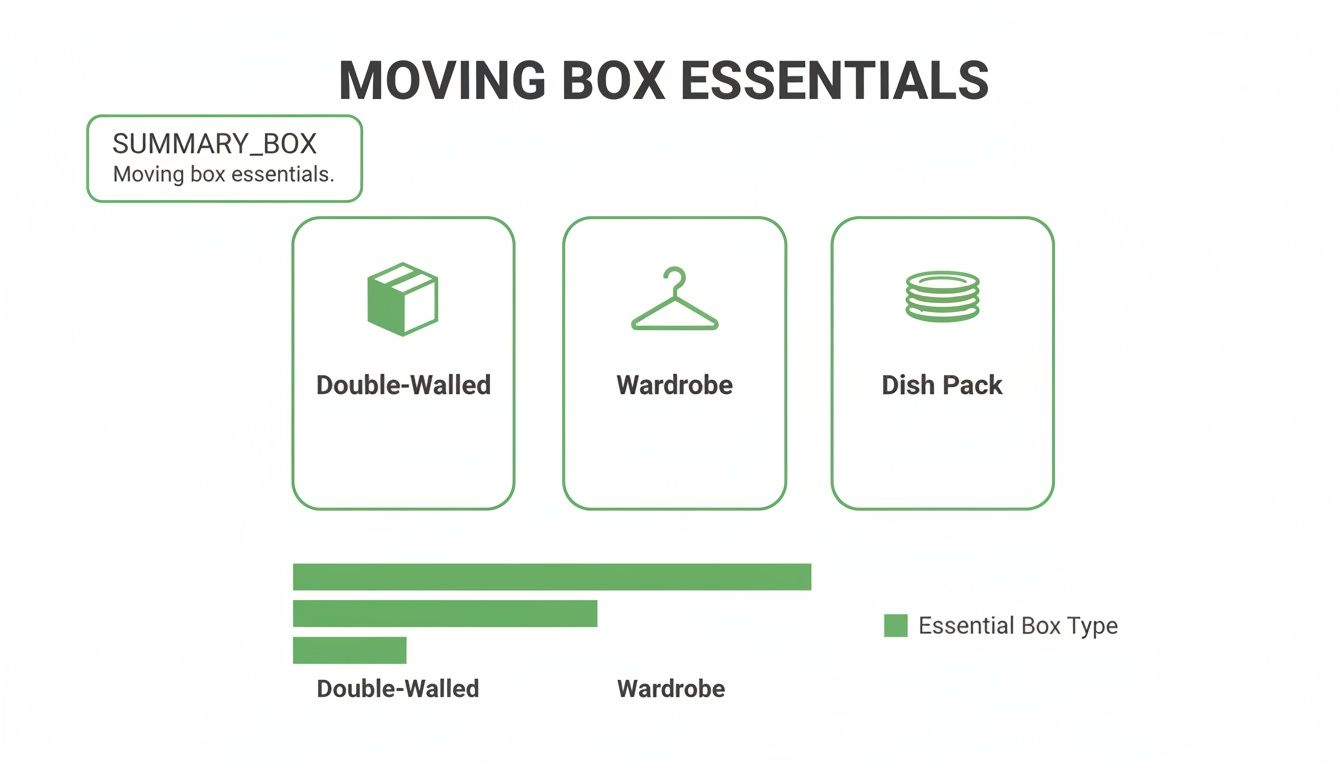
As you can see, each box is designed with a specific job in mind to protect your most valuable and delicate items.
Quick Guide to Moving Box Types
To make things even clearer, here’s a quick summary of common box types and what they’re best used for. This should help you figure out exactly what supplies you’ll need for everything in your home.
| Box Type | Best For | Weight Capacity |
|---|---|---|
| Standard Single-Wall | Lightweight items like linens, clothes, toys, and cushions. | Up to 15 kg |
| Double-Walled | Heavy items such as books, kitchen appliances, tools, and electronics. | Up to 30 kg |
| Wardrobe Box | Hanging clothes, coats, and suits to prevent wrinkles. | 15-25 kg |
| Dish Pack (Dish Barrel) | Fragile kitchenware like plates, glasses, bowls, and small valuables. | 20-25 kg |
| Picture/Mirror Box | Framed art, mirrors, and large, flat glass items. | Varies by size |
Using this table as a guide will ensure you don't end up with a box of books that is too heavy to lift or, even worse, a box of shattered glasses.
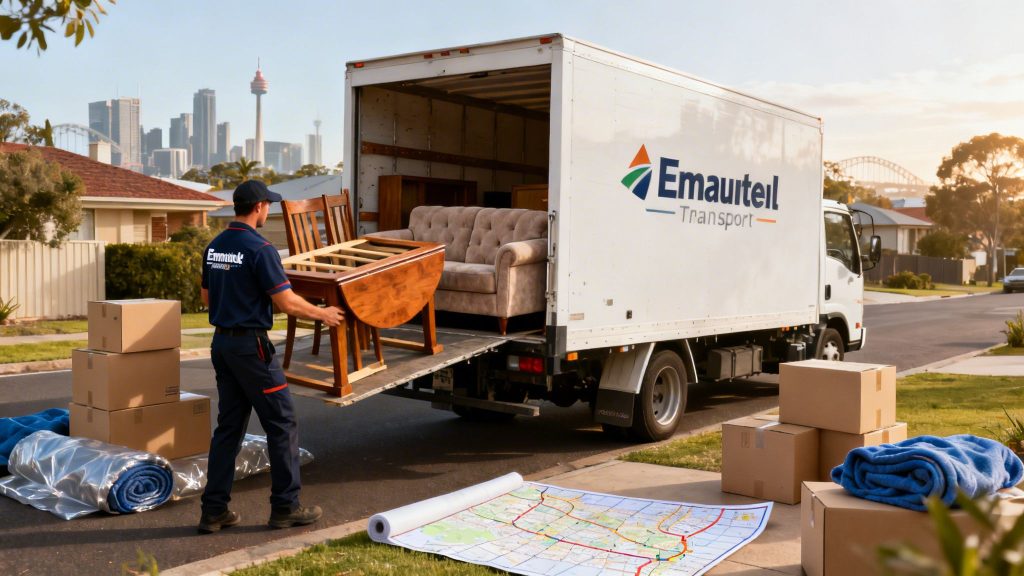
Here in the Perth metro area, we've seen a huge demand for sturdy packing supplies. On average, a typical household move requires between 50-80 boxes. At Emmanuel Transport, we rely on high-quality, double-walled boxes rated for up to 30kg to prevent any mishaps.
While you're focused on protecting your physical belongings, don't forget your digital life! A truly damage-free move includes safeguarding your data, so it’s a good time to learn how to backup computer files. Getting the right materials is the critical first step in any move, and you can find more great options in our guide on https://emmanueltransport.net.au/where-to-buy-moving-boxes/.
A Smart Room-by-Room Packing Strategy
Staring at a house full of stuff can feel completely overwhelming. The best way I've found to beat that pre-move panic is to break it down. Don't think about packing the whole house—just focus on one room at a time. It turns a massive job into a series of smaller, much more manageable tasks.
My advice is always to start with the rooms you use the least. Think guest bedrooms, the formal dining room, or even that study nook piled with books you haven't touched in ages. Packing away out-of-season clothes, decorative knick-knacks, and books first gets them out of the way. You’ll clear space and get a fantastic sense of progress right from the get-go, building momentum for the bigger jobs ahead.
Tackling High-Traffic Areas
Let's be honest, the kitchen is usually the trickiest room. Before you even think about a box, do a ruthless declutter. There’s absolutely no sense in moving expired spices or that apple corer you used once five years ago.
Once you’ve sorted what’s staying, use the right tools. Dish pack boxes with cardboard dividers are brilliant for plates and glassware. A quick tip: wrap each piece in paper and always stack plates on their sides, like records in a crate. It distributes the pressure and dramatically reduces the chance of breakages.
For small appliances like your kettle or blender, sturdy, double-walled boxes are a must. Stuff any empty spaces with tea towels or bubble wrap so things can't shift around. Wardrobe boxes are another non-negotiable for me—they let you move hanging clothes straight from the closet to the box, meaning they arrive ready to hang and wrinkle-free.
When it comes to electronics, pull out your phone and take a quick photo of how all the cables are connected before you unplug anything. Trust me, you'll thank yourself later. Bundle cords and remotes with the device they belong to, so you’re not playing a guessing game at the other end. If you want a deeper dive into these techniques, our guide on how to pack for movers has you covered.
Pro Tip: Always, always pack a "First Night Essentials" box. This is your survival kit. It should have toiletries, a change of clothes, medications, the coffee maker and mugs, a phone charger, and some basic cleaning supplies. Keep this one in your car, not on the moving truck.
By matching the right boxes for packing to move to the items in each room, you’re not just protecting your belongings—you’re making the entire process smoother. A methodical plan makes packing feel less like a chore and sets you up for a much more organised, stress-free unpacking experience in your new home.
Pro Packing Techniques Removalists Actually Use
There’s a definite art to packing a moving box, and it goes way beyond just cramming things inside. Anyone who's done this for a living knows that how you pack is just as critical as the quality of the boxes for packing to move. The mission is always to create a solid, dense cube that won’t shift, crush, or fall apart on the truck.
One of the most common mistakes we see is poor weight distribution. It seems simple, but always start with your heaviest items at the bottom of the box. This creates a stable base. Then, work your way up with lighter things, using crumpled packing paper, bubble wrap, or even spare tea towels to fill every single nook and cranny.
Building a Strong and Stable Box
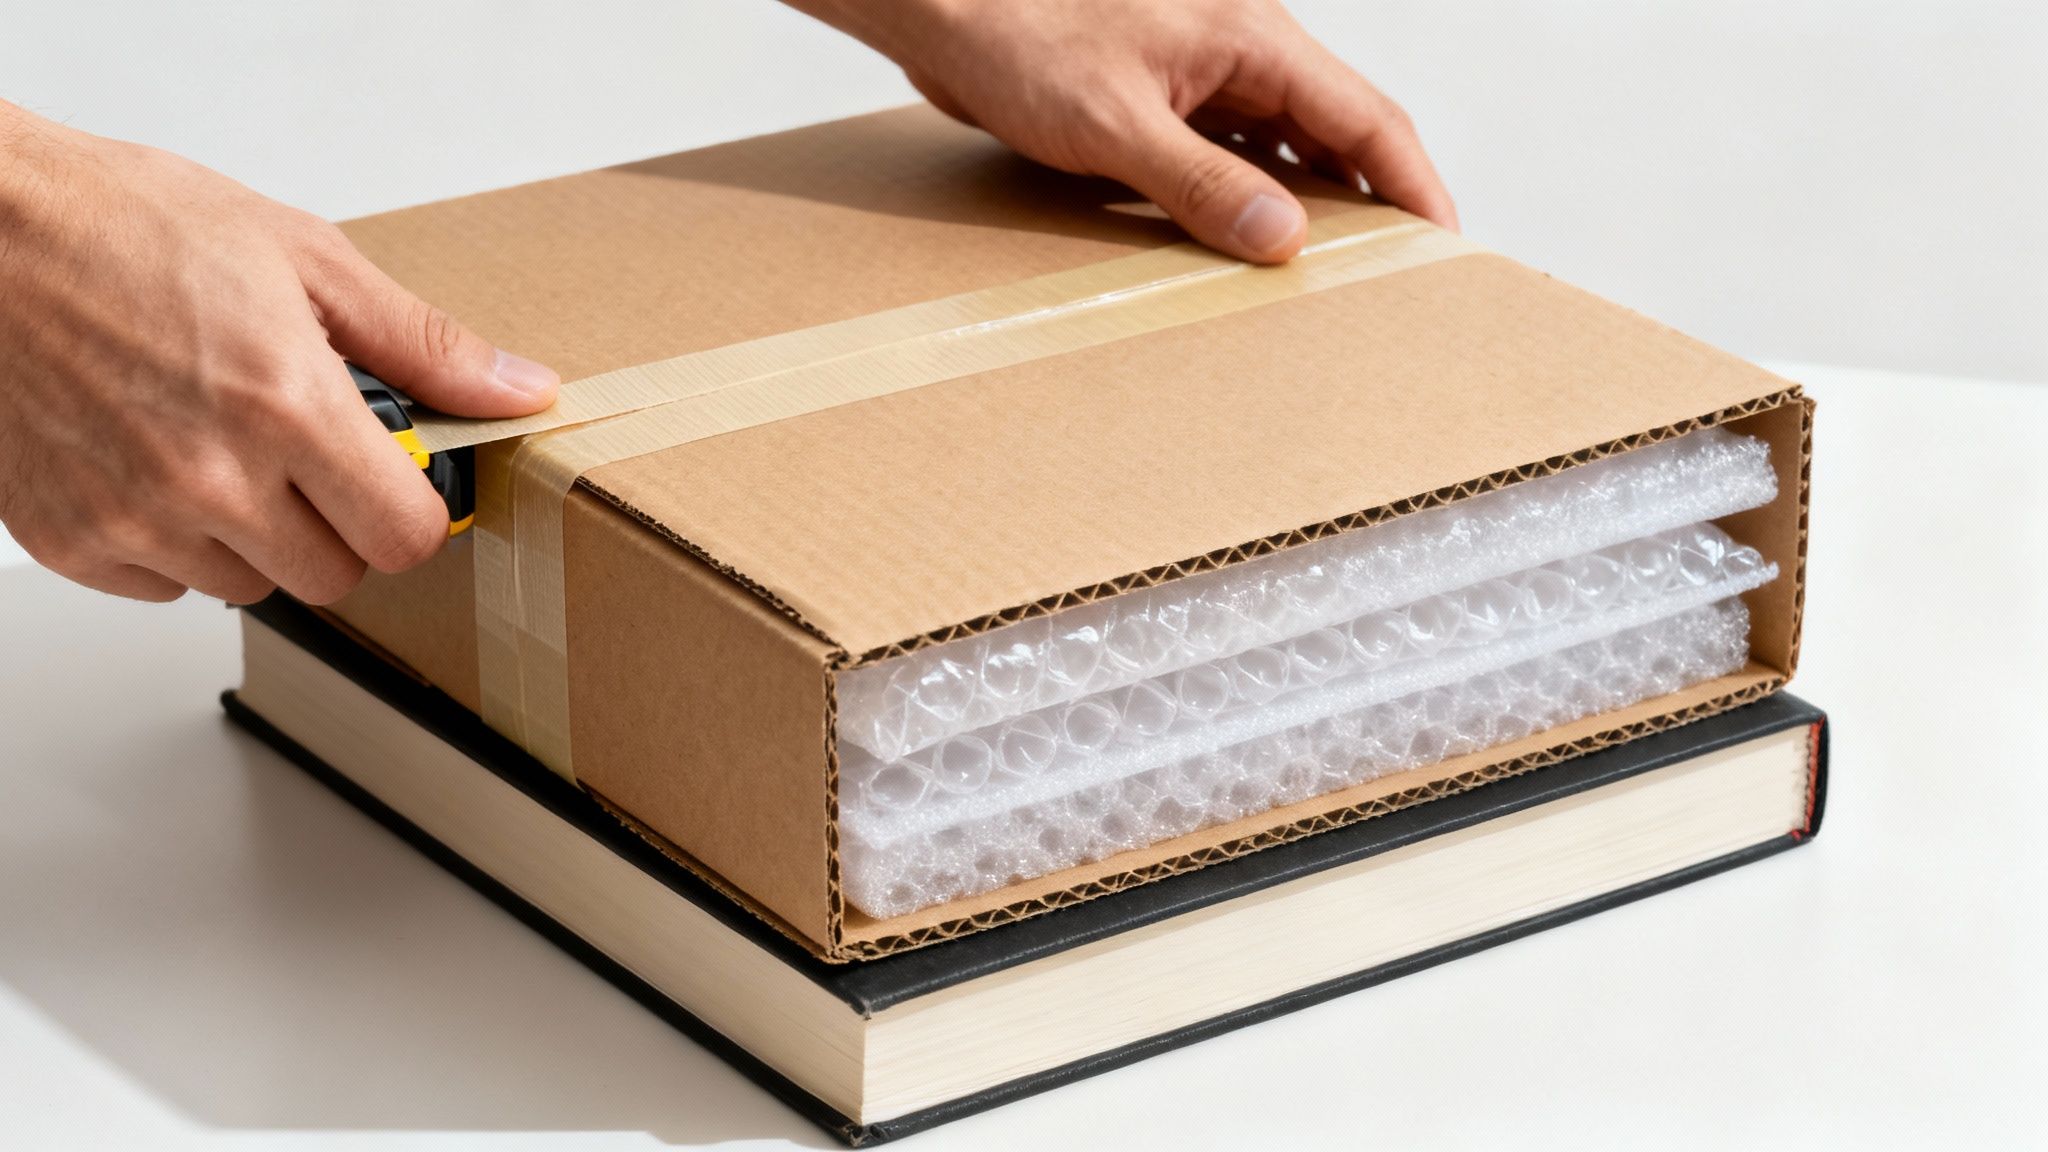
How you tape a box can make or break its integrity. A single strip of tape down the middle seam just won't cut it, especially for heavier loads. We always use the "H-tape" method for maximum strength.
Here’s how it works:
- Tape down the long, centre seam.
- Then, run a strip of tape along each of the short edges.
- This forms a clear 'H' shape and reinforces the box's weakest points, preventing a catastrophic bottom-out.
Beyond just the boxes, professionals often rely on various high-performance films for packaging to shield items from dust or moisture during a move. For your most precious belongings, our guide on how to pack fragile items for moving dives into more specialised techniques.
The Golden Rule of Packing: A perfectly packed box has no empty space. If you give it a gentle shake, nothing should rattle or shift inside. This is the single best way to ensure your belongings arrive in one piece.
Don't underestimate the impact of these small details. In Perth alone, where families are constantly on the move, industry stats show that properly packed boxes can cut down damage claims by a whopping 40%. Whether you're moving from Mount Hawthorn to Rockingham or just across the street, taking the time to pack right really does pay off.
How to Label Your Boxes for an Effortless Unpack
Let's be honest, the time you put into organising your boxes for packing to move now will pay you back tenfold later. A solid labelling system is genuinely the difference between a smooth move-in day and a frantic, chaotic hunt for the coffee maker.
Simply scrawling ‘Kitchen’ on the top of a box just won't cut it. A truly functional system is all about making your life easier when you arrive at your new place, tired and ready to get settled.
Create a Labelling System That Works
The secret weapon here is consistency. If you use the same method for every single box, everyone—from you to your professional removalists—will know exactly where things are meant to go.
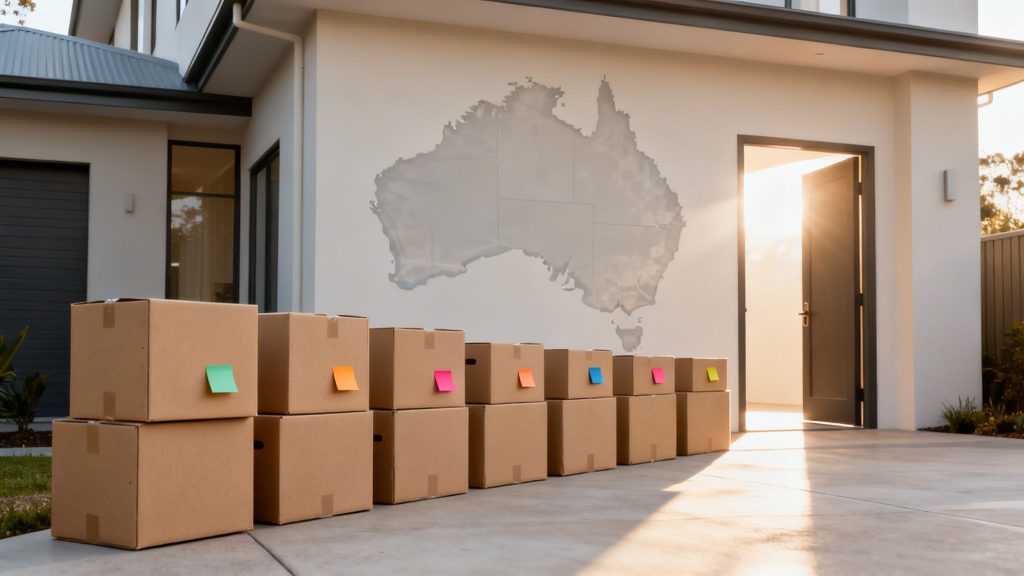
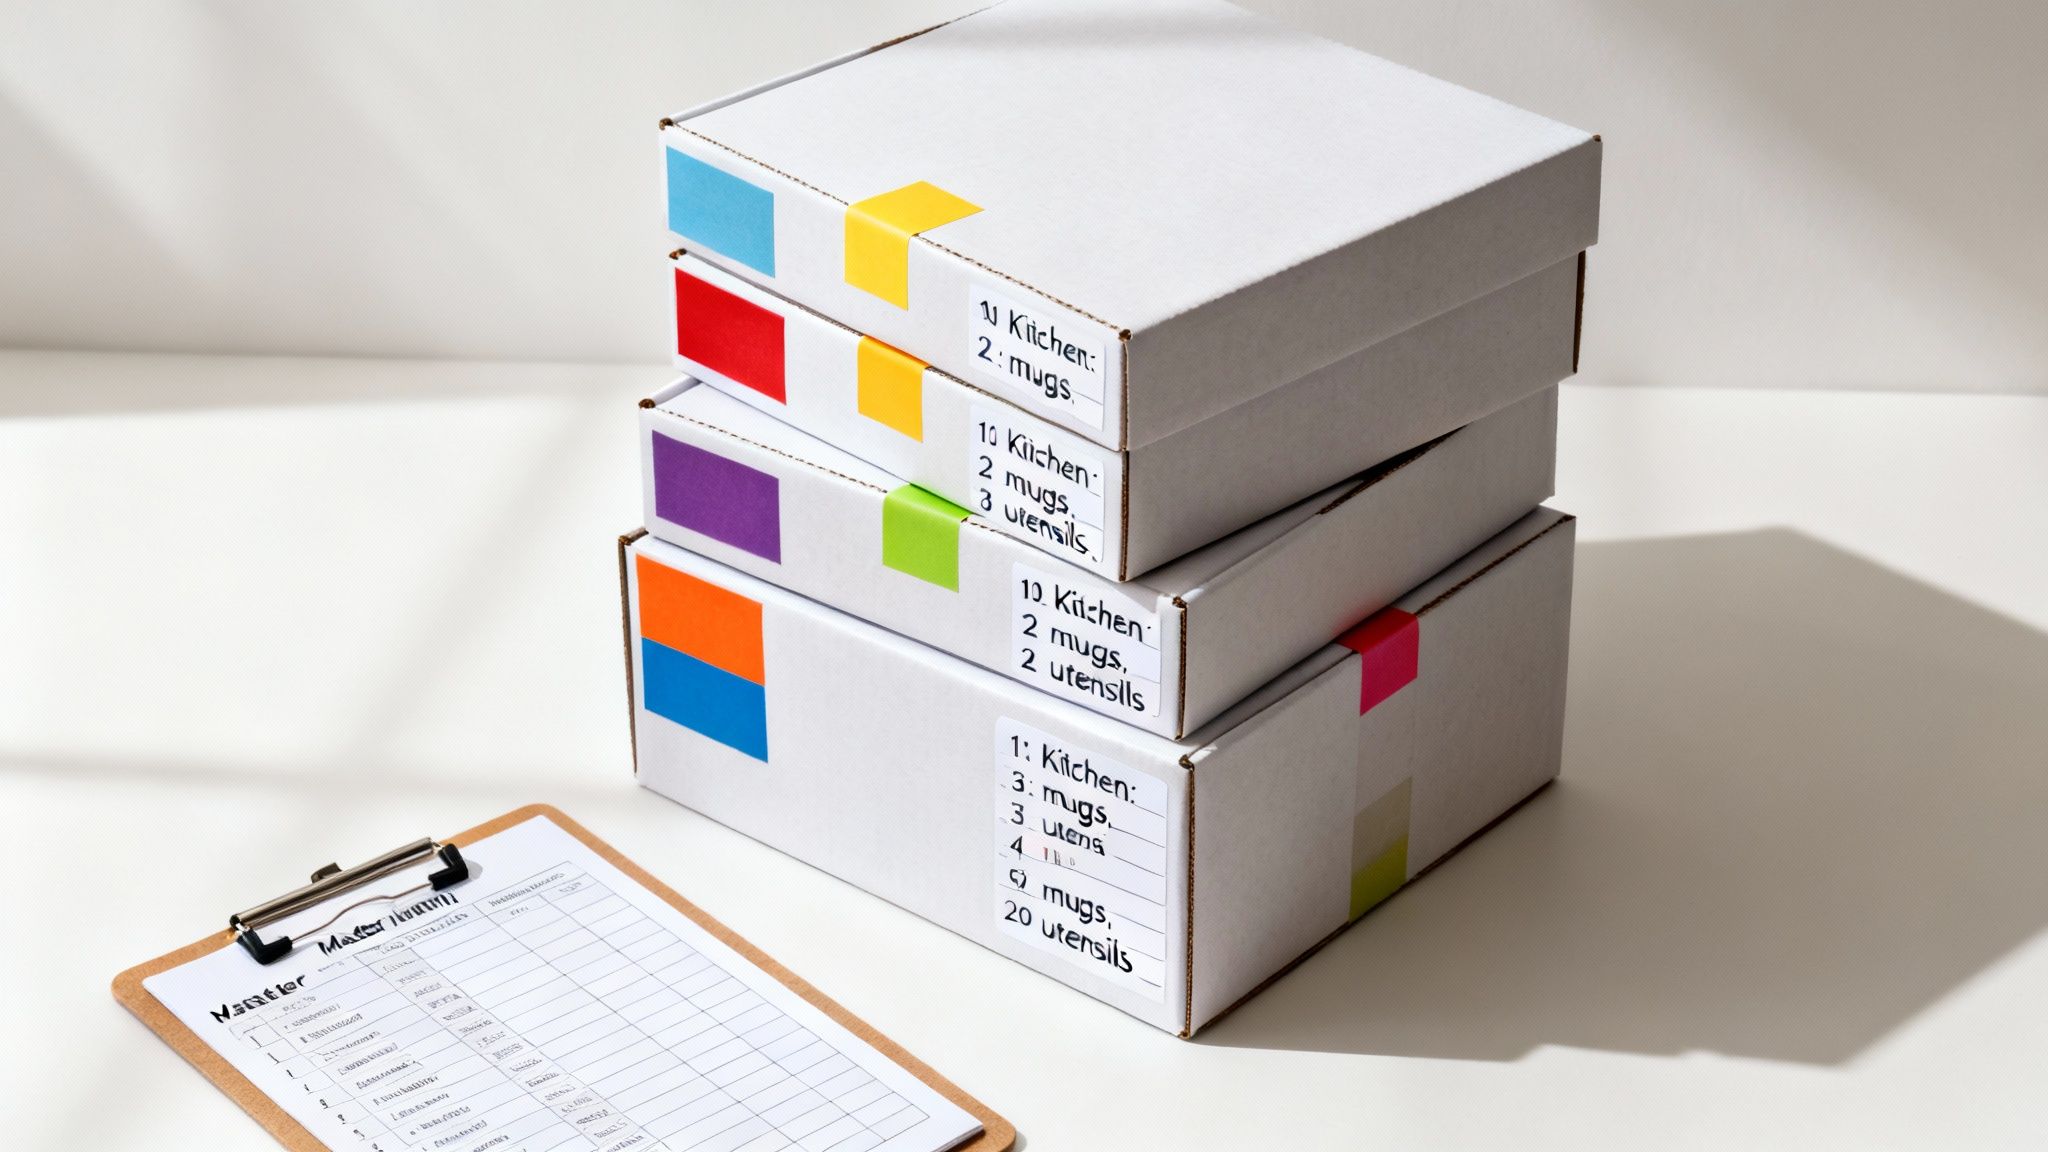
Colour-Code Each Room: This is a game-changer. Assign a different coloured marker or even coloured tape to each room. Think blue for the kitchen, green for the main bedroom, and yellow for the living room. It's a quick visual cue that helps movers sort boxes at a glance.
Number Every Box: On each box, write a unique number (like Kitchen 1, Kitchen 2, and so on). This system is brilliant when paired with a master inventory list, as it helps you track every item and make sure nothing gets lost in the shuffle.
Label the Sides, Not Just the Top: This is a rookie mistake I see all the time. As soon as boxes are stacked, any label on the top is useless. Make it a rule to write the destination room, box number, and a quick list of key contents on at least two different sides of the box.
This simple three-part system—colour, number, and contents—takes all the guesswork out of the equation.
Your goal should be to find what you need without having to dismantle a huge stack of boxes. A clear label on the side means you can spot the box with the kettle or your bedding in an instant.
And on that note, creating a master inventory list is non-negotiable. Whether you use a simple notepad or a spreadsheet, list each box number along with its primary contents. This not only keeps you incredibly organised but is also something professional removalists often require for insurance purposes. Think of it as your ultimate move-day checklist.
Common Packing Mistakes to Avoid at All Costs
When you’re staring down a looming moving day, it’s all too easy to make mistakes that cost you time, money, and sanity. Even the most organised people can slip up, leading to broken heirlooms and unnecessary stress. Getting a handle on these common pitfalls is your first line of defence.
One of the most frequent errors I see is people grabbing the wrong boxes for packing to move. Sure, those free boxes from the local supermarket might seem like a great way to save a few dollars, but they often come with hidden weaknesses. Old cardboard can be compromised by moisture or previous heavy loads, meaning it’s likely to give way right when you least expect it.
There's also a sweet spot between a perfectly full box and a dangerously overpacked one. Trying to cram every single book you own into one massive box is a classic mistake. Not only is it a hazard to lift, but it puts incredible strain on the cardboard seams. On the flip side, an underpacked box with lots of empty space is just as bad—items will rattle around and break on the journey.
Overlooking the Details Can Be Costly
It’s often the small things that cause the biggest headaches. Forgetting to wrap fragile items properly with bubble wrap or packing paper is practically an invitation for disaster. Another critical misstep is packing your "first night" box—with essentials like toiletries, medications, and phone chargers—onto the truck instead of keeping it in your own car.
These simple errors add up. In fact, rushed self-packs often see damage rates soaring as high as 18%. Here in a market like Perth, using proper moving boxes and packing techniques can slash insurance claims by a massive 35%, according to industry data. If you’re curious about the broader trends, you can find some great insights on the Australian housing market and how it affects moving demand.
The Takeaway: Your goal isn't just to get stuff into boxes. It’s to create solid, stable units that can handle the bumps and shunts of the journey, protecting everything inside.
By sidestepping these common blunders, you’re not just packing smarter—you're actively protecting your belongings and setting yourself up for a much smoother move.
Got Questions About Moving Boxes? We've Got Answers
Even the most organised mover hits a few snags. When you're knee-deep in cardboard and packing tape, questions are bound to come up. As professional removalists, we've heard them all, so we've put together some straight answers to help you get your packing plan sorted.
How Many Boxes Will I Need for a 3-Bedroom House?
For a typical 3-bedroom home here in Perth, you're usually looking at somewhere between 60 to 100 boxes. That number might sound like a lot, but it accounts for a good mix of sizes. You'll need plenty of small ones for heavy items like books, a stack of medium boxes for all the general stuff, and large boxes for lightweight, bulky things like doonas and pillows.
A word of advice from experience: always get more boxes than you think you'll need. Running out mid-pack is a surefire way to kill your momentum. A few spares will save you from a last-minute scramble.
Can I Just Get Free Moving Boxes Around Perth?
Look, we get it. Moving is expensive, and sourcing free boxes from the local supermarket or off Gumtree seems like an easy win. But we generally steer people away from relying on them for the whole move. You just don't know what you're getting.
Those free boxes can have hidden issues—they might have been weakened by moisture or are just plain worn out. When it comes to protecting your valuables, it's just not worth the risk.
Honestly, investing in proper, new moving boxes is one of the smartest, simplest things you can do. The small cost upfront gives you genuine peace of mind and protection for the things you really care about.
What's the Best Way to Pack Plates and Glasses?
Kitchenware is where you really want to pay attention. The key is to use a proper dish pack box—they're made from a much tougher, double-walled cardboard that offers far more protection.
The golden rule for plates? Wrap each one individually in packing paper, then stack them vertically on their side inside the box. Never, ever lay them flat. They are surprisingly fragile that way and much more likely to crack under pressure.
For glasses and mugs, wrap each piece well and use cardboard cell dividers. These little inserts are lifesavers, as they stop everything from knocking against each other and shattering on the journey.
Ready to get the right supplies for your move? Emmanuel Transport provides high-quality boxes and professional packing services to ensure your belongings are safe from start to finish. Get a free quote and make your next move a seamless one at https://emmanueltransport.net.au.