A great pack-up starts long before you even think about taping up a box. I've seen it time and time again: the smoothest moves are the ones that begin with a solid game plan. The real secret isn't in how you fold the clothes, but in decluttering first, mapping out a timeline, and getting your removalists booked in early. Nailing these first steps transforms a potentially chaotic scramble into a far more manageable project. You'll save yourself a world of stress, not to mention time and money.
Your Moving Blueprint: Getting Organised First
The best packing strategies aren't about bubble wrap; they're about preparation. A successful move hinges on what you do in the weeks leading up to the big day. By creating a clear blueprint, you're not just getting organised – you're setting the stage for a smooth handover to your professional removalists. This foundational phase is all about trimming the fat, setting a realistic schedule, and locking in your professional help.
Think about it: every single item you get rid of now is one less thing to pack, pay to move, and then unpack in your new place. This is where a really good decluttering method becomes your best mate.
The Art of Strategic Decluttering
You'll want to kick off the decluttering process at least six to eight weeks before your move. Trust me, giving yourself this much runway lets you sort through everything without that frantic, last-minute pressure. A favourite method that works wonders is the four-box system.
As you move through each room, sort every item into one of four piles:
- Keep: These are the non-negotiables – things you love, use all the time, and can't imagine your new home without.
- Sell: Good quality items you’ve fallen out of love with can be sold online, at a garage sale, or via a consignment shop. It’s a great way to help offset some of those moving costs.
- Donate: Items that are still in good nick but not quite worth selling can be passed on to local charities.
- Bin: This is for anything broken, expired, or just plain unusable. Be ruthless!
A word of advice: tackle one room, or even just one cupboard, at a time. It makes the whole job feel less overwhelming. Aim for progress, not perfection on day one. I always suggest starting with storage areas like the garage, attic or spare room, as they’re usually full of things you won’t miss day-to-day.
If you're also selling your home as part of the move, this decluttering stage is absolutely crucial. Exploring some expert staging your home tips can really help you focus your efforts and make your place look its best for potential buyers.
Creating Your Moving Timeline
Once you've lightened the load, it's time to build your master timeline. A simple week-by-week checklist is an incredibly powerful tool for keeping everything on track and is the backbone of packing efficiently for your movers.
Here’s a rough guide to get you started, working back from moving day:
- 8 Weeks Out: Research and book a reliable Australian removalist. Aim to get quotes from at least three different companies. Begin the decluttering blitz.
- 6 Weeks Out: Start gathering your packing supplies. Order boxes, tape, permanent markers, and plenty of protective wrap.
- 4 Weeks Out: Begin packing non-essential items. Think out-of-season clothes, guest linen, books, and decorative pieces you can live without for a month.
- 2 Weeks Out: Touch base with your removalist to confirm all the details. Ramp up the packing, trying to get a room or two completely finished.
- 1 Week Out: Pack your "first night" essentials box. This is your survival kit with everything you'll need the moment you walk into your new home.
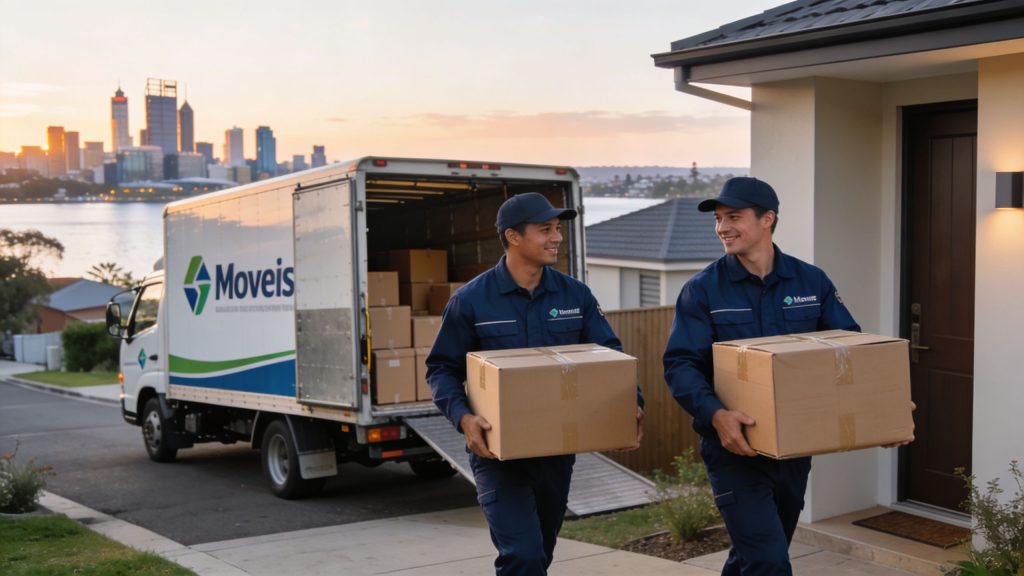
Booking Your Professional Removalists
Getting your movers locked in early is so important, especially if you're moving interstate or during the busy summer months. When you’re vetting companies, don't just shop on price. Look for glowing reviews, make sure they're fully insured, and ask about their experience with moves like yours.
Give any potential removalist a really accurate list of what needs moving. A reputable company might even suggest an in-home or video survey to provide a precise quote. This simple step helps avoid nasty surprise charges on moving day and ensures they show up with the right-sized truck and crew. Clear, upfront communication is the absolute key to a great partnership with your moving team.
Right, you've sorted through your belongings and set a moving date. Now for the practical part: gathering your supplies. Let's be honest, showing up to this task with flimsy, second-hand boxes and cheap tape is a recipe for disaster. It's like trying to cook a gourmet meal with a blunt knife – you’ll get there, but it won’t be pretty.
Using quality, purpose-built materials is your best insurance policy for protecting your things. It’s not just about ticking items off a list; it’s about a smart strategy that balances cost with the safety of your possessions and makes life easier for your removalists.
More Than Just a Box
I’ve seen it all, and trust me, not all boxes are created equal. Using the right box for the right job is one of the biggest game-changers in packing. Your workhorse will be the standard moving box, often called a 'tea chest carton' here in Australia. These are fantastic all-rounders for things like kitchen gadgets, toys, and all that general household stuff.
But don't stop there. Getting a bit more specific will save you a lot of headaches (and backaches).
- Book Boxes: These smaller, tougher boxes are non-negotiable for heavy items. Think books, photo albums, wine bottles, or canned goods. Packing these into a large box is a rookie mistake that leads to dangerously heavy loads.
- Dish Packs (Dish Barrels): You’ll notice these have much thicker, double-walled cardboard. They are specifically designed to give your fragile kitchenware—plates, glassware, and bowls—the extra cushioning they need to survive the journey.
- Linen Boxes: These are bigger but designed for light, bulky items. They're perfect for doonas, pillows, blankets, and even stacks of folded clothing.
A Tip from Experience: Resist the urge to cram every large box to the brim with heavy things. A good rule of thumb is if you can't comfortably lift it yourself, it’s too heavy. Most professional removalists will thank you for keeping individual box weights under the 20-22 kilogram mark.
Choosing Your Protective Wraps and Padding
Bubble wrap is fantastic, but it's not the only tool in your arsenal. A really efficient packing plan incorporates materials you already have. This is not only a great way to save a bit of cash, but it’s also a more sustainable approach.
Think about putting your soft furnishings to work. Towels, old sheets, and even clean socks can be perfect for wrapping less delicate items. I often tell people to wrap their everyday drinking glasses in t-shirts or use winter blankets to pad small pieces of furniture. This is a brilliant two-for-one, especially when you're figuring out how to pack clothes for moving, as it gets both jobs done at once.
For everything else, you'll want a generous supply of clean packing paper (often called butcher's paper) and some high-quality bubble wrap for those truly precious or fragile items.
Where to Find Quality Supplies
You don't need to break the bank to get kitted out. While buying brand new from a removalist company or a storage facility guarantees you’re getting strong, clean boxes, there are other great options.
Don't be shy about asking local businesses. Supermarkets, liquor stores, and chemists often have a stockpile of sturdy boxes they're happy to give away for free. Online marketplaces and local community groups on Facebook are also treasure troves for finding people offloading their moving supplies after they've settled in.
A word of caution, though: always give any second-hand boxes a thorough once-over. Check for structural integrity, cleanliness, and any signs of moisture damage or unwanted pests before you bring them into your home.
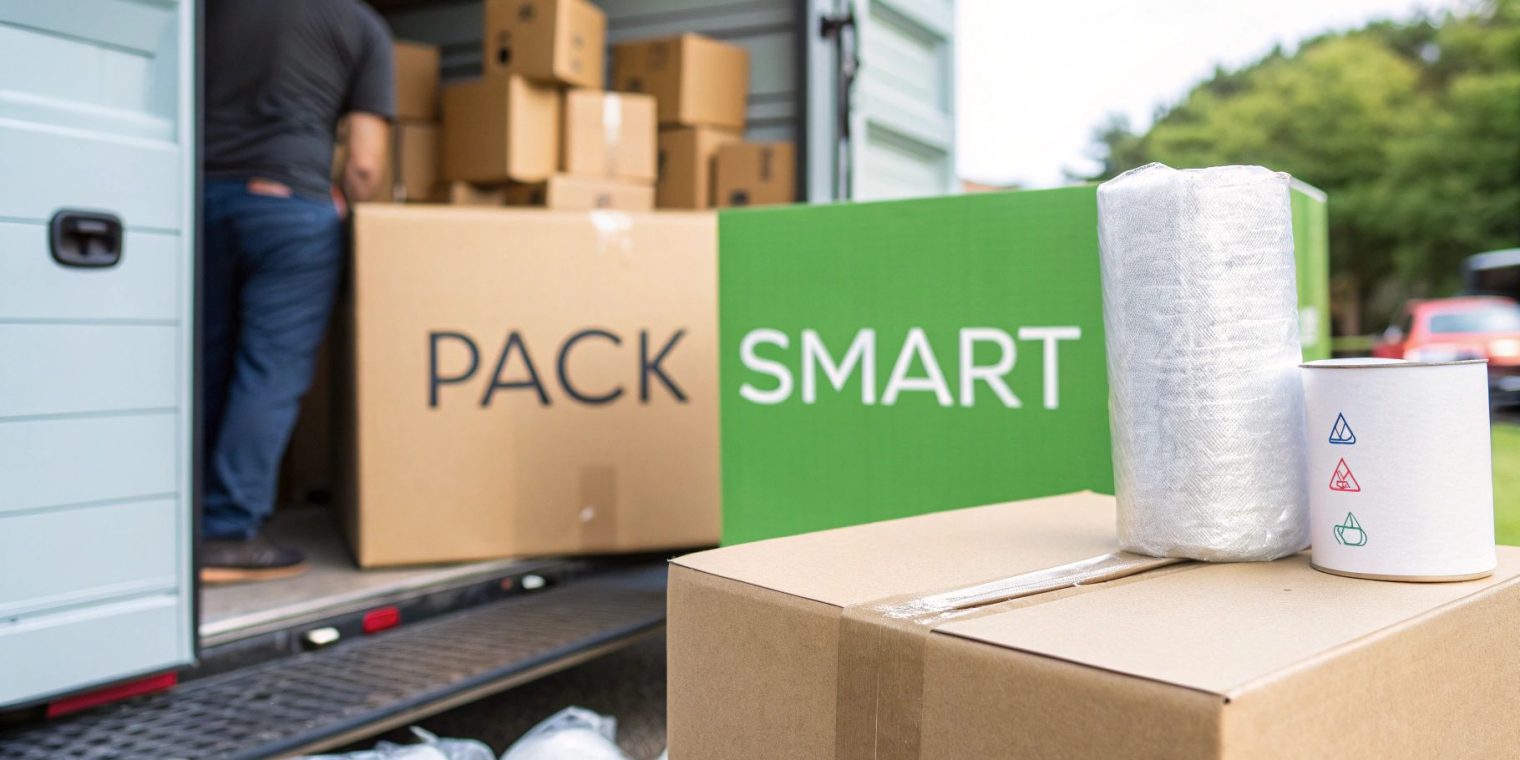
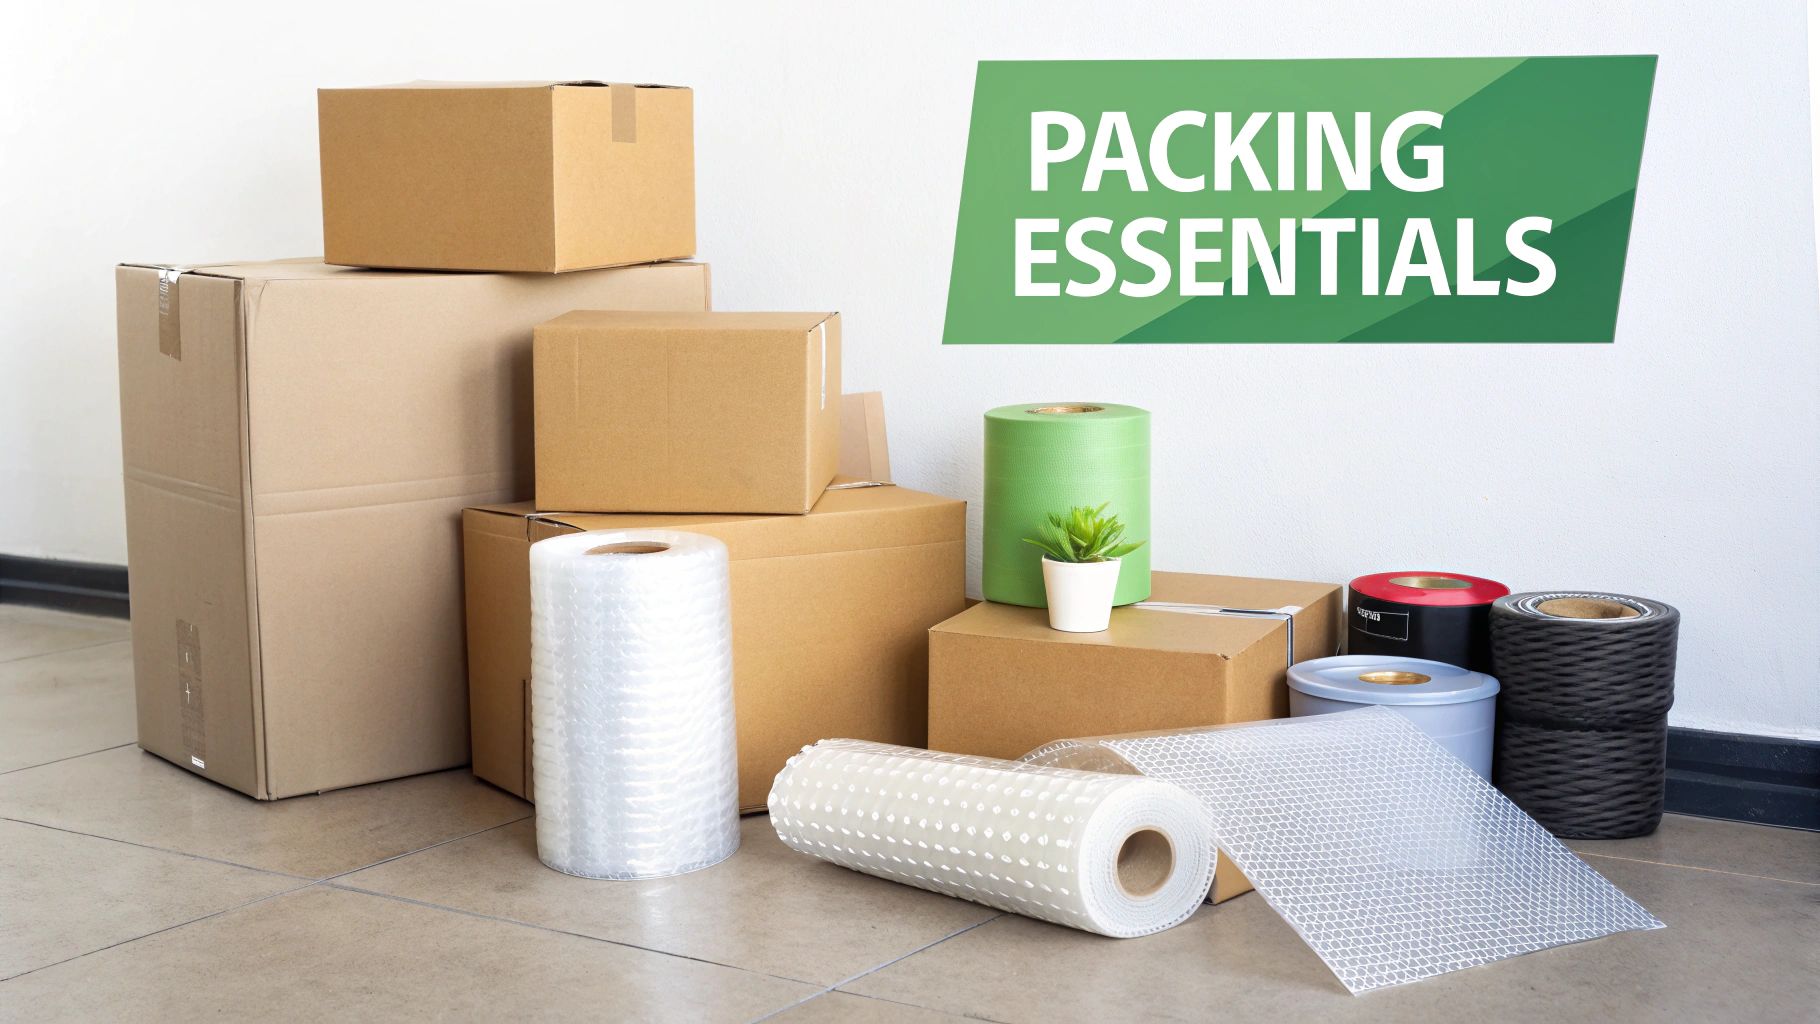
To help you get started, I've put together a checklist of the absolute essentials you'll want to have ready before you pack a single thing.
Essential Packing Supplies Checklist and Use Cases
This table breaks down exactly what you'll need, what it's for, and a pro tip from my years of experience to make the process smoother.
| Supply Item | Primary Use Case | Pro Tip |
|---|---|---|
| High-Quality Packing Tape | Securing all boxes | Don't skimp here. Cheap tape that constantly splits or doesn't stick is one of the biggest moving-day frustrations. |
| Permanent Markers | Labelling boxes clearly | Use a thick, black marker. You want to be able to read the labels from a distance without squinting. |
| Packing Paper | Wrapping everyday items and filling gaps | It's much cleaner than newspaper and won't leave annoying ink stains on your dinnerware or glassware. |
| Bubble Wrap | Protecting very fragile or valuable items | Reserve this for the important stuff: electronics, mirrors, artwork, and delicate ornaments that need maximum cushioning. |
| Utility Knife/Box Cutter | Opening boxes and cutting materials | A simple but brilliant tip: keep one with your packing gear and put a fresh one in your "First Night Essentials" box. |
Having these supplies on hand will set you up for a much more organised and less stressful pack. You'll be ready to tackle any room with confidence.
A Room-by-Room Guide to Packing Your Home
Staring at an entire house full of stuff and trying to figure out where to start is a recipe for a full-blown meltdown. The fastest way to feel overwhelmed is to try and pack everything at once. From years of experience, I can tell you the best approach—the one professional removalists will thank you for—is to tackle your home systematically, one room at a time.
This method does more than just keep the chaos under control; it makes unpacking at the other end a genuinely smoother, less stressful experience. Breaking the move down into manageable chunks turns a monumental task into a series of smaller, achievable goals. You'll stay organised, keep similar items together, and get everything labelled correctly for its new spot.
This infographic breaks down the logical flow, starting with the rooms you use the least and finishing with the daily essentials.
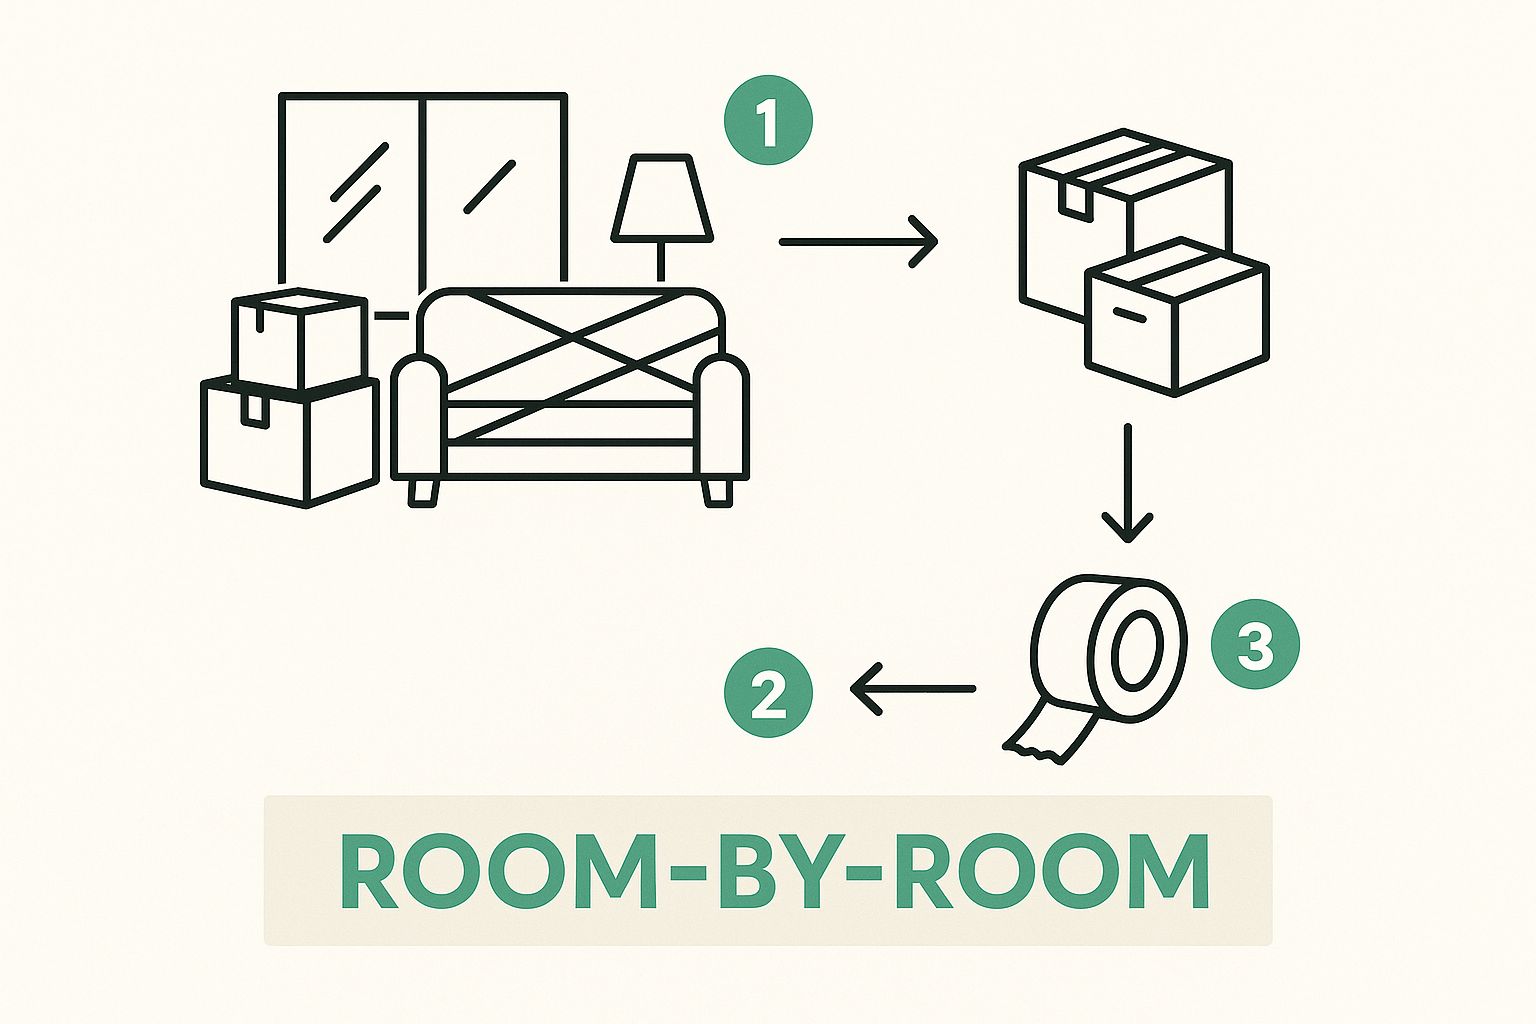
As you can see, the secret is progressing from low-traffic to high-traffic zones. You’ll want to save the heart of the home, like the kitchen and main bedroom, for the final few days before the truck arrives.
Tackling the Kitchen
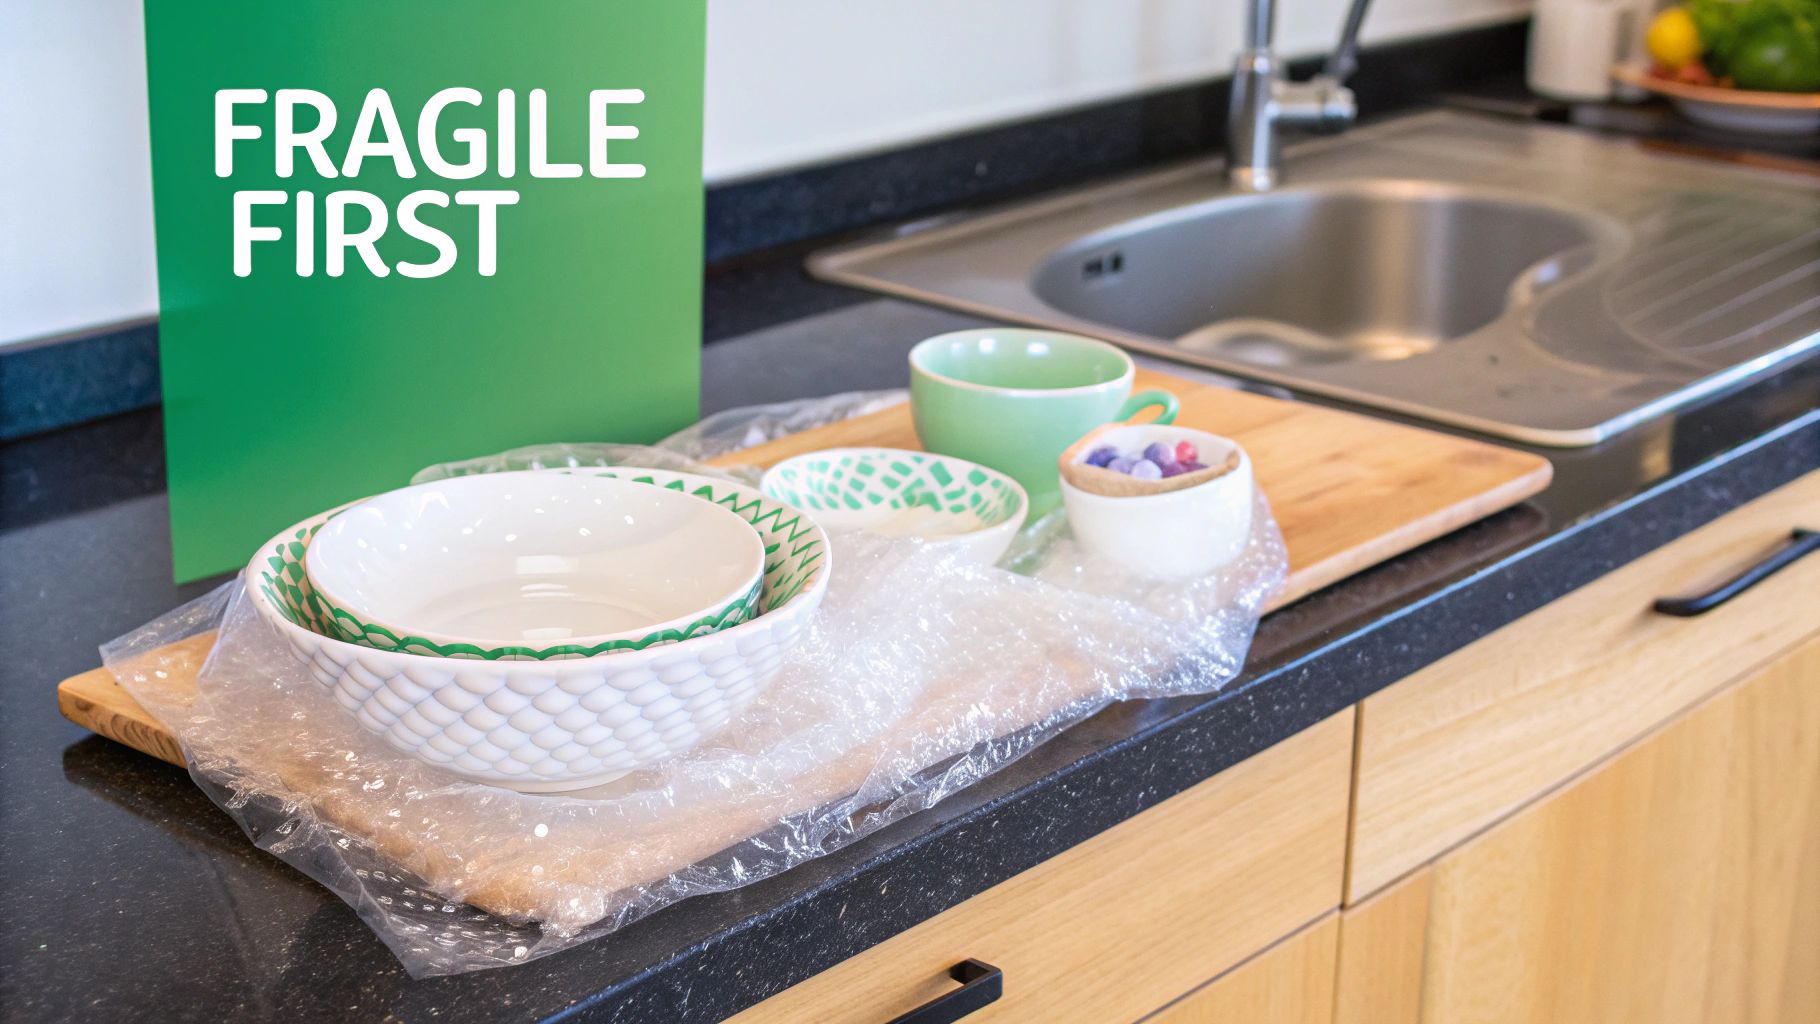
Ah, the kitchen. It’s almost always the most challenging room to pack, filled with a tricky combination of heavy, fragile, and awkwardly shaped items. My advice? Start with the things you barely touch. Pack up those specialty baking pans, the huge serving platters you use once a year, or that fondue set that hasn’t seen the light of day since 2010.
When it comes to your glassware and plates, here’s what you need to do:
- Wrap individually: Every single glass, mug, and plate needs its own wrapping of packing paper. Don't be stingy here; more is more.
- Pack vertically: Plates, platters, and even flat bakeware are surprisingly strong when packed on their edges, like files in a filing cabinet. Never stack them flat.
- Use dish packs: These double-walled boxes are worth their weight in gold. They are specifically designed to protect your breakables and provide that extra layer of security.
- Fill every gap: Use crumpled paper, tea towels, or even soft t-shirts to fill any empty space. This stops items from shifting and knocking against each other during transit.
For cutlery and utensils, bundle them together with rubber bands or tape before wrapping them as a set. Knives need special attention—wrap the blades securely in paper or cardboard, label the bundle clearly as "SHARP", and place them in a sturdy box where they can’t pierce through the side.
My top kitchen tip? Use your pots and pans as packing containers. Fill a large stockpot with your collection of spices, small kitchen gadgets, or pantry items. It's a brilliant way to save space and protect all those little things inside.
Packing the Living Room
The living room is usually a mix of electronics, books, and various decorative pieces. If you still have the original box for your TV or other electronics, use it. It’s always the best and safest option. If not, a dedicated TV moving box from a packing supply store is a very wise investment.
Before you unplug a single cable, take a quick photo of the back of your electronics. This simple trick creates a visual cheat sheet that makes reconnecting everything in your new home an absolute breeze. As for the cables themselves, use zip ties or painter's tape to keep them coiled, and pop a label on each one so you know what belongs to what.
And then there are the books. They are deceptively heavy. Always, always use small book boxes for them. Packing books into a large box is one of the most common mistakes I see. It creates a dangerously heavy load that’s a nightmare to lift and a prime candidate for the bottom falling out.
Sorting the Bedrooms and Bathrooms
Bedrooms tend to be pretty straightforward. Use large linen boxes for bulky but light items like bedding, pillows, and doonas. A great shortcut for clothes is to transfer folded items from a drawer directly into a box, keeping them stacked and organised. For anything on a hanger, wardrobe boxes are fantastic. They have a built-in rail that keeps suits, dresses, and shirts crease-free and ready to hang.
In the bathroom, your number one priority is preventing leaks. Trust me on this one.
- Unscrew the caps from any liquids—shampoo, conditioner, lotions, you name it.
- Place a small square of plastic wrap over the opening.
- Screw the cap back on tightly over the plastic wrap.
This creates a brilliant, watertight seal that will stop any sticky spills from ruining everything else in the box. Pack all your toiletries together in a small, clearly marked box. It’s also a great time to bin any nearly empty bottles to save yourself from moving clutter.
Organising the Home Office
Your home office is where important documents and expensive equipment live, so it needs careful handling. The very first thing you should do, before unplugging anything, is back up your computer’s hard drive. Consider this a non-negotiable safety net.
Use the Russian doll technique here. Gather small items like pens, paper clips, and sticky notes into smaller containers or ziplock bags. Then, place those inside a medium-sized box. It’s the perfect way to keep the contents of your desk drawers from turning into a jumbled mess.
For paperwork, dedicated file boxes are ideal for keeping important documents in order. If you don't have any, a sturdy standard box will do the job. Just make sure to pack the files in snugly so they don’t slide around and get disorganised. And most importantly, create a separate, clearly labelled "IMPORTANT DOCUMENTS" folder for things like passports, birth certificates, and moving paperwork. Keep this with you personally—never put it on the moving truck.
How to Pack Fragile and Specialty Items
Some of your most treasured possessions need more than just a standard box and some tape. Things that are fragile, valuable, or just plain awkward require a special touch to make sure they arrive at your new home in one piece. The prep work you do now is the single best defence against damage.
This is especially true when you consider that long-distance transport is a massive part of the Australian removalist industry. In fact, the largest revenue segment for removalists in Australia is interstate transport for moves over 250 kilometres. This just goes to show how crucial your packing methods are for protecting belongings over those long, bumpy journeys. You can get more details about the state of the Australian removalist industry from IBISWorld.
Think of packing these special items as building a protective cocoon. It takes a bit more time and care, but the peace of mind is absolutely worth the effort.
Mastering the Basics for Breakables
For items like china, glassware, and delicate ornaments, the golden rule is no item should touch another. Every single piece needs its own individual wrapping, whether that’s clean packing paper or bubble wrap. Don't be shy with the padding here; more is always better.
A common mistake is stacking plates flat inside a box. Instead, wrap each one and stand them on their edge, almost like files in a filing cabinet. They are significantly stronger this way and far less likely to crack under the weight of other items.
A Pro Tip from the Field: After you've wrapped an item, give it a gentle shake. If you can feel the contents moving around inside the wrapping, it’s not secure enough. Add more padding until everything feels snug and solid.
For a deeper dive into specific techniques for different types of fragile goods, our comprehensive guide on how to pack fragile items for moving offers even more detailed advice and visuals.
Protecting Artwork and Mirrors
Large, flat items like framed art, family photos, and mirrors are particularly vulnerable. Your main goals are to protect the surface from scratches and the corners from getting bumped.
A great first step is to place a large 'X' of painter's tape across the glass. This won't magically stop it from breaking, but if a crack does happen, the tape will hold the pieces together and prevent them from slicing up the artwork or frame.
Next, wrap the entire piece generously in bubble wrap. Pay extra attention to the corners by adding more layers or using purpose-built cardboard corner protectors. For the best security, a dedicated picture box is a brilliant investment. If you don’t have one, you can get creative and make a custom sleeve by cutting and taping together flattened cardboard boxes.
The Box-in-a-Box Method for Electronics
For valuable electronics like your TV, computer monitors, or that high-end sound system, the original packaging is always your best bet. If you tossed those boxes ages ago, the box-in-a-box method offers the next best level of protection.
It’s a simple but effective technique:
- Wrap the Item: First, wrap your electronic device completely in bubble wrap and secure it well with packing tape.
- The Inner Box: Place the wrapped item inside a sturdy box that’s just a little bit bigger than the device. Fill any empty spaces with packing paper or foam so it’s snug.
- The Outer Box: Now, find a second, larger box that's at least 5-8 centimetres wider than the inner box on all sides.
- Create a Cushion: Put a thick layer of cushioning material—like crumpled paper, packing peanuts, or foam—at the bottom of this outer box.
- Nest and Fill: Centre the inner box on top of the cushioning. Then, fill all the gaps around it with more padding until that inner box can't move at all.
This double-boxing strategy creates a fantastic shock-absorbing buffer, protecting sensitive electronics from the inevitable bumps and vibrations of the move.
Handling Irreplaceable Valuables
Finally, there’s a small group of items that should never, ever go on the moving truck. These are your irreplaceable valuables—the things that money simply can't replace.
We’re talking about items such as:
- Passports and birth certificates
- Jewellery and watches
- Important financial records or legal documents
- Medications
- Laptops with critical data
- Small, sentimental heirlooms
Pack these things into a dedicated bag or a small box that you will transport personally in your own car. Keeping these crucial belongings with you eliminates any risk and ensures they’re the first things you have access to when you arrive. It’s a simple step that gets rid of a huge potential source of stress on moving day.
Getting Everything Ready for Moving Day
The last few things you do before the removalists pull up can turn a potentially chaotic day into a surprisingly smooth one. These final touches are what I’ve seen separate a frantic scramble from an efficient, organised move. It’s all about making things easier for you and your moving crew.
Think of it this way: smart labelling, a clear inventory, and a well-prepped house are the cornerstones of a stress-free move-out. Getting these last steps right is crucial for ensuring everything runs like clockwork, which ultimately saves you time, stress, and even money.
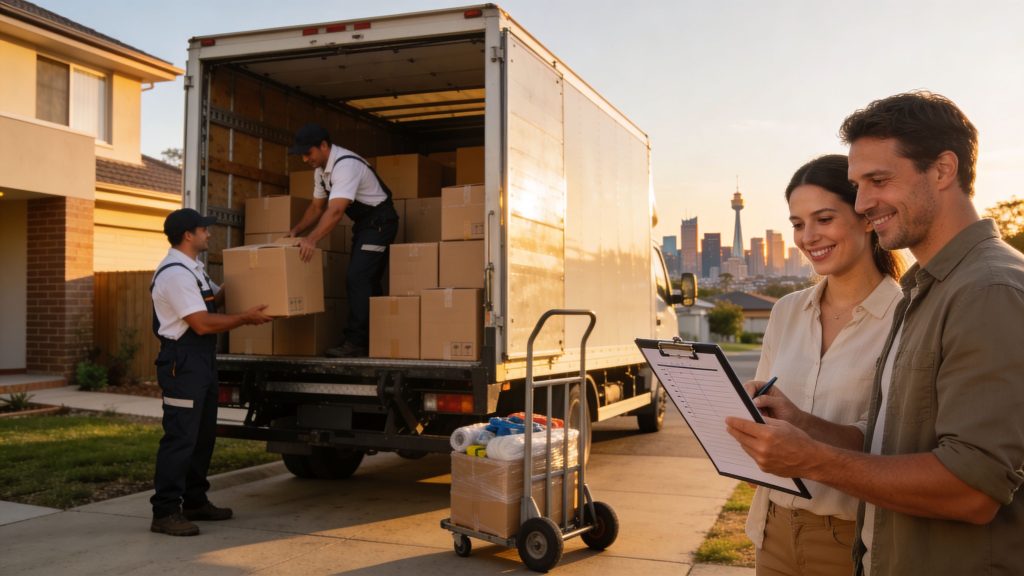
Master Your Labelling and Inventory System
A truly helpful labelling system goes way beyond just scrawling "Kitchen" on a box. To make unpacking a breeze, you need to get a bit more specific. I always tell people to grab a thick permanent marker and label at least two sides of every single box—that way, you can see what’s what no matter how they’re stacked.
Here’s the three-part formula for a perfect label:
- Destination Room: Be clear about where it’s going (e.g., Main Bedroom, Kitchen, Living Room).
- Brief Contents: A quick summary helps you find things later (e.g., "Everyday Mugs & Glasses" or "Sean’s Office Books").
- Priority Level: Use a simple number system (1, 2, 3) or a big, bold "ESSENTIALS" to show which boxes need opening first.
For absolute peace of mind, create a master inventory list. As you seal each box, number it and log it in a spreadsheet or a simple notebook with a note of its contents. This comprehensive record is your safety net, especially if you need to find one specific item in a mountain of boxes.
If you want a full rundown of every task you should be ticking off, you might find your ultimate moving checklist for 2025 really helpful.
Prepping Your Home for the Movers
On moving day, your home transforms into a busy worksite. The main goal is to create a safe, clear space that lets the removalists work at their best pace. Start by clearing wide, completely unobstructed paths from every room to the main exit.
This preparation has never been more important. In 2025, 62.2% of Australian moving companies said rising costs were their biggest challenge. That means they genuinely appreciate customers who pack efficiently and prepare their homes well, as it helps cut down on loading times and reduces their operational pressures.
Next up, protect your property. Lay down flattened cardboard, old blankets, or protective runners in high-traffic areas like hallways and stairs. It’s also a good idea to cover vulnerable door frames and sharp corners with some padding to prevent scuffs and dings.
Finally, think strategically about where you place your boxes. Group all the boxes from one room together against a single wall to keep the centre of the room open. Even better, if you can, move all packed boxes into one central area near the exit, like the garage or living room. Creating this "staging area" lets your movers load the truck methodically without weaving through the whole house, which seriously speeds up the job.
Once the truck is loaded and gone, the last thing on the list is usually cleaning the old place. It's often worth looking into professional move-out cleaning services to make sure you leave the property in immaculate condition.
Got Questions? We've Got Answers
Even with the best-laid plans, a few questions always crop up when you’re packing up your life. It’s completely normal. Handing everything you own over to a team of professionals is a big deal, and you want to be sure you've done everything right.
So, let's dive into some of the most common queries we hear from people just like you. These are practical, no-fluff answers to help you feel confident as you finish packing.
What Should I Definitely Not Pack for the Movers?
This is a big one, mainly because it involves safety and legal rules. Professional removalists are legally not allowed to transport certain items, so it's vital you handle these things yourself.
You should never put these items on the moving truck:
- Hazardous Materials: Think of anything flammable, corrosive, or explosive. This includes paint, petrol, aerosol cans, harsh cleaning solvents, fertilisers, and gas bottles.
- Perishable Food: Everything from your fridge and freezer needs to be dealt with before moving day. Move it yourself in a cooler, give it away, or toss it out.
- Valuables & Irreplaceables: Keep your personal documents (passports, birth certificates), jewellery, cash, key financial records, and irreplaceable sentimental items with you at all times. Never let these go in the truck.
A good rule of thumb: if it's flammable, perishable, or priceless, it travels with you, not the movers.
Can I Leave My Dresser Drawers Full?
Ah, the classic question. The answer is a classic "it depends." If you have a small, modern, and sturdy chest of drawers, leaving lightweight clothing like socks and t-shirts inside is usually okay. Just make sure you take out anything heavy, fragile, or liquid that could spill.
For big, heavy pieces of furniture or anything that's a bit older and less stable, you absolutely must empty them completely. The added weight not only makes the furniture much harder and more dangerous to move, but it can also put immense strain on the joints, potentially damaging it. When in doubt, the best policy is always to ask your specific removalist company what they prefer.
How Heavy Should a Moving Box Be?
Getting the weight right is a crucial part of packing like a pro. As a golden rule, you should aim to keep every box under 20-22 kilograms. This is a safe weight that one person can manage without risking injury.
The best way to know for sure? Try lifting it. If you struggle to get it off the floor, it’s too heavy. It's much better to split the contents into two separate boxes. This simple step prevents back injuries and stops the bottom of the box from blowing out mid-carry.
Heavier things like books, tools, or canned goods should always go in smaller "book boxes." It's the only way to keep their weight manageable.
Do Movers Disassemble and Reassemble Furniture?
Yes, absolutely. Most professional removalist companies offer this as a standard service, and frankly, it's a lifesaver. When you're getting quotes, be upfront about the items you'll need help with, like beds, large dining tables, or any flat-pack furniture.
Giving them a heads-up ensures they can schedule the right amount of time for your move and bring all the necessary tools. This kind of detailed planning is becoming more important. The 2025 moving trends in Australia show a big shift towards people relocating for lifestyle and affordability, which means everyone is looking for more efficiency and value from their movers. Knowing what services you need helps them provide an accurate, cost-effective quote.
Do I Really Need to Be There on Moving Day?
Honestly, yes. We highly recommend that you or another trusted adult is present for the entire process. Before the crew starts, you'll need to do a final walkthrough with the team leader, sign the paperwork, and be on hand to answer questions they might have about certain boxes or pieces of furniture.
Being there when they arrive at the new place is just as critical. You can direct them on exactly where each box and piece of furniture should go. This saves you an incredible amount of work later. Your presence is the key to making sure the day runs smoothly and everything ends up right where you want it.
Navigating the details of a move can be complex, but you don't have to do it alone. For a seamless and stress-free relocation in Perth, trust the experienced team at Emmanuel Transport. We handle everything with care, from packing to assembly, ensuring your next chapter starts off perfectly. Get your free, transparent quote today by visiting us at https://emmanueltransport.net.au.