
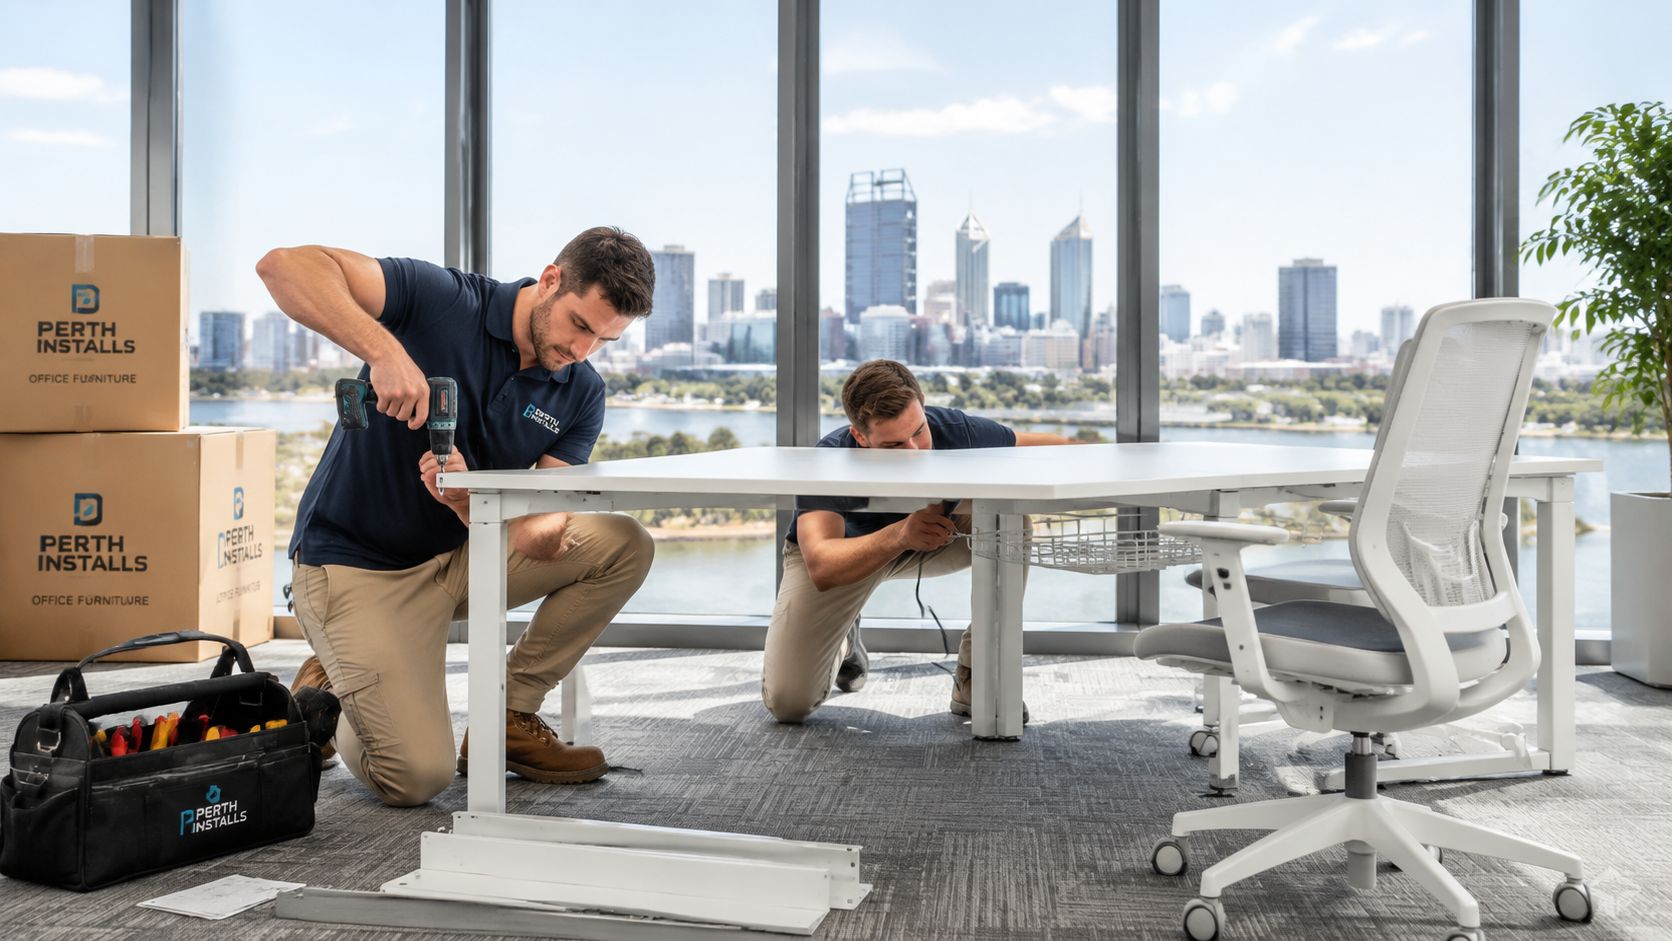
Friday afternoon is when office furniture installation usually turns into a real project. The fitout team says the space is ready. Building management has a short lift booking window. IT still needs access to comms rooms. Someone then discovers the reception counter or boardroom table cannot get through the loading dock without extra handling.
In Perth, the hardest part is often not the assembly itself. It is keeping the business operating while trades, movers, installers, and staff all need the same space at the same time. If phones are changing over during the move, line up hosted PBX and VoIP phone solutions before install day so people can work as soon as they sit down. For the physical relocation, an experienced office relocation service for Perth businesses helps keep desks, screens, storage, and staged deliveries in the right sequence.
The jobs that run well are planned around access rules, tenancy restrictions, and business continuity. That includes after-hours delivery windows, lift protection, waste removal, parking permits, noisy works approvals, and a clear decision on what happens to old furniture before the new setup arrives.
Get those details right and Monday starts with a working office. Get them wrong and the install crew loses time, corridors fill up, damaged items get discovered too late, and staff walk into a half-finished workspace.
Table of Contents
- Your Guide to a Seamless Office Move
- Strategic Planning and Layout Design
- Dismantling Packing and Transportation
- Onsite Assembly Cabling and Ergonomics
- Managing Old Furniture and Sustainable Disposal
- DIY vs Professional Installation A Perth Perspective
Your Guide to a Seamless Office Move
It is 4:30 pm on a Thursday. Staff are still working, the loading dock booking starts at 6:00, building management wants the lift padded before anything moves, and half the old workstations are still on the floor because no one signed off disposal. That is how office furniture installation problems usually begin in Perth. Not with the assembly itself, but with operational details left too late.
Furniture installation affects whether the business can keep trading, how long teams are offline, and whether the new space is usable the next morning. A workstation in the wrong position can block floor boxes, force extra cabling, and hold up IT. If the sequence is wrong, installers, electricians, and staff end up working around each other. That costs time and usually costs money.
Perth offices also deal with building rules that look minor on paper and cause real delays on site. Lift bookings are often tight. Loading docks can have fixed time windows. Some strata and commercial buildings only allow noisy works after hours, while others restrict contractor access unless paperwork is cleared in advance. Older sites add another layer. A desk run that fits the plan may still be awkward through a narrow corridor or a low-clearance service entry.
The practical fix is to run installation as part of business continuity, not as an isolated furniture job. That means confirming who needs to stay operational during the move, what gets installed first, and what has to be removed before crews arrive. It also means using an experienced office relocation team in Perth that can coordinate access, staging, and handover instead of just dropping furniture at the door.
Phone systems are another point that gets missed until late in the schedule. If teams are relocating desks, changing call routing, or working between sites during the changeover, it helps to review hosted PBX and VoIP phone solutions before install day so communications keep running while the physical setup changes.
Good office moves stay controlled because the order of work is controlled. Access is booked. Old furniture has an exit path. New items are staged by area. The install sequence matches the way the business needs to reopen. That is the difference between a move that feels organised and one that burns the first week fixing preventable mistakes.
Strategic Planning and Layout Design
The planning phase decides whether install day feels controlled or chaotic. Most problems blamed on installers originate earlier. The layout was approved without checking lift dimensions. The power points don’t match workstation positions. The furniture list still includes items that were meant to be disposed of. The timeline assumes every trade will finish exactly on time.

Start with a working floor plan
A proper floor plan does more than show where desks might go. It needs to reflect how people will move, where storage sits, how meeting rooms open, and whether drawers and chair backs have enough clearance to work in real life.
Before anything is booked, check these points on site:
- Room dimensions: Measure the actual space, not just the leasing plan.
- Access path: Track the route from loading area to final position. Check doors, corridors, stair turns, and lift interiors.
- Fixed obstacles: Columns, bulkheads, ducting, low sections, angled walls, and uneven floors all affect fit.
- Services alignment: Confirm power and data locations before the layout is locked.
- Shared building rules: Ask building management about booking procedures, protection requirements, and contractor access times.
If you’re fitting out compact offices or flexible work areas, some ideas from this multifunctional home office furniture guide can still be useful. The principle carries over. Furniture that does more than one job can reduce clutter and make smaller rooms easier to circulate through.
Practical rule: Measure the route, not just the room. Plenty of furniture fits the tenancy but not the path into it.
Build the budget and timeline together
Budgeting often gets separated from installation planning, and that’s a mistake. Installation affects labour, sequencing, staging, after-hours access, and how much dismantling is needed before furniture can even travel.
A useful rule of thumb is to allow 5% to 15% of the furniture purchase price for professional installation, based on industry guidance here. That range is broad for a reason. A straightforward placement job is different from a staged CBD install with dismantling, reassembly, cable coordination, and restricted building access.
A simple planning table keeps the moving parts visible:
| Planning item | What to confirm | Why it matters |
|---|---|---|
| Furniture audit | Keep, replace, reconfigure, dispose | Prevents double-handling and confusion |
| Access booking | Loading dock, lift, building windows | Avoids trucks and crews waiting idle |
| Services check | Power, data, breakout areas | Stops rework after desks are built |
| Install sequence | Zones, priority teams, shared rooms | Keeps business disruption lower |
| Budget allowance | Labour, protection, disposal, staging | Reduces late cost surprises |
Planning checks that prevent day one problems
Most costly mistakes are predictable. They’re just not always obvious until crews are on site.
A strong pre-install checklist usually includes:
-
Match furniture to people and teams
Don’t move every old item by default. Some furniture should be retired, some reconfigured, and some placed in lower-priority zones. -
Assign locations before the move
Every workstation, pedestal, credenza, and chair should have a destination code. “We’ll decide when it gets there” usually creates pile-ups. -
Confirm the order of arrival
Large structural items should not be buried behind soft seating, loose boxes, and accessories. -
Check site readiness
Fresh paint, unfinished joinery, debris, and inactive power points all slow installation. -
Build slack into the programme
If your whole plan depends on zero delays, it isn’t a plan. It’s a gamble.
The offices that reopen cleanly usually don’t have magical contractors. They have fewer unknowns on the morning the truck arrives.
Dismantling Packing and Transportation
The move can go wrong long before reassembly. Damage, missing hardware, and mixed-up components usually start during dismantling and packing, not in the new office.

A disciplined dismantling process protects both the furniture and the install schedule. If your team needs a practical reference on wrapping and protection methods, this guide to packing furniture for moving is worth reviewing before the first panel or tabletop comes off.
Take apart only what should be taken apart
Not every piece needs to be stripped to its smallest parts. Some desks travel safely as partial assemblies. Some boardroom tables need tops removed but bases left intact. Storage units may only need shelves and doors secured. The wrong level of dismantling creates more work, more loose hardware, and more chances for damage.
Use this approach:
- Modular workstations: Break down fully and keep parts grouped by workstation.
- Boardroom tables: Remove tops if access is tight. Protect edges carefully.
- Shelving and storage: Remove loose internals and secure moving parts.
- Height-adjustable desks: Follow the product sequence so frames and controls aren’t stressed.
- Glass items: Remove and crate or heavily protect separately from metal frames.
Use a labelling system that installers can follow fast
Labels need to do more than identify ownership. They need to tell the reinstall team exactly where each piece belongs.
A reliable system links each component to:
- the floor or suite
- the room or zone
- the workstation or item number
- the hardware bag that belongs to it
Colour coding helps when the floor is split into zones. Written labels still matter because colours alone don’t tell a crew what goes where once packaging starts piling up.
If the installer has to stop and ask where a panel belongs, the label has already failed.
After the first wave of dismantling, it helps to brief everyone on the destination logic. That includes movers, installers, facilities staff, and anyone directing traffic in the new tenancy.
A short visual reference can help teams understand the difference between random packing and controlled movement:
Protect materials for the trip, not just the warehouse
Transport protection should match the material and the route. Veneer corners chip. Powder-coated frames scratch. Glass edges fail when they knock against hard surfaces. Fabric panels pick up marks quickly if they’re dragged or stacked badly.
Use the right protection for the item:
- Wood and laminate surfaces: Use pads, corner protection, and avoid strapping directly across finished faces.
- Steel frames: Separate metal-on-metal contact points so powder coating doesn’t rub through.
- Glass tops: Keep upright where appropriate and isolate from loose hardware.
- Loose accessories: Pack monitor arms, cable trays, and brackets in labelled cartons, not random tubs.
The vehicle matters too. Crews need enough room to load in sequence, not just enough room to make it fit. A jammed truck often means the first items needed on site are trapped behind everything else.
Onsite Assembly Cabling and Ergonomics
Assembly day works best when it feels boring. That’s a compliment. No one is improvising. No one is hunting for brackets. The route through the office stays clear, the right items are in the right zone, and each area gets built, checked, and signed off before the next one starts.
Install by zone, not by item type
For larger fit-outs, the most reliable method is a phased, zone-based sequence. Expert guidance recommends staging and labelling components by room, building the largest items first, and leaving chairs until last to reduce rework and keep pathways clear, as explained in this installation guide.
That sequence works because it mirrors how the space is used. A zone becomes a controlled work package rather than a half-finished collection of unrelated items across the whole floor.
A practical zone sequence usually looks like this:
-
Confirm the final plan on site
Check that the room labels, orientation, and service points still match the current drawing. -
Stage parts inside or near the zone
Don’t dump all cartons in one central pile. -
Build the largest structural items first
Workstations, frames, storage walls, and large tables go in before chairs and loose accessories. -
Keep circulation paths open
Installers need clean movement lines for tools, parts, and manual handling. -
Finish with seating and small accessories
Chairs, screens, bins, keyboard trays, and desk accessories come last.
Get steel furniture and technical pieces right
Steel office furniture punishes rushed assembly. The correct sequence is usually to assemble the base or frame first, then attach connectors and brackets, install shelves or internals, level the unit using glides, and finish with a final torque check. That process is set out in this technical installation reference.
The common failures are familiar on site:
- instability from uneven floors
- misalignment because pre-assembly checks were skipped
- hardware damage from overtightening
- delays caused by missing fasteners discovered too late
Before assembly starts, verify that every part, instruction sheet, and fastener is present. Mid-build surprises burn time fast.
Tighten securely, but don’t overdo it. Overtightened hardware can turn a solid unit into a damaged one.
It also helps to separate technical furniture from standard loose items. Height-adjustable desks, monitor arms, storage systems, and cable-integrated benches often need a more careful sequence than a simple freestanding desk.
Cabling and ergonomics belong in the install plan
Cabling shouldn’t be treated as an IT clean-up task after the furniture is built. The furniture layout, power path, and device positions all affect whether the office feels organised or messy on day one.
Cable management should happen after frames are stable. That’s especially important with desks, bench systems, and meeting furniture where cords can end up crossing knees, walkways, or under-desk leg space if they’re rushed in too early.
Key checks include:
- Power access: Confirm sockets and floor boxes are where the layout expects them.
- Cable route: Use trays, baskets, cut-outs, and tidy vertical drops where the furniture allows.
- Trip reduction: Keep loose cords out of walkways and under chair castor paths.
- Future changes: Leave enough order in the cabling that desks can be serviced later.
If the office is also wrestling with network performance, a resource on resolving slow business internet issues can help teams think more clearly about the relationship between furniture position, cabling decisions, and practical workspace function.
Ergonomics belongs in the same final pass. Adjust desk height where applicable. Set monitor arm reach and screen height. Check chair functions. Make sure storage doesn’t force awkward twisting or blocked legroom. An office can look complete and still be poorly set up for the people using it.
Finish with a real quality check
A proper handover isn’t just a glance across the room. Final quality checks should include opening drawers, testing locks, checking stability, and documenting a snag list before sign-off. Site conditions matter here. Uneven floors, angled walls, low ductwork, and blocked access often create defects that aren’t obvious until the furniture is loaded and in use.
A concise QA table keeps the close-out practical:
| Item to test | What to look for |
|---|---|
| Desks and tables | Wobble, misalignment, uneven tops |
| Drawers and doors | Smooth travel, lock function, flush closure |
| Chairs | Height change, casters, arm stability |
| Storage units | Level position, door swing, shelf fit |
| Cable management | No loose floor runs, clean routing |
If something feels minor, log it anyway. The small defects are the ones staff complain about every day after everyone else has left site.
Managing Old Furniture and Sustainable Disposal
Old furniture often leads to unforeseen financial losses for many office projects. Teams spend weeks choosing new workstations and then leave disposal to the final day. That usually leads to rushed decisions, unnecessary landfill, extra handling, and storage headaches nobody budgeted for.
The better approach is to treat outgoing furniture as its own workstream. It has timing, labour, transport, compliance, and cost implications. It also affects how quickly installers can work in the new space.

Treat old furniture as a project stream
Many guides barely mention the removal of old items, yet businesses are under growing pressure to divert bulky office furniture from landfill. Planning disposal early is both a financial and operational decision, especially with state waste expectations in Western Australia, as noted in this discussion of responsible furniture removal.
That pressure doesn’t mean every old desk should be discarded. Some items are still useful. Some can be reconfigured. Others may suit donation channels. If you’re considering the donation route, this list of charities that accept furniture donations is a practical place to start.
Old furniture isn’t automatically waste. Sometimes it’s a reuse asset. Sometimes it’s a disposal cost waiting to happen.
A simple decision path for outgoing furniture
Run each item or furniture group through a straightforward filter.
-
Keep and reconfigure
Good for modular systems, quality storage, or pieces that still suit the new plan. -
Resell
Works best when items are complete, presentable, and common enough to have a secondary market. -
Donate
Appropriate when the furniture is usable but not worth the admin involved in resale. -
Recycle or dispose
Necessary for damaged, incomplete, heavily worn, or non-compliant pieces.
A quick comparison helps:
| Option | Best suited to | Main caution |
|---|---|---|
| Reuse | Modular or still-functional assets | Must fit the new layout properly |
| Resale | Complete and marketable furniture | Needs time and handling |
| Donation | Usable items with community value | Recipient criteria may vary |
| Disposal | Broken or unsuitable furniture | Can create hidden removal costs |
The key is timing. Disposal decisions made late often force crews to move the same item more than once. That wastes labour and blocks staging areas needed for incoming furniture.
Perth offices also need to think practically about access. If old furniture sits in corridors or loading areas waiting for a decision, it can interfere with both outgoing and incoming movement. It’s better to have clear categories, approved destinations, and booking windows sorted before removal starts.
DIY vs Professional Installation A Perth Perspective
DIY office furniture installation can work. It just doesn’t work for every office, every building, or every schedule. The decision comes down to complexity, access, disruption tolerance, and whether your team can absorb mistakes without hurting operations.
A big challenge in Australian cities is scheduling installation around business continuity and building access. Professional movers deal with issues like loading-dock booking windows, WHS requirements, and strata approvals, which are common friction points in metropolitan Perth installs, according to this operational guide.

Where DIY works
A DIY approach can be reasonable when the project is small, the building is simple, and the furniture is straightforward.
That usually means:
- a small number of freestanding desks
- easy ground-floor or direct access
- no major cabling integration
- no need for weekend or after-hours staging
- internal staff who are available and capable
If the office is lightly occupied and the furniture arrives flat-packed for a basic setup, handling some assembly in-house may be practical.
Where DIY usually unravels
DIY starts to struggle when the office is occupied, the install has to be staged, or the building itself sets tight conditions.
Common failure points include:
- booked lifts that don’t line up with delivery timing
- loading areas with short windows
- access paths that weren’t measured properly
- staff dismantling furniture without preserving hardware sets
- power and data discovered in the wrong location after desks are built
- old furniture still on site with nowhere to go
- weekend work running long and colliding with business reopening
The cost of these mistakes isn’t always visible on an invoice. It shows up as downtime, staff frustration, damaged items, repeat visits, and managers spending their day directing traffic instead of running the business.
A practical comparison for Perth offices
| Factor | DIY install | Professional install |
|---|---|---|
| Building coordination | Managed by your staff | Usually handled as part of project logistics |
| Access planning | Easy to underestimate | Measured and sequenced in advance |
| After-hours work | Hard on internal teams | More manageable with dedicated crews |
| Business continuity | Often disrupted | Planned around occupancy and operations |
| Disposal of old furniture | Often left late | More likely to be scheduled properly |
| Quality control | Varies by staff experience | Structured handover and defect checking |
For Perth businesses, the tipping point is often not the furniture itself. It’s the building, the timing, and the need to keep people working while the install happens around them. If your office sits in a shared commercial tower, has limited dock access, or needs staged work to avoid shutting down normal operations, professional help stops being a convenience and starts becoming risk control.
A good installation partner doesn’t just assemble desks. They reduce handovers, protect access windows, sequence the move around the way your business runs, and make sure the old furniture problem doesn’t get dumped on your team at the end.
If you want experienced help coordinating an office move, staged furniture installation, after-hours access, or responsible removal of old office furniture in Perth, Emmanuel Transport is well placed to help. Their team handles commercial relocations with the practical detail that keeps projects moving, from dismantling and transport through to reassembly, careful handling, and low-disruption scheduling.
