
Moving a pool table isn’t just another heavy lifting job; it’s more like a delicate technical operation. You can’t just grab a few mates and try to haul it out the door like a sofa. That’s a surefire way to cause some serious, often irreversible, damage to the slate, frame, and felt. This isn’t just about moving furniture; it’s about protecting a significant investment.
Why Pool Table Moving Is a Specialised Skill

Unlike a wardrobe or a fridge, a pool table is an intricate assembly of finely calibrated parts. Trying to shift it without taking it apart properly is pretty much guaranteed to cause chaos. The real challenges are baked into its very design, making it one of the toughest items to relocate in any home.
The unique difficulties of moving a pool table are a lot like the precision needed for safely moving a piano. Both require a careful, methodical approach that goes far beyond just using muscle.
The Problem with Weight and Precision
The first thing that hits you is the sheer weight. A standard pool table can easily top 450 kilograms, and most of that weight is concentrated in the slate playing surface. This slate usually comes in three separate pieces, and each one is not only incredibly heavy but also surprisingly brittle. If you drop a piece or even handle it the wrong way, it can crack, and just like that, the entire table is ruined.
But it’s not just about the weight. A pool table is a piece of precision equipment. Here’s why it really needs an expert’s touch:
- Fragile Slate: Those heavy stone slabs have to be removed one by one and transported on their edge (vertically) to stop them from developing stress fractures under their own weight.
- Delicate Felt: The playing surface is stretched incredibly tight and stapled down. It needs to be removed with great care and reinstalled perfectly to avoid any rips or wrinkles that will completely throw off your game.
- Perfect Levelling: The frame has to be reassembled with absolute precision and levelled meticulously. Even a millimetre off balance can send every shot veering off course.
A DIY move often ends in disaster—a warped frame or a cracked slate. These are costly mistakes that can easily cost more to fix than hiring professional movers in the first place. It’s not just about getting the table from point A to point B; it’s about making sure it plays just as well when it gets there.
For homeowners here in Perth, trying to navigate a tight Subiaco townhouse or a steep driveway up in the Hills just adds another layer of complexity to the job. If you’re looking for more general advice on big items, have a look at our guide on how to move heavy furniture for some broader tips.
Your Pre-Move Toolkit and Space Preparation Checklist
Getting a pool table move right all comes down to the prep work. Honestly, the success of the whole operation depends on having the right tools and a clear workspace before you even touch the first bolt. This isn’t a job for the standard toolkit you have in the garage; you need some specific gear to handle a pool table’s unique build.
Think of it like setting up for surgery. You need every tool laid out and ready to go. The last thing you want is to be scrambling for the right socket wrench while three mates are trying to hold up a 100-kilogram slate slab. A little organisation now saves a world of hurt later.
Assembling Your Essential Tools
Having the right equipment on hand is non-negotiable. The pros show up with a specialised kit for a reason—it makes the job safer and a whole lot faster. Trying to make do with what you’ve got often leads to stripped screws, damaged timber, and a very long, frustrating day.
Here’s what you’ll absolutely need in your toolkit:
- A Power Drill and Full Socket Wrench Set: You’ll be dealing with a lot of bolts holding the rails and frame together. A power drill makes quick work of them.
- A Dedicated Staple Puller: Seriously, don’t try to use a flathead screwdriver. You’ll just tear the felt. A proper staple puller lifts the staples out cleanly, which is a must if you’re hoping to reuse the felt.
- A Precision Level (Machinist’s Level): Your standard builder’s level just won’t cut it. To get that perfectly flat playing surface when you put it all back together, you need the accuracy of a machinist’s level.
- Thick Moving Blankets and Plastic Wrap: These are for wrapping every single piece. From the polished timber rails to the incredibly heavy (and surprisingly fragile) slate pieces, everything needs protection.
Remember, the goal isn’t just to take the table apart; it’s to do it safely. Using pliers instead of the right socket wrench is the quickest way to wreck the hardware and give yourself a nightmare during reassembly.
Prepping the Move-Out and Move-In Zones
Once you’ve got your tools sorted, it’s time to look at the space. A classic rookie error is to focus only on the table and completely forget about the path it has to take. Prepping the route is just as important for protecting your house and the table itself.
First up, get out the tape measure. Check the width of every single doorway, hallway, and staircase on the way out of the old room and into the new one. Compare those numbers to the dimensions of the table’s biggest parts—especially the main frame and those big slabs of slate. You really don’t want to discover a tight corner on the stairs is a no-go when you’re already halfway down from the second-storey games room.
Next, protect your floors. Get some heavy-duty floor protection like Ram Board if you’re dealing with timber, tile, or vinyl. The weight of the slate on a dolly can easily leave deep scratches or even crack a tile. Lay down a clear, protected path in both houses.
Finally, completely clear out the room where the table is going. This gives you plenty of space to lay out all the components in a logical order, which will make putting it all back together much more organised and a lot less stressful.
A Practical Guide to Pool Table Disassembly
Alright, with your tools laid out and the room cleared, it’s time to get down to business. Taking a pool table apart isn’t something you want to rush. It’s a methodical process, and cutting corners is a sure-fire way to damage the rails, rip the felt, or—worst of all—crack the slate. You need to follow a specific order to make sure every part comes off safely.
First things first, let’s get those pockets out. Most tables have either leather drop pockets or a more complex ball return system. If you’ve got simple drop pockets, they’re usually just stapled or screwed to the underside of the rails. Gently remove them and, trust me on this, put the hardware for each pocket into a separate labelled bag. You’ll thank yourself later.
Before we get our hands dirty, here’s a quick visual reminder of the prep work that should already be done.
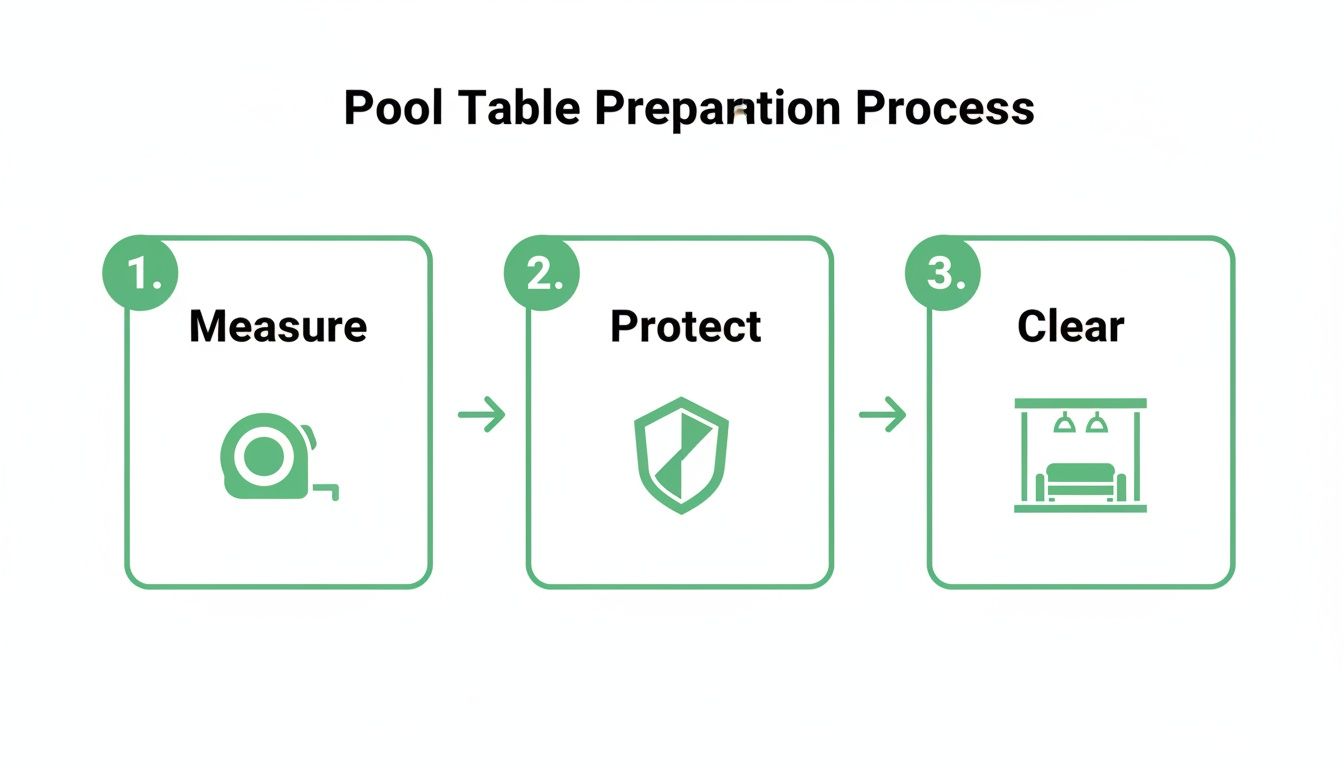
Running through these three checks—measure, protect, clear—is the professional way to ensure your home and the table are ready for the disassembly to begin.
Detaching the Rails with Precision
Once the pockets are free, the rails are next on the list. You’ll find they’re held on by several chunky bolts running up into the slate from underneath the table. This is where you’ll need that socket wrench set.
Now, this is definitely a two-person job. As you loosen the last couple of bolts on a rail section, it can suddenly shift or drop. Having a mate there to hold it steady is non-negotiable. It prevents the rail from falling and dinging the finish or damaging the delicate feather strip that the cushion rubber is attached to.
Pro Tip: If your table’s rails come off in one or two large U-shaped sections, try to keep them that way. It makes reassembly so much easier and helps maintain the table’s original alignment perfectly.
Dealing with the Felt Surface
With the rails gone, the playing surface is now exposed. At this point, you’ve got a decision to make: are you trying to save the felt or replace it? If you want to reuse it, you have to be incredibly careful. Most felt is both glued to the slate and stapled to a wooden backing frame that runs underneath the slate’s edge.
Grab your dedicated staple puller and start patiently lifting each staple. Work your way around the perimeter, gently easing the felt back as you go. Whatever you do, don’t try to pry them out with a flathead screwdriver—you’re almost guaranteed to tear the cloth. Once the staples are all out, carefully peel the felt away from the slate and fold it loosely. Avoid hard creases, as they can be a real pain to get out later.
If the felt is glued directly to the slate without a wood backing, you’ll likely need a scraper to get it off, which pretty much destroys it. In that case, just plan on buying new felt for the reassembly.
The Heaviest Lift: Removing the Slate
This is where things get serious. The slate is the heart and soul of the table. It’s ridiculously heavy, surprisingly brittle, and costs a fortune to replace. I can’t stress this enough: never, ever try to lift a piece of slate by yourself. A standard three-piece slate can weigh more than 200 kilograms combined, and each individual slab is an awkward, unwieldy beast.
You’ll need at least two strong helpers for this—three is even better. First, find and remove the screws holding the slate sections to the table’s main frame. They’re often countersunk and hidden under beeswax or putty, so you might need to scrape that gunk away to get to the screw heads.
With the screws out, follow these steps exactly:
- Talk it Through: Make sure everyone knows the plan before you touch the slate. Decide who is lifting and who is guiding. No surprises.
- Slide First, Then Lift: Gently slide a piece of slate to the very edge of the frame before you try to lift it up. This gives everyone a much better grip and reduces the chance of it slipping.
- Lift with Your Legs: It’s a classic for a reason. Keep your back straight and use your leg muscles to do the work. A trip to the emergency room is not on the agenda.
- Carry it Vertically: As soon as the slate is off the frame, turn it up on its edge. Carrying it vertically minimises the stress on the stone and dramatically reduces the risk of it cracking under its own weight.
Once the slate is safely off and leaning against a well-padded wall, the rest is easy. You can start disassembling the main frame and legs, which is a much simpler nut-and-bolt affair. Just remember to bag and label every single piece of hardware as you go. That little bit of organisation now will save you a massive headache when it’s time to put it all back together.
How to Pack Each Component for Safe Transit
Now that your pool table is in pieces, the really critical part begins. Every single component, from the smallest bolt to those massive slabs of slate, needs to be packed properly to survive the move. It’s this stage that makes the difference between a smooth reassembly and unpacking a nightmare of scratches, dents, and heartbreaking cracks.
Think of it this way: you’re not just wrapping things, you’re creating a custom-made suit of armour for each piece. A little extra time and care here will save you a world of pain and expense later.
Protecting the Timber Frame and Rails
The timber parts of your table—the rails, legs, and cabinet frame—are magnets for cosmetic damage. Scratches and chips are the most common injuries we see from a poorly handled move. Your best defence against this is a generous stack of thick, padded moving blankets.
Seriously, don’t be stingy with the blankets. Wrap every individual rail and leg until no timber is left exposed, then secure them tightly with packing tape or plastic wrap.
- Protect the Corners: Pay extra attention to the corners and edges. These are the first points of impact, so fold the blanket over to give them double the padding.
- Bundle Smart: Once everything is wrapped, you can bundle smaller items like the legs together. This keeps them organised and makes them much easier to carry.
If you’re looking for more professional tips, our guide on furniture protection for moving has a heap of techniques that work for all your valuable pieces, not just the pool table.
The Art of Packing Pool Table Slate
The slate is the heart of your table—it’s also the most valuable and surprisingly fragile part. It demands your full respect. One wrong move can cause a hairline fracture, and that’s it—game over for that piece of slate. As we’ve stressed before, slate must always be transported vertically on its edge. Never, ever lay it flat.
To pack it right, wrap each slab individually in at least two layers of thick moving blankets. Pull the blankets tight and secure them with tape, creating a snug cocoon for each piece. When you’re ready to load, get them onto a dolly and into the truck standing upright, and make sure they are braced securely so they have zero chance of tipping or sliding.
The golden rule for moving slate is simple: never let it lie flat. The sheer weight distributed horizontally creates stress points that will crack it with the slightest bump. Keeping it on its edge is the only way to move it safely.
Organising Hardware for a Headache-Free Reassembly
I’ve seen it a hundred times: you get to the new place, ready to rebuild, and you’re faced with a mystery pile of nuts, bolts, and screws. Avoid this all-too-common frustration with a simple system. As you take the hardware off each component, put it straight into a labelled zip-lock bag.
Get specific with your labels. Think:
- “Rail Bolts – Left Side”
- “Pocket Screws – Corner Pocket 1”
- “Slate Screws”
- “Leg Bolts – Front Right”
This small bit of effort transforms reassembly from a guessing game into a logical process. Toss all the labelled bags into a single, clearly marked box so nothing gets lost in the shuffle. This level of organisation is what separates the pros from the amateurs, and it guarantees every single piece goes back exactly where it came from.
How Much Does It Cost to Move a Pool Table in Perth?
Figuring out the budget for a professional pool table move can feel a bit tricky. In Perth, it’s not just a simple flat fee. The final quote is really a sum of its parts, based on the specifics of your table and the challenges of the job.
Once you understand what goes into the pricing, you’ll have a much clearer idea of what to expect and why hiring a specialist is well worth the investment.
What Shapes Your Final Quote?
When a professional removalist sizes up the job, they’re looking at several key details. Each one can add time, require extra gear, or call for more hands on deck, all of which influences the price.
Here are the main things that drive the cost:
- The Table Itself: There’s a world of difference between moving a standard 7-foot pub-style table and a massive 9-foot tournament table. Heavier frames, thicker slate, and ornate legs on an antique model demand more care and muscle, which bumps up the labour time.
- Access, Access, Access: This is a big one. A flight of stairs is the single biggest challenge that adds to the cost. Moving a table from a ground-floor room with wide doorways is always going to be cheaper than navigating it up to a second-storey games room or down a narrow basement staircase.
- The Distance: It’s a simple equation—the further the crew has to travel, the more it will cost. Local moves within the Perth metro area are standard, but the final kilometres for fuel and travel time are always factored in.
Key Takeaway: The quote you get directly reflects the work involved. A straightforward, ground-floor move with easy access will be at the lower end of the price scale. A complex job involving stairs and tight corners will naturally cost more.
How Perth Prices Compare
Let’s put some numbers on it. The cost for a specialised service like moving a pool table can vary quite a bit across Australia, and Perth often has its own pricing trends compared to the eastern states.
To give you a clearer picture, here’s a look at how typical costs stack up.
Estimated Pool Table Moving Costs in Australia
| Move Type | Typical Price Range (Perth Local) | Typical Price Range (Australia-wide Local) | Typical Price Range (Australia-wide Interstate) |
|---|---|---|---|
| Local Move (Standard 7-8ft Table) | $550 – $800 | $600 – $900 | $1,200 – $2,500+ |
| Complex Local Move (Stairs, 9ft+ Table) | $750 – $1,100 | $850 – $1,300 | N/A (Quote-based) |
These figures show that while local Perth moves are competitively priced, they still reflect the expertise required for the job. Costs can rise quickly for larger tables or when access is tricky. Interstate moves are a whole different ball game, often requiring custom crating and specialised freight handling.
So, how does this one-off cost fit into your overall moving budget? For a broader look at general moving expenses, it’s helpful to check out our guide on the typical Perth removalists hourly rate. It helps put the specialised pricing into context.
Ultimately, paying for a professional ensures your prized table is moved safely, saving you from the risk of much bigger bills for repairs or replacement down the track.
When Hiring a Professional Is Your Smartest Option
Tempted to save a few quid by moving that pool table yourself? I get it. But this is one of those times where a DIY approach can be a high-stakes gamble. The money you think you’re saving can vanish in a heartbeat if you damage the table, gouge a wall, or worse, hurt yourself. Moving a pool table isn’t just a heavy lift; it’s a technical job that demands specific skills and the right gear.
The whole process, from taking it apart to putting it back together and levelling it, is a minefield of potential problems. One wrong move with a slate slab and you’ve got a catastrophic crack, turning your beloved table into a very expensive paperweight. Ripping the felt, reassembling it incorrectly… it can all lead to a permanently wonky playing surface. It’s always worth weighing up the debate between a DIY move and hiring professional movers to see the bigger picture.
When to Absolutely Call in the Pros
Look, some jobs just aren’t meant for amateurs. Trying to move certain tables without an expert on hand is simply asking for a disaster. In these cases, picking up the phone is the only sensible choice.
Think about these high-risk scenarios:
- Antique or Ornate Tables: These are more than just games tables; they’re often valuable, sentimental pieces of furniture. A pro knows how to handle delicate, aged woodwork and unique construction without a single scratch.
- One-Piece Slate Models: These are the real beasts. Unlike modern three-piece slates, these older tables have one massive, incredibly heavy slab. They demand a bigger, more experienced crew and specialised lifting equipment. It’s not a job for a couple of mates.
- Tricky Access: Got a tight turn at the bottom of the stairs? A narrow hallway? Professionals are masters of navigating these challenging spaces, protecting both your table and your home from damage.
Think of it this way: paying a professional is an investment in your peace of mind. You’re not just buying muscle; you’re buying expertise, the right tools for the job, and the guarantee that your table will be set up perfectly, ready for the next game.
The Hard Numbers on Long-Distance Moves
If you’re moving a long way, the argument for hiring professionals becomes crystal clear. A local move is tough enough, but relocating interstate adds a whole new layer of logistical headaches and costs.
Interstate pool table removals in Australia will set you back a fair bit more, often starting over $1,000 and sometimes climbing as high as $2,200. This jump in price covers the complex logistics of long-haul transport. For those moving from Perth to another state, the cost can be five to fifteen times higher than a simple move across town. It pays to understand these cost factors when you’re planning your budget.
At the end of the day, bringing in the experts is about protecting your investment and making sure your table remains a centrepiece for family and friends for years to come.
Ready to move your pool table without the risk and stress? The experienced team at Emmanuel Transport has the specialised skills and equipment to handle your move with precision and care. Get your free, transparent quote today!